How To Build Your Own Lead Qualification Mechanism on Pronnel

Choose the Right Framework
Depending on your industry type or company, you must choose a Lead Qualification framework that suits you. You can easily configure popular frameworks like ANUM, CHAMP, BANT, FAINT, CGPTBA/C&I, or MEDDIC on Pronnel.
If you are still determining which lead qualification framework suits you or want to explore how to choose a framework, feel free to dive deep into our article- Choosing The Best Lead Qualification Method for Your Industry.
If you have your own Lead Qualification framework, which works for you, you can build even that on Pronnel. Just follow the example given below and amend it to suit your model.
For this demonstration, we will use BANT- Budget, Authority, Need, and Timeline, one of the most popular and easy-to-implement Lead Qualification frameworks developed by IBM in the 1960s.
Decide a Scoring Mechanism
In Pronnel, we will convert the Framework’s factors into a numeric score. With the BANT framework, we have four factors. We will set up the scoring mechanism so that each factor will be given a score. Not A Match -0, Poor Match-1, Good Match- 2.
| Parameter | Good Match | Poor Match | Not A Match |
|---|---|---|---|
| Budget | 2 | 1 | 0 |
| Authority | 2 | 1 | 0 |
| Need | 2 | 1 | 0 |
| Timeline | 2 | 1 | 0 |
The final score is calculated by summing up all the scores. So, once a Lead is evaluated during the preliminary client discussion, the range of scores will be between 0 and 8.
Lead Score= Score Budget + Score Authority + Score Need + Score Timeline
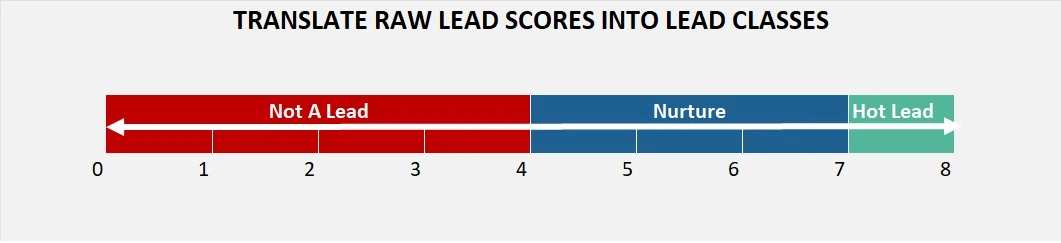
Now, let’s set up how we will interpret the final score. For this BANT example, we will interpret the final scores as given below:
| Score | Lead Classificaton |
|---|---|
| Between 7 & 8 | Hot Lead |
| Between 6.99999 & 3.9999 | Nurture |
| Between 3.9999 and 0 | Not a Client |
#ProTip: Write a note and store explaining your choices and how people can ask questions
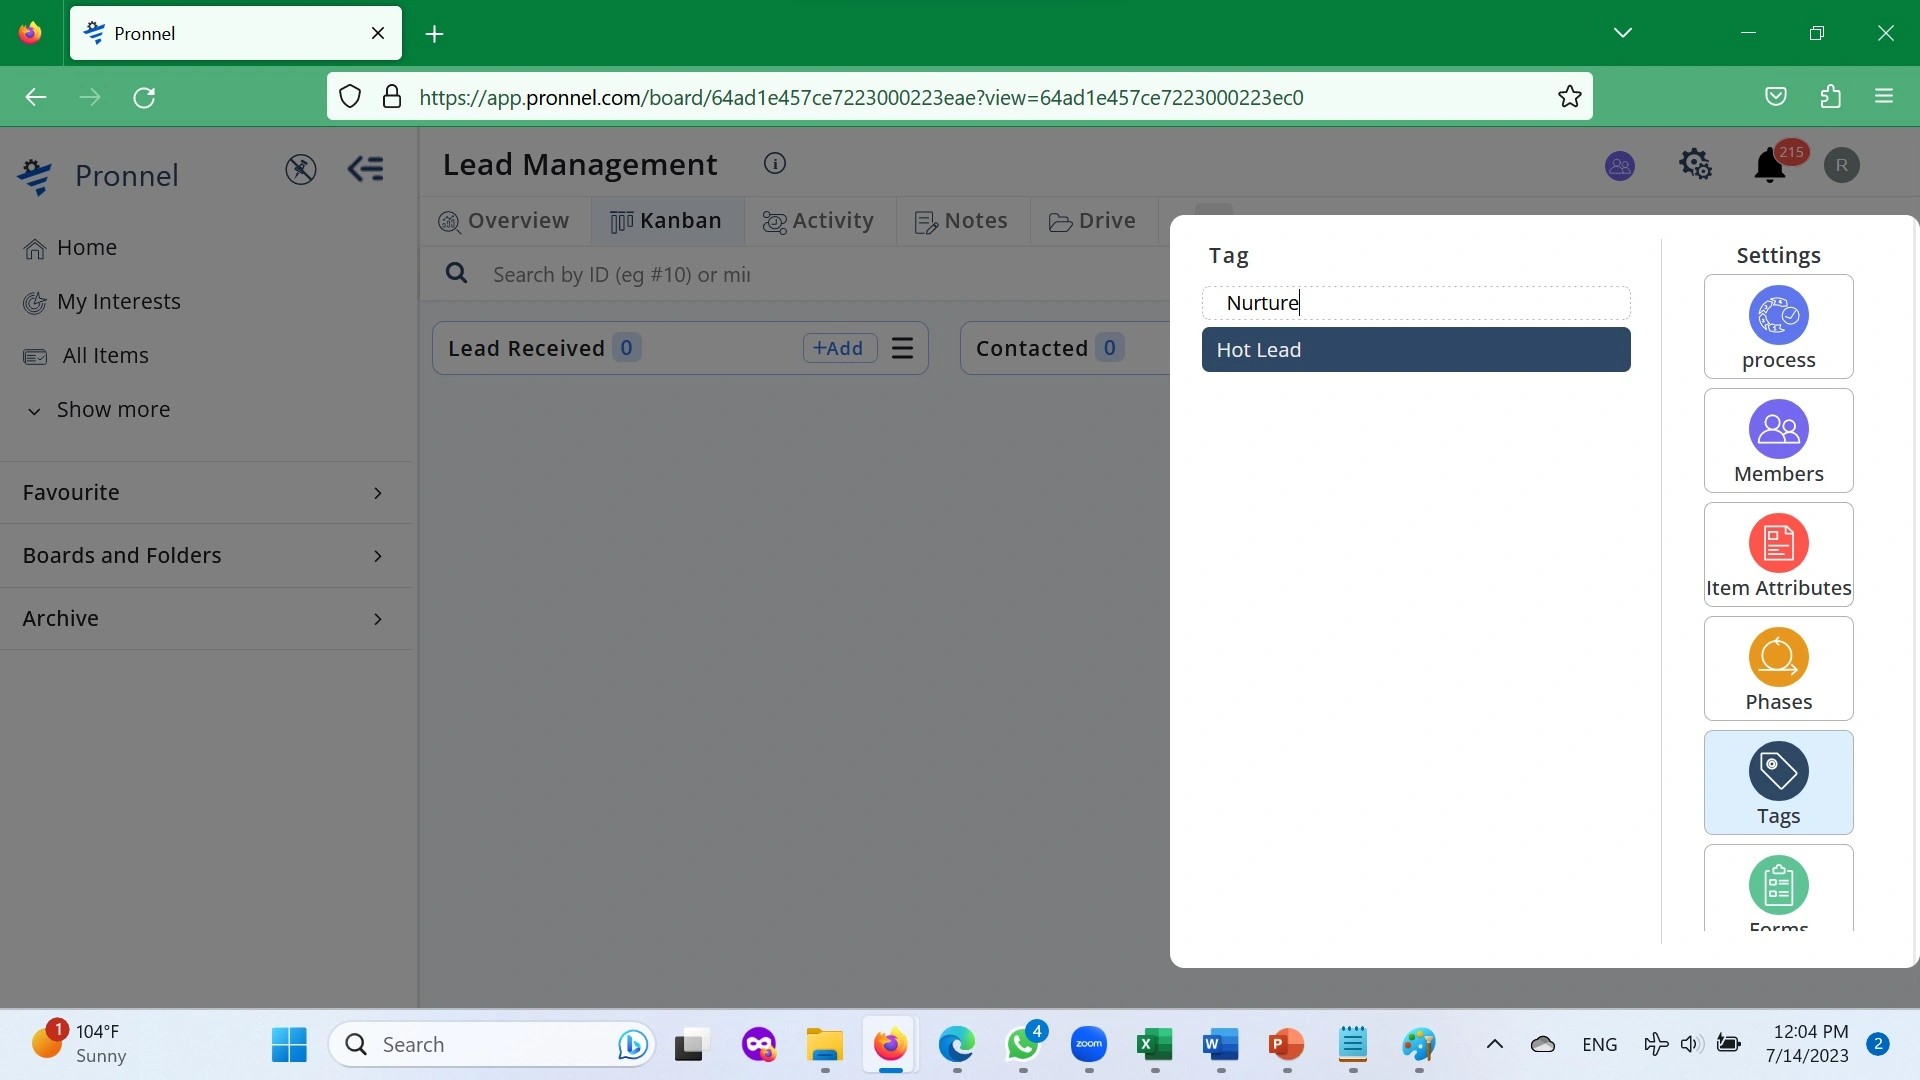
Create Tags
Click on Board Settings.
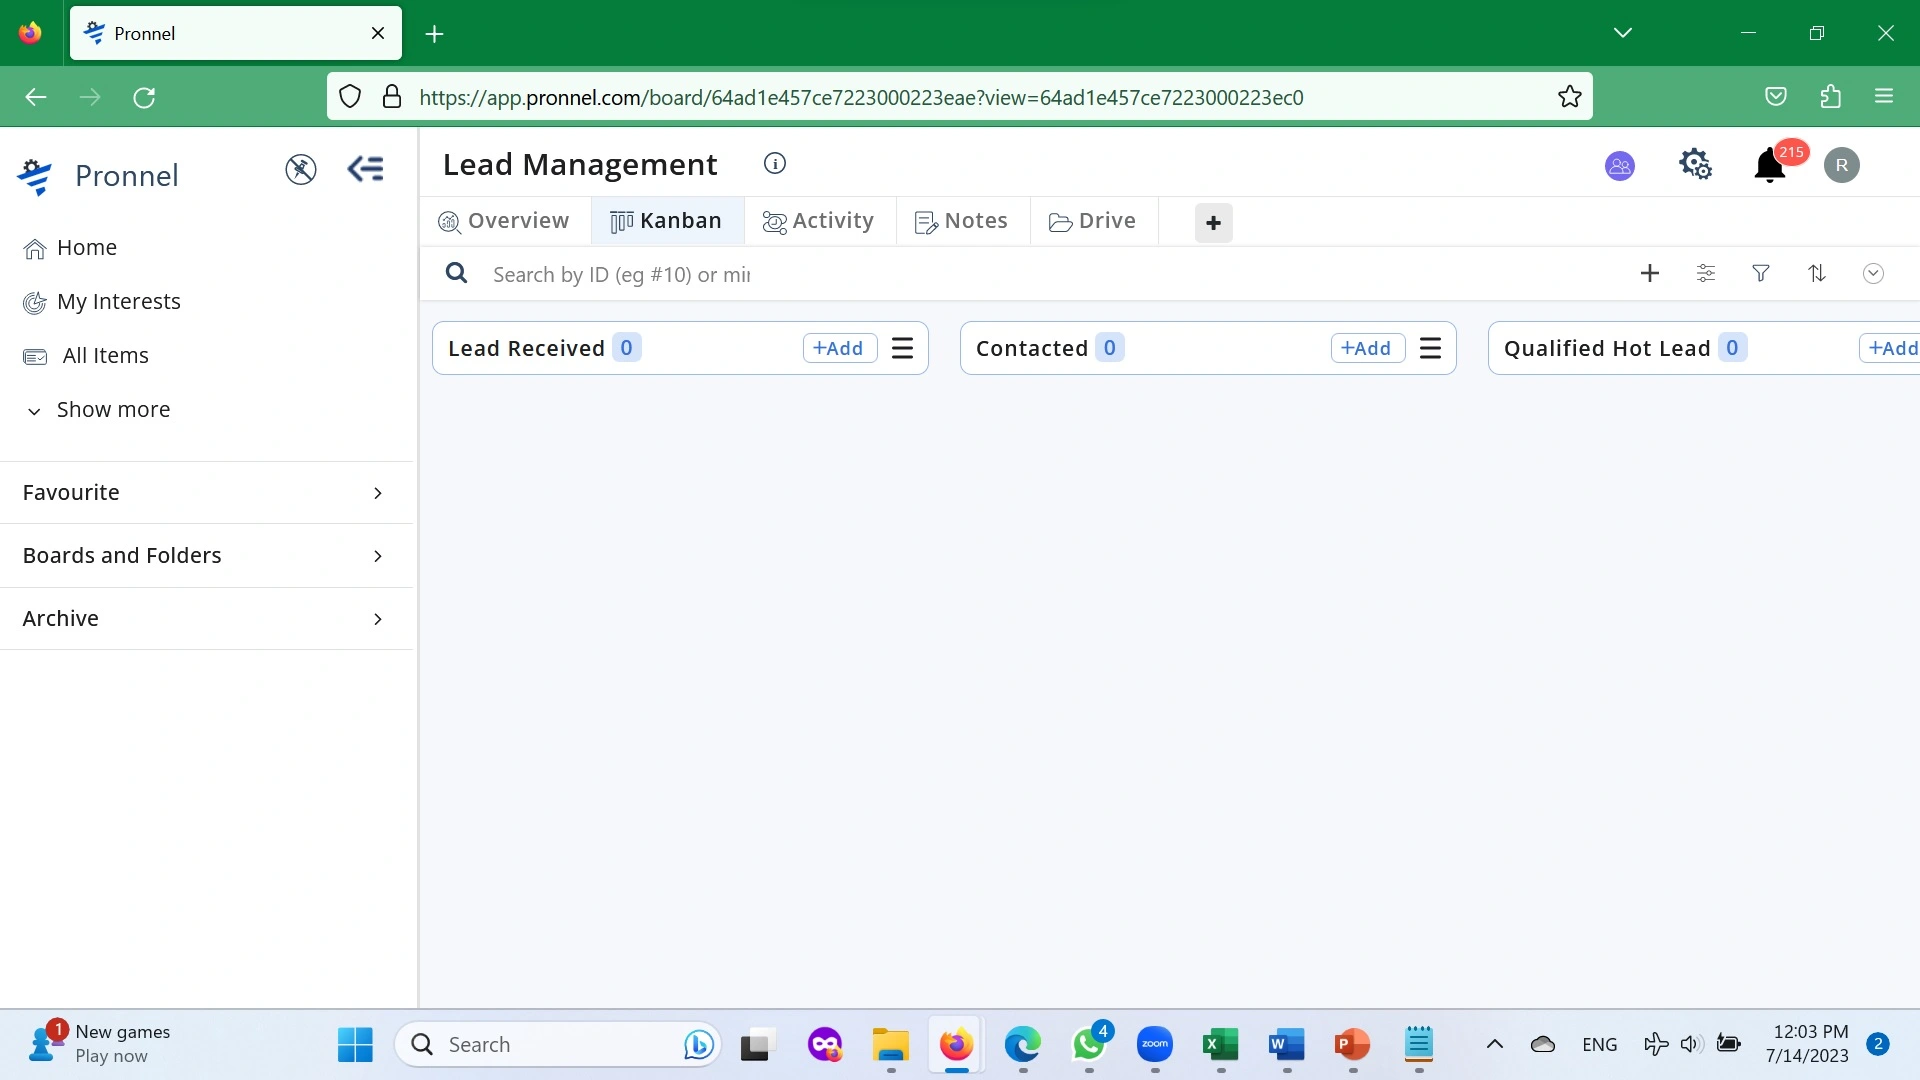
Now that we have identified three classifications for any Lead, we need to create Tags. Let’s create two- “Hot Lead” and “Nurture” on the Lead Acquisition Board.
Modify Item Attributes-
Now we add the Fields into our Item Attributes. Navigate to Board SettingsItem Attributes and create six fields. Four will be Numeric Fields representing BUDGET, AUTHORITY, NEED, and TIMELINE, with a default value of 0 and options for 1 and 2. Your Team will update these four fields once they have had their first conversation with a Prospect.
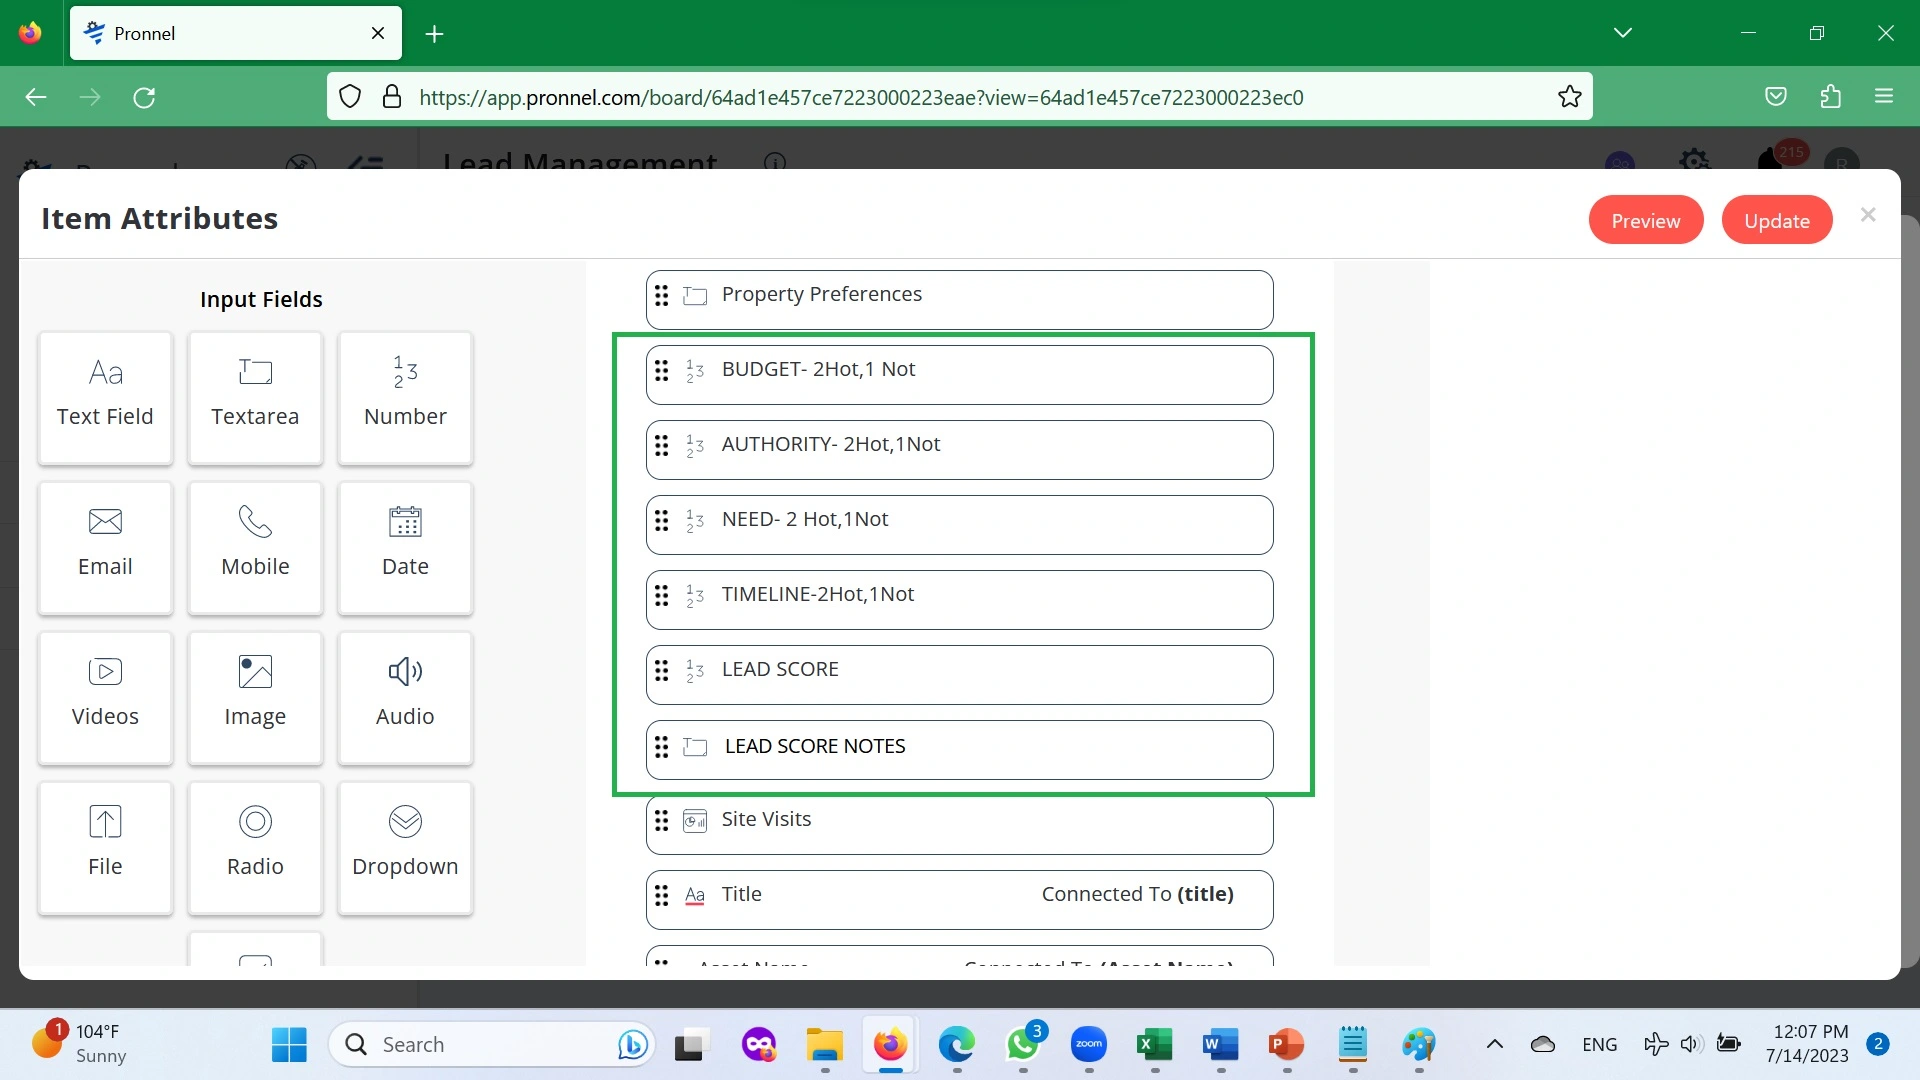
Next, a numeric field, LEAD SCORE, will be the target of the calculations. Note that we recommend hiding the Lead Score Field so that a User cannot make changes by mistake.
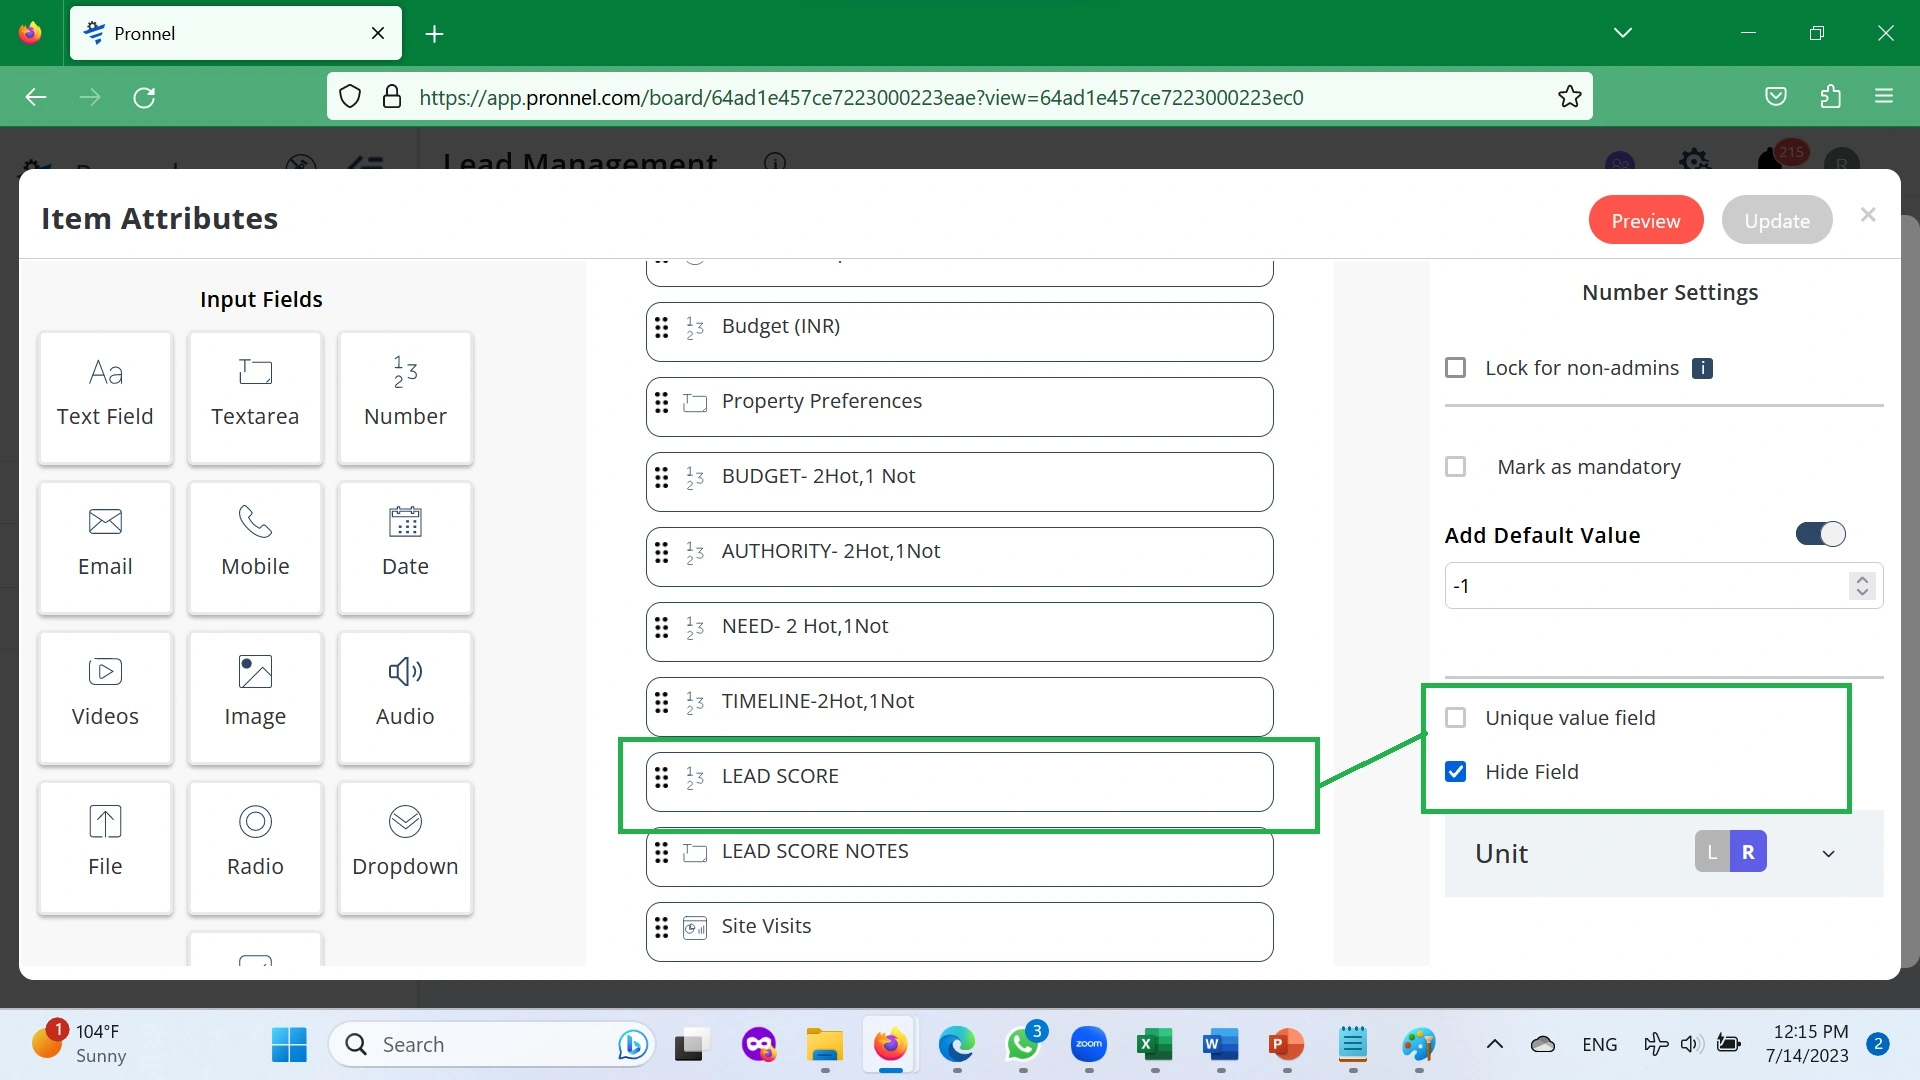
And finally, a Text Box- LEAD SCORE NOTES. The last is for your Team to record special comments or their justification for allotting a particular score.
Automation:
Now, the most crucial step. Adding in Automation to automatically Tag Leads based on User entered values during their first conversation with a Prospect.
- Automation for updating the LEAD SCORE field every time one of the factors (BUDGET, AUTHORITY, NEED, and TIME) is updated.
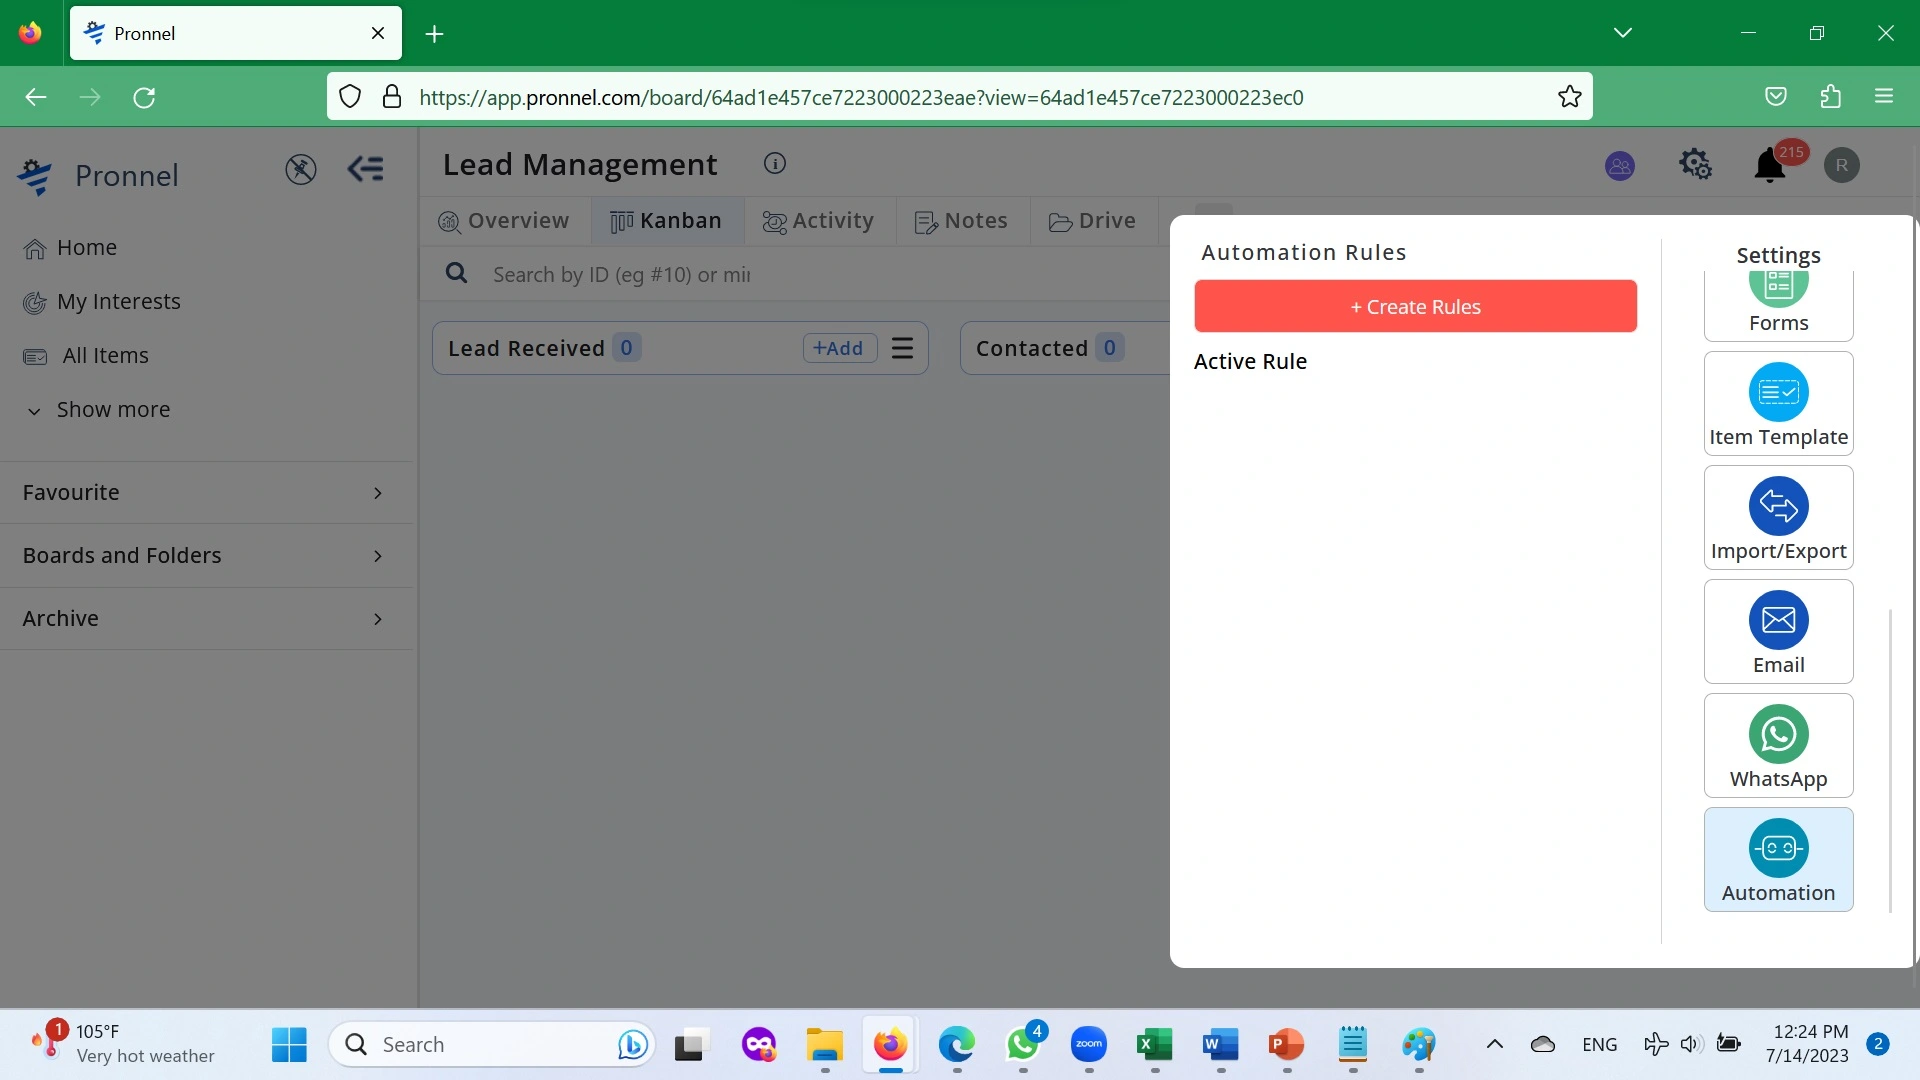
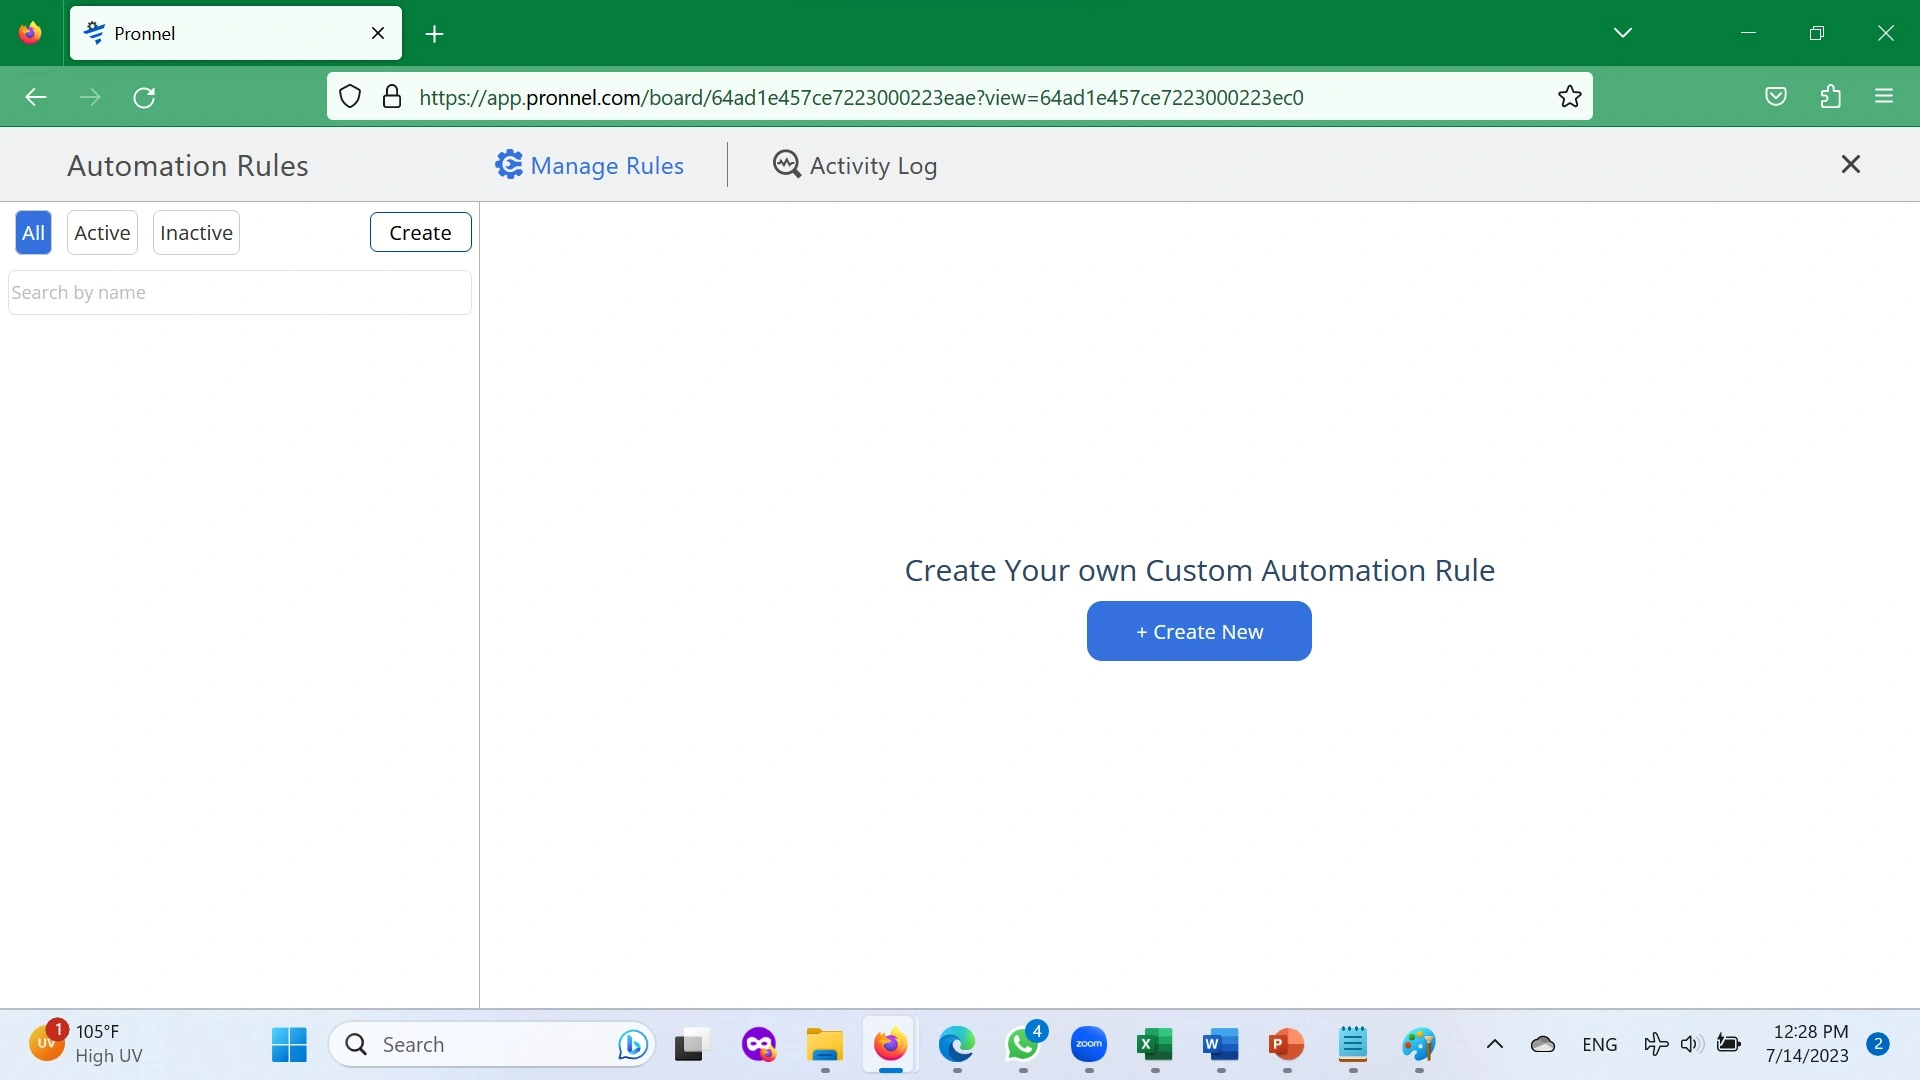
Navigate to Item Board Settings → Automation → Create New.
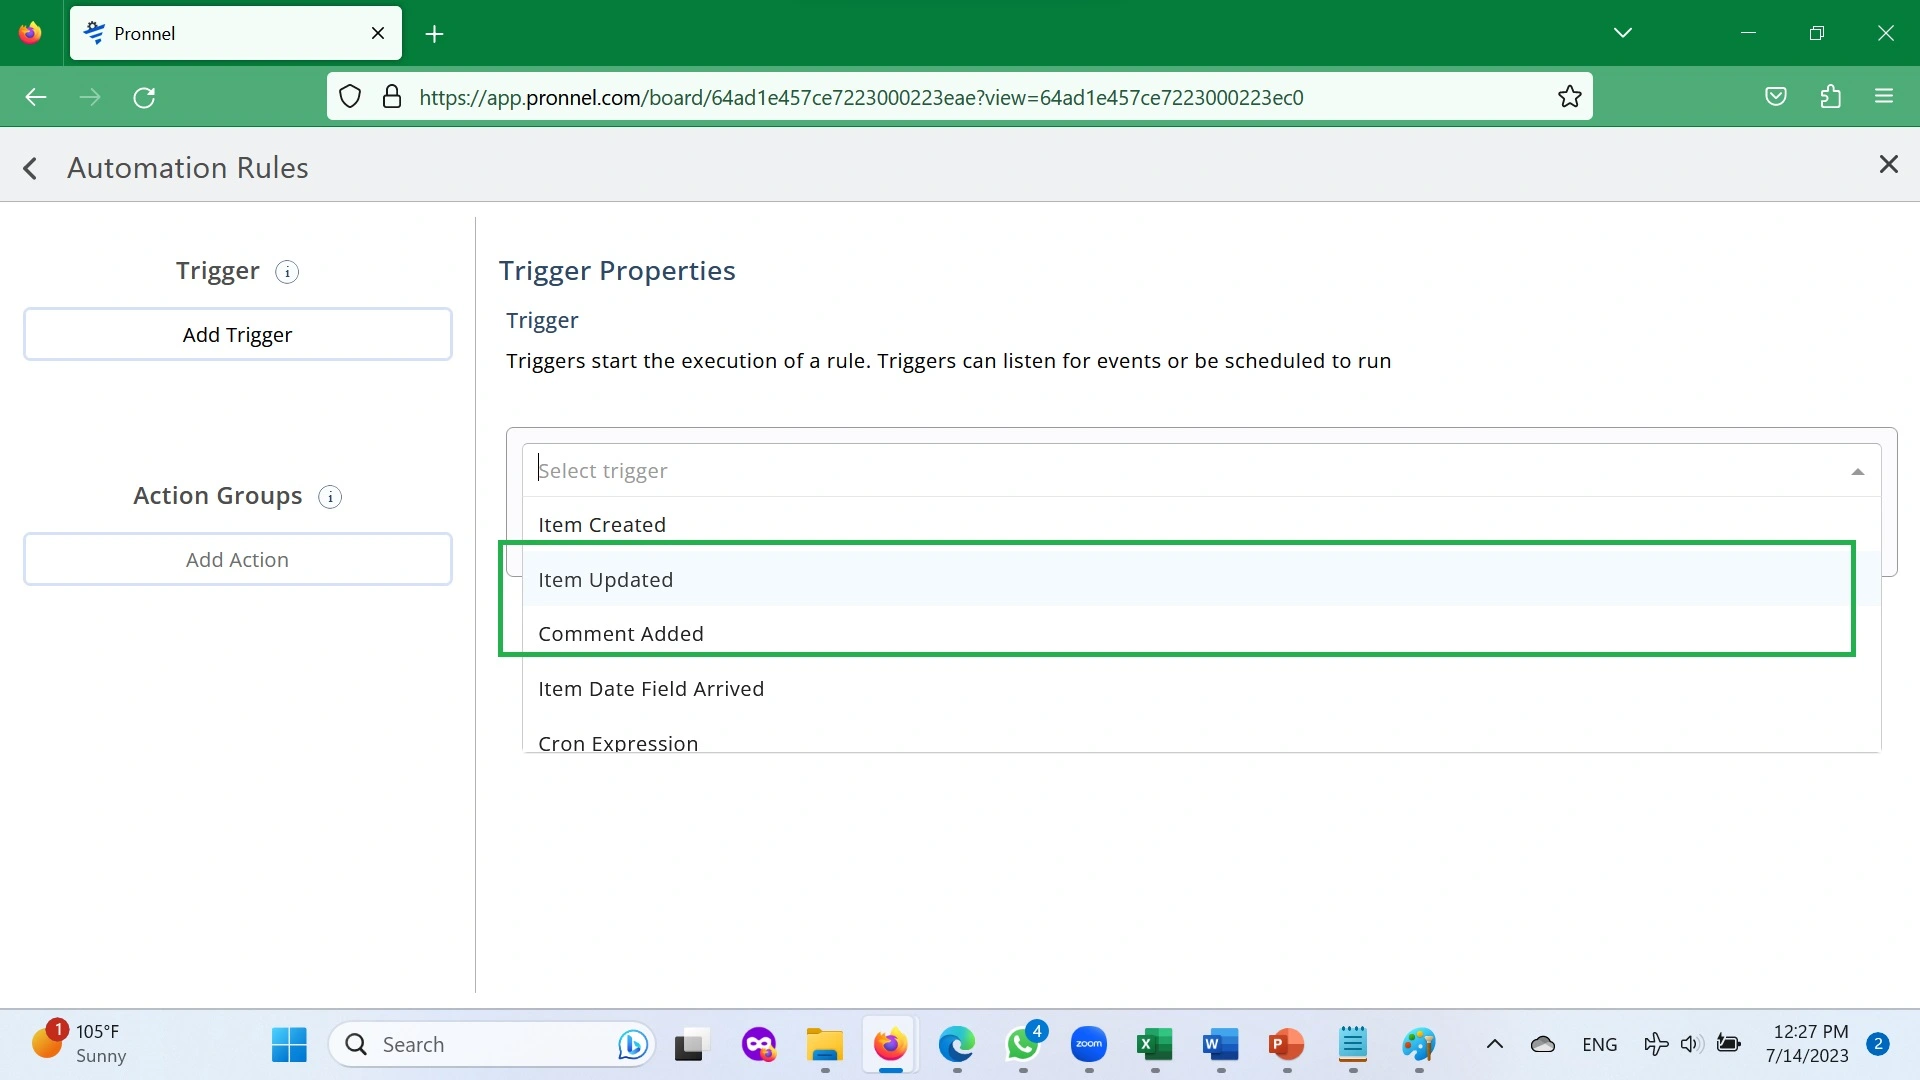
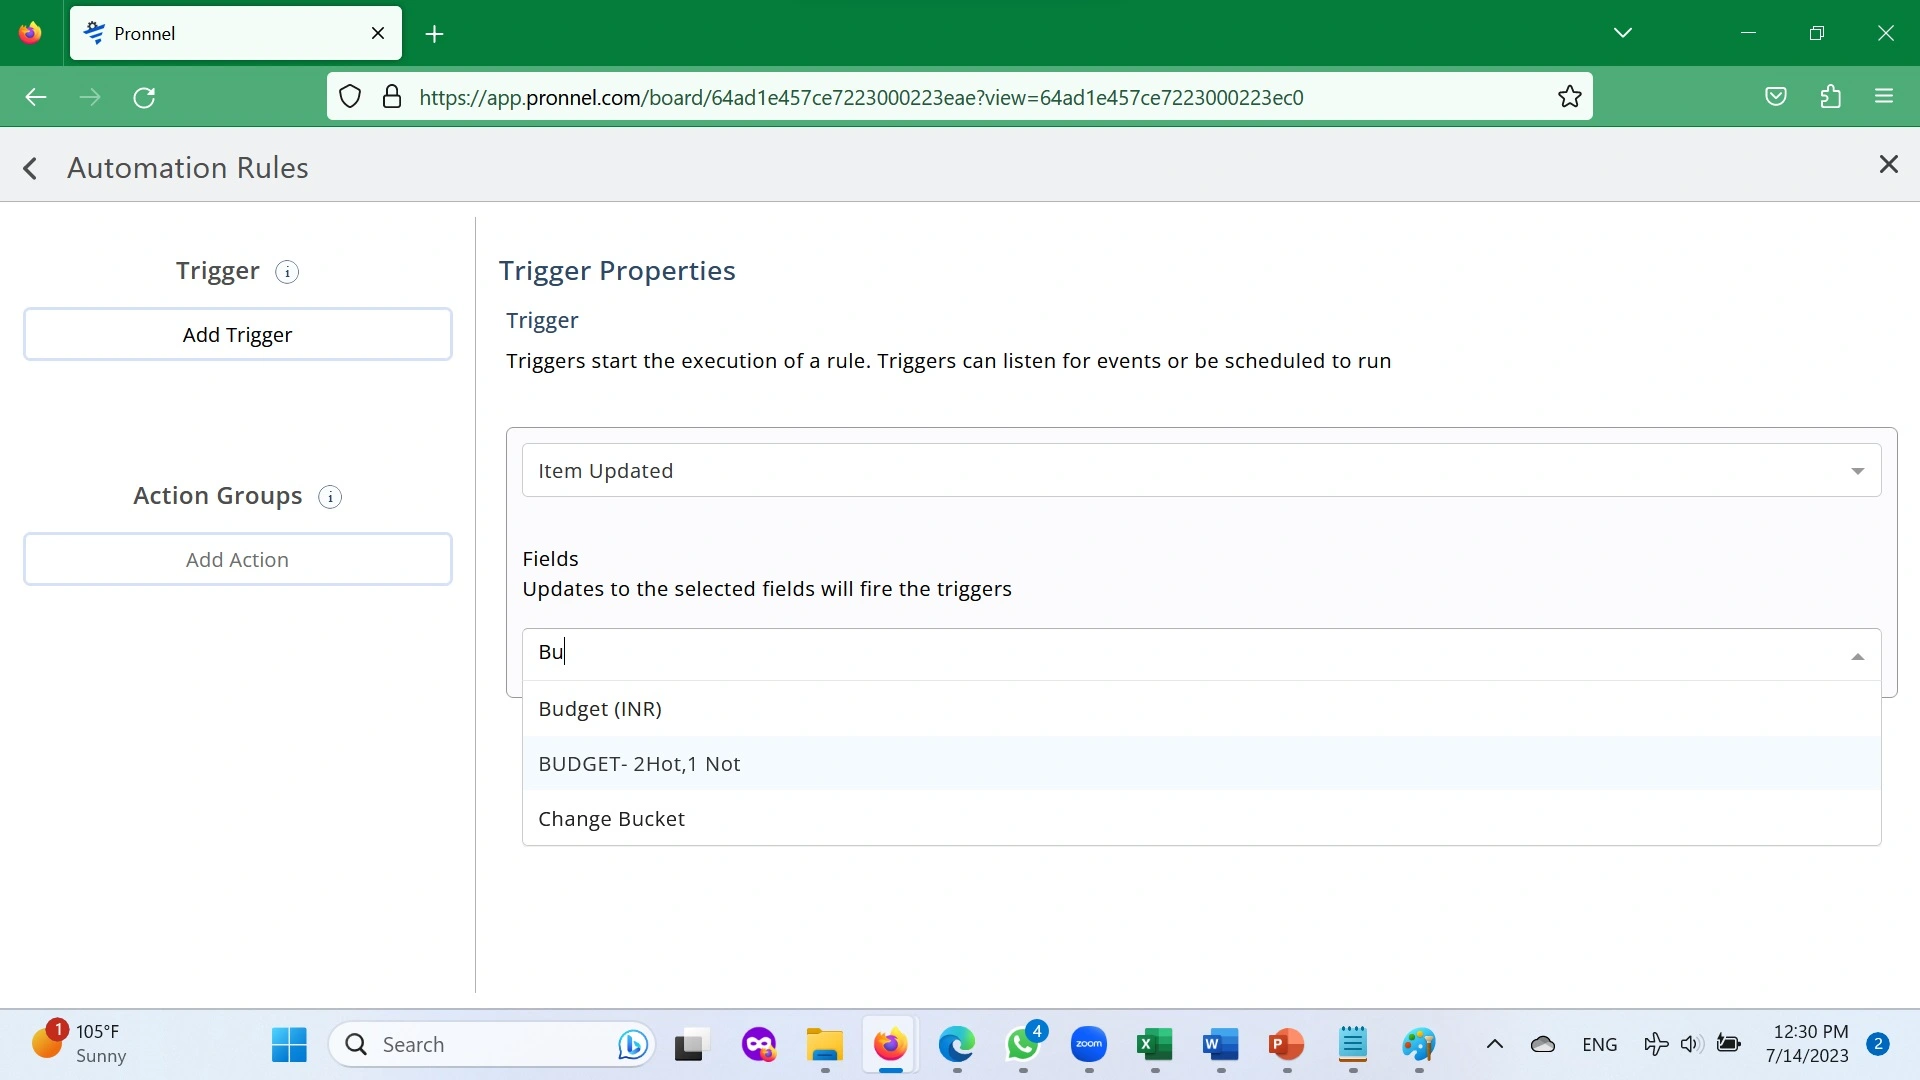
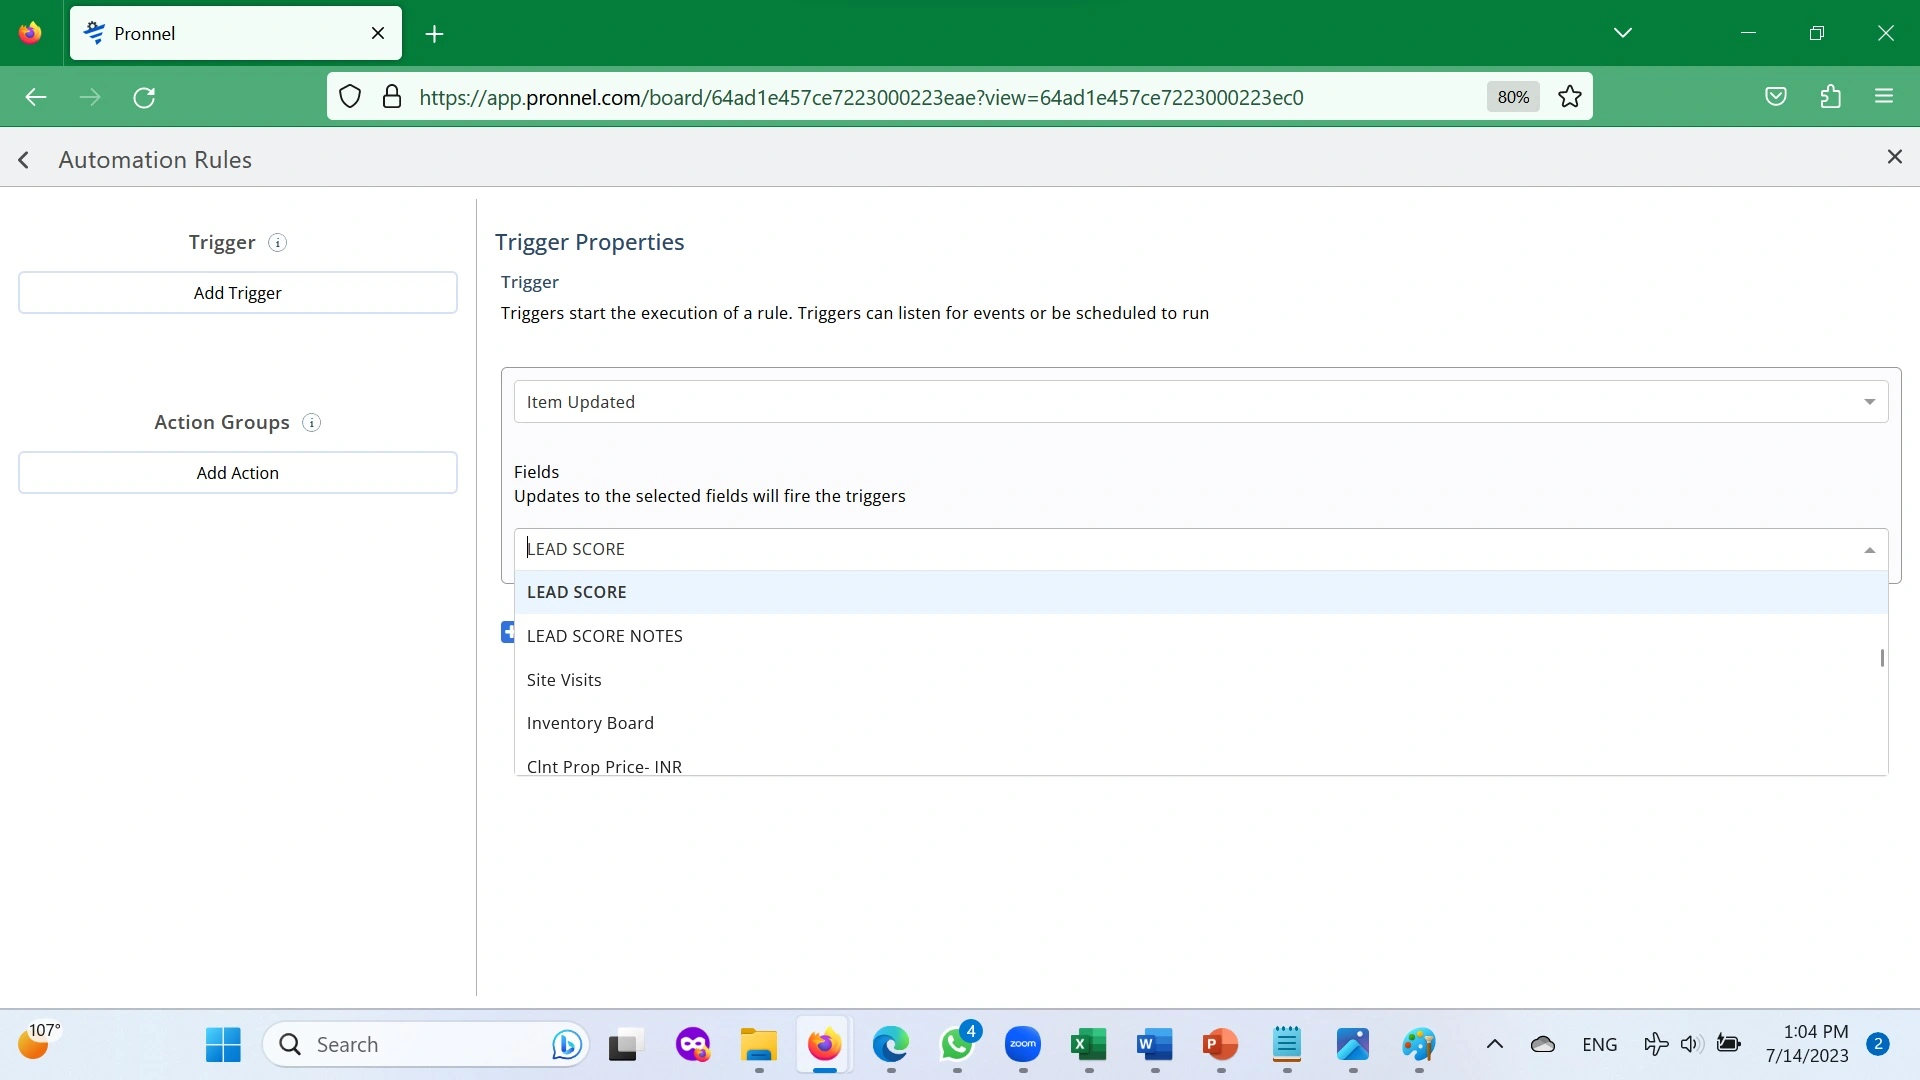
Now use the dropdown menu in Select Trigger to choose Item Updated.
Now choose the BUDGET field in Fields.
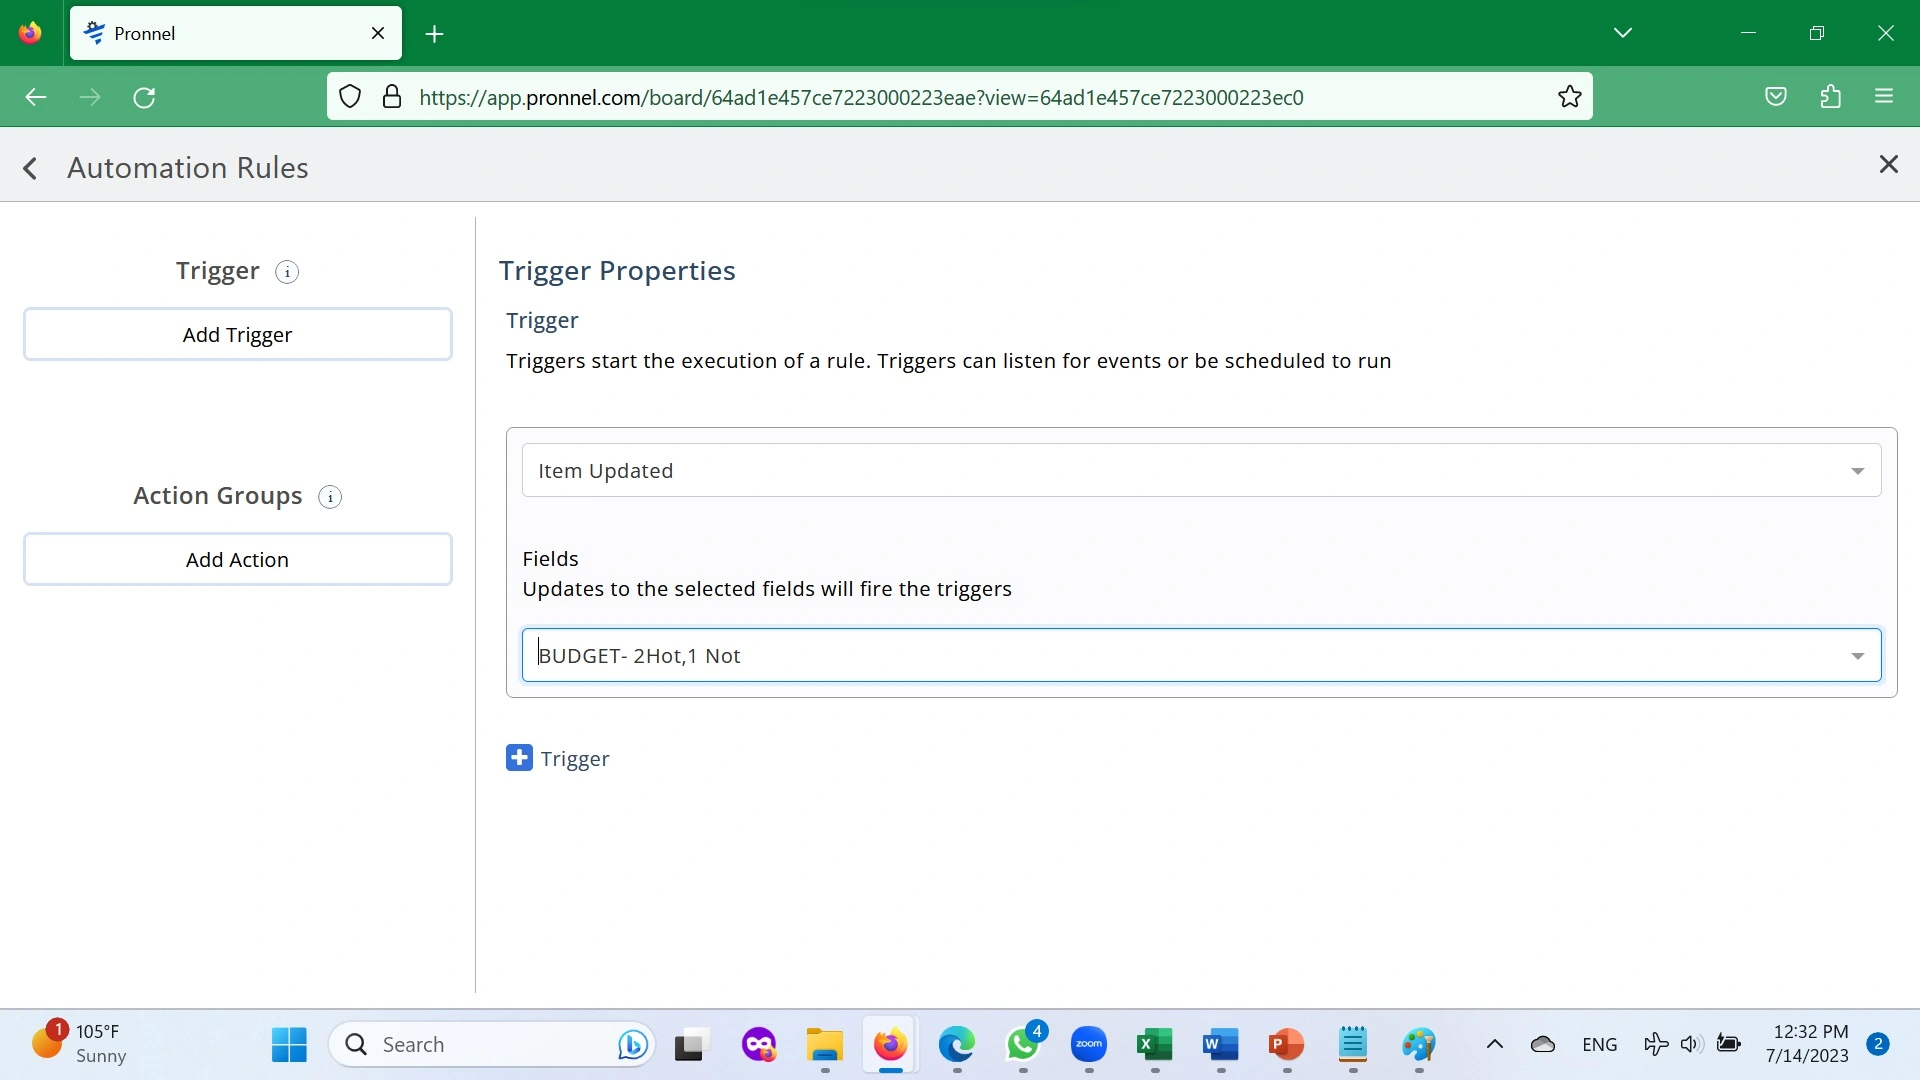
Now, similarly, we will go about putting triggers for the other fields.
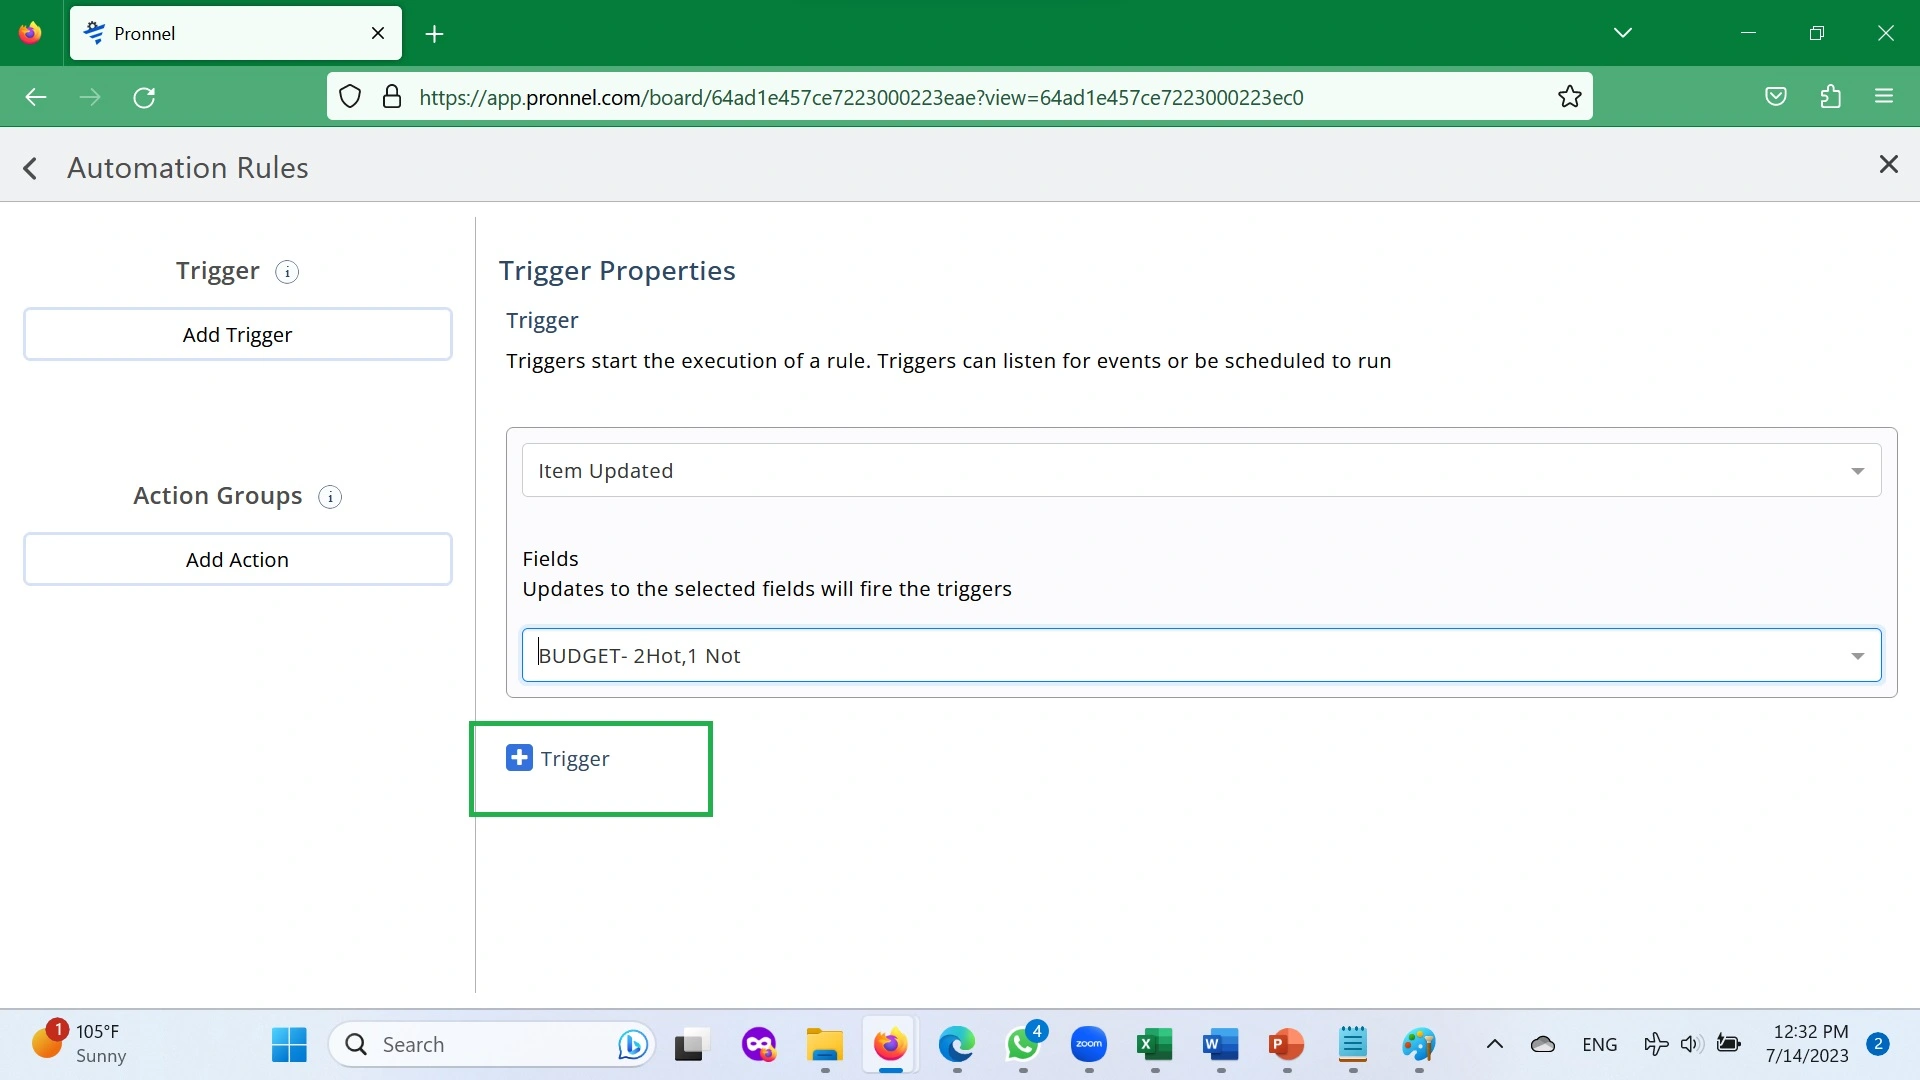
Finally, your Trigger should look like below.

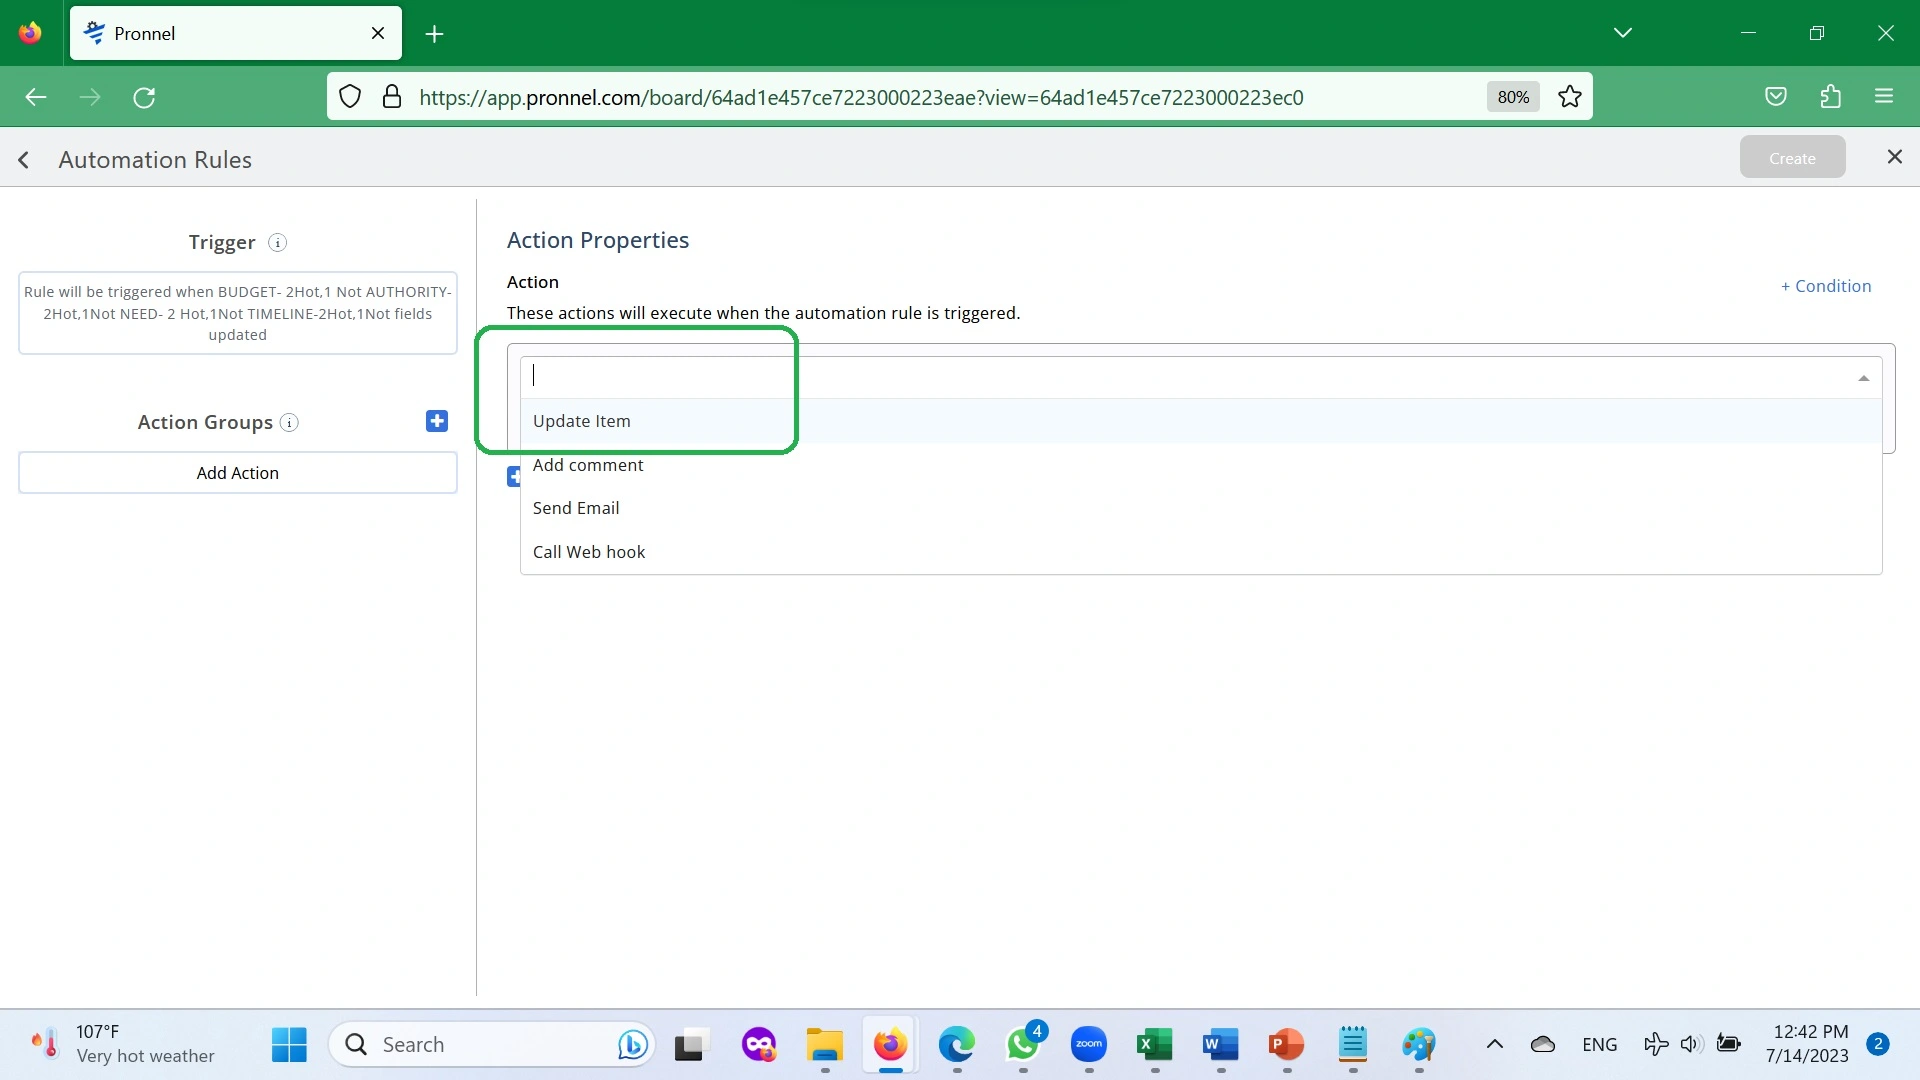
Now, let’s put in place the Action, updating the hidden field LEAD SCORE. Click on Add Action and choose “Update Item.”
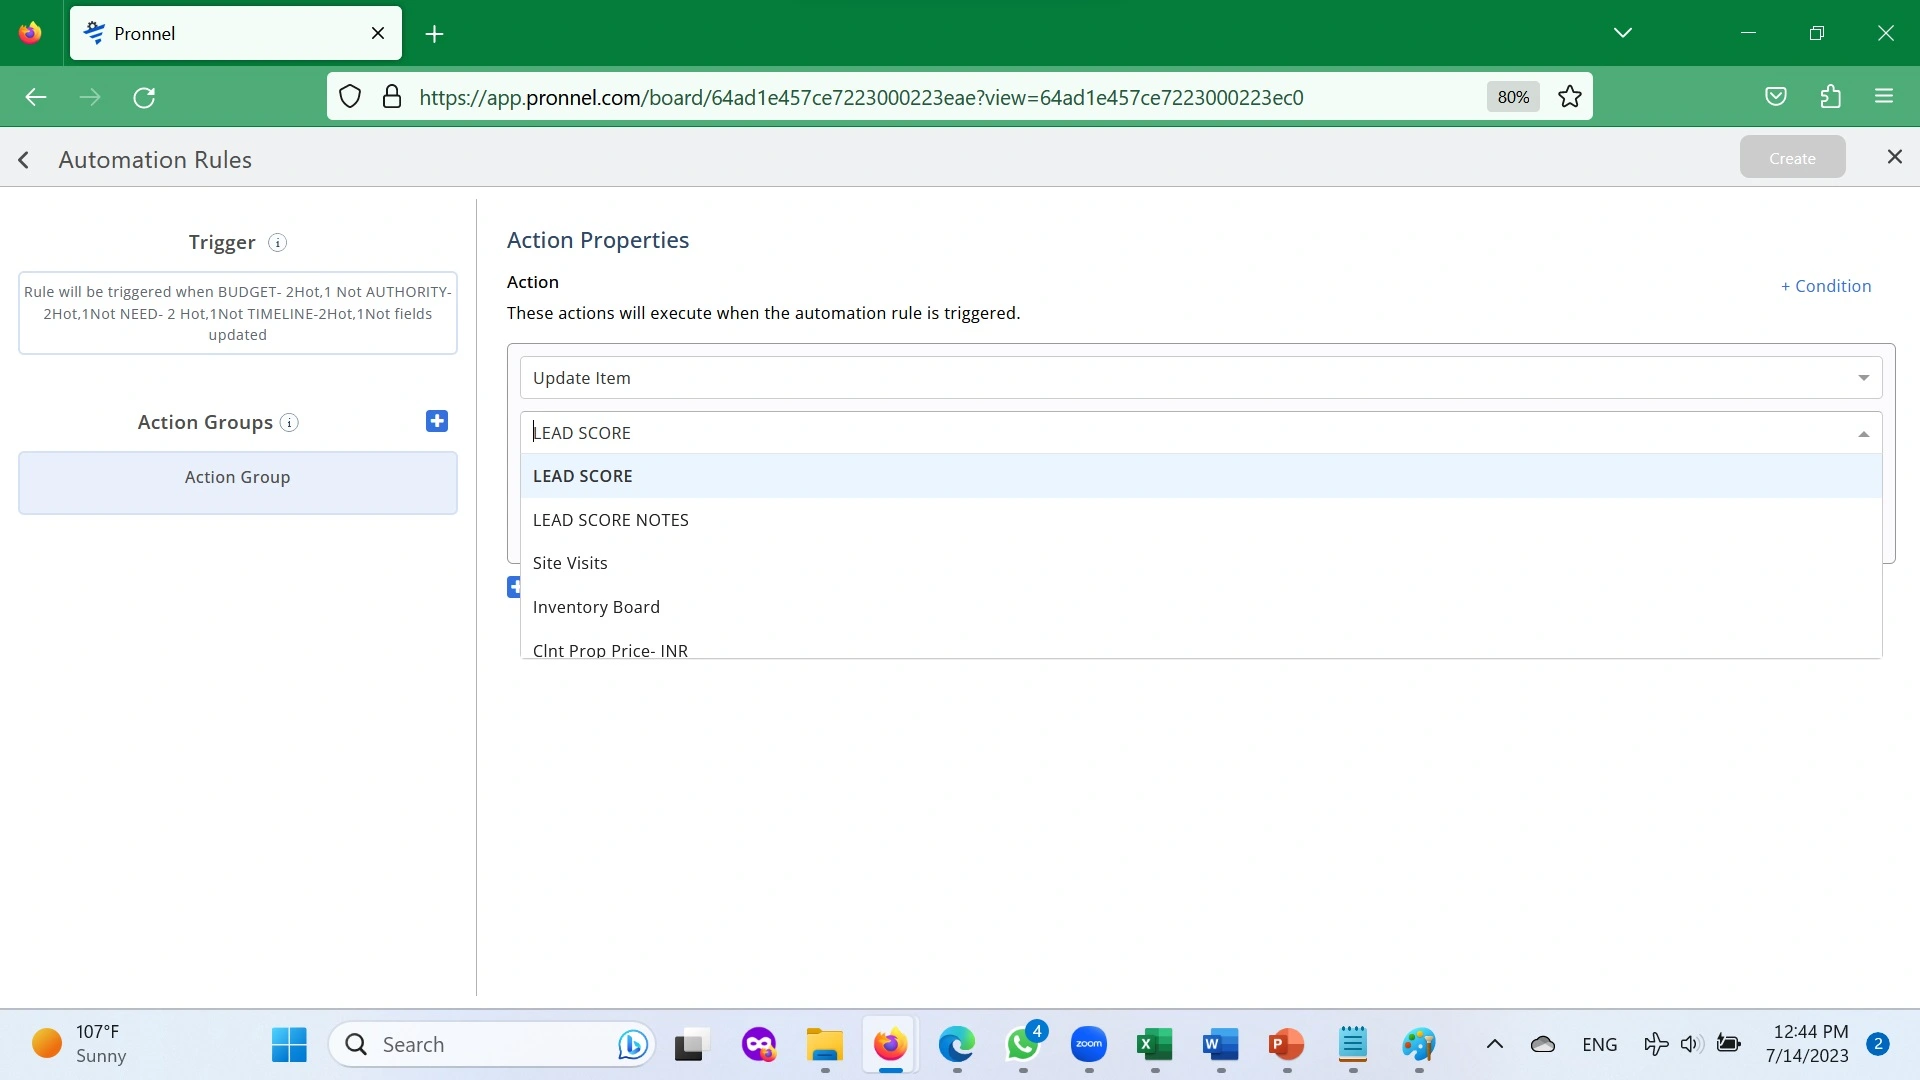
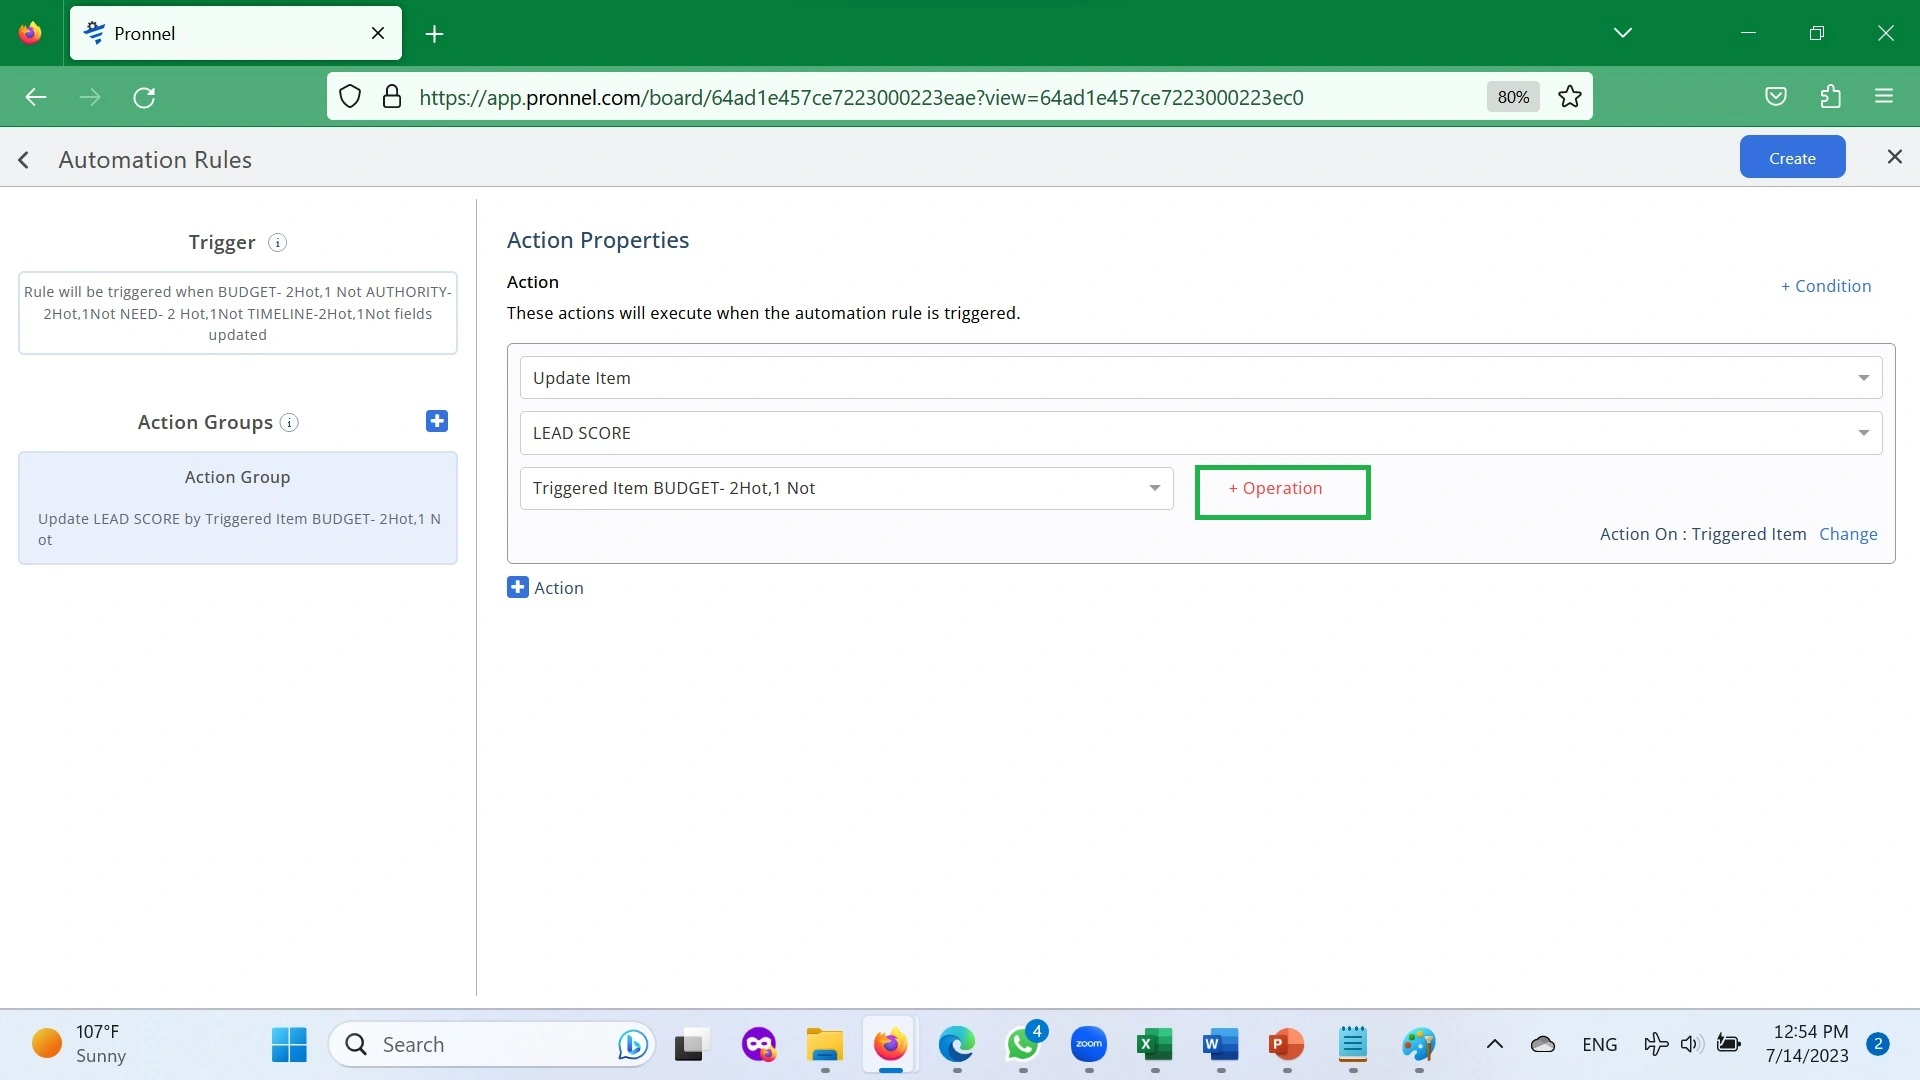
Now choose the field and select “Triggered Field BUDGET.”

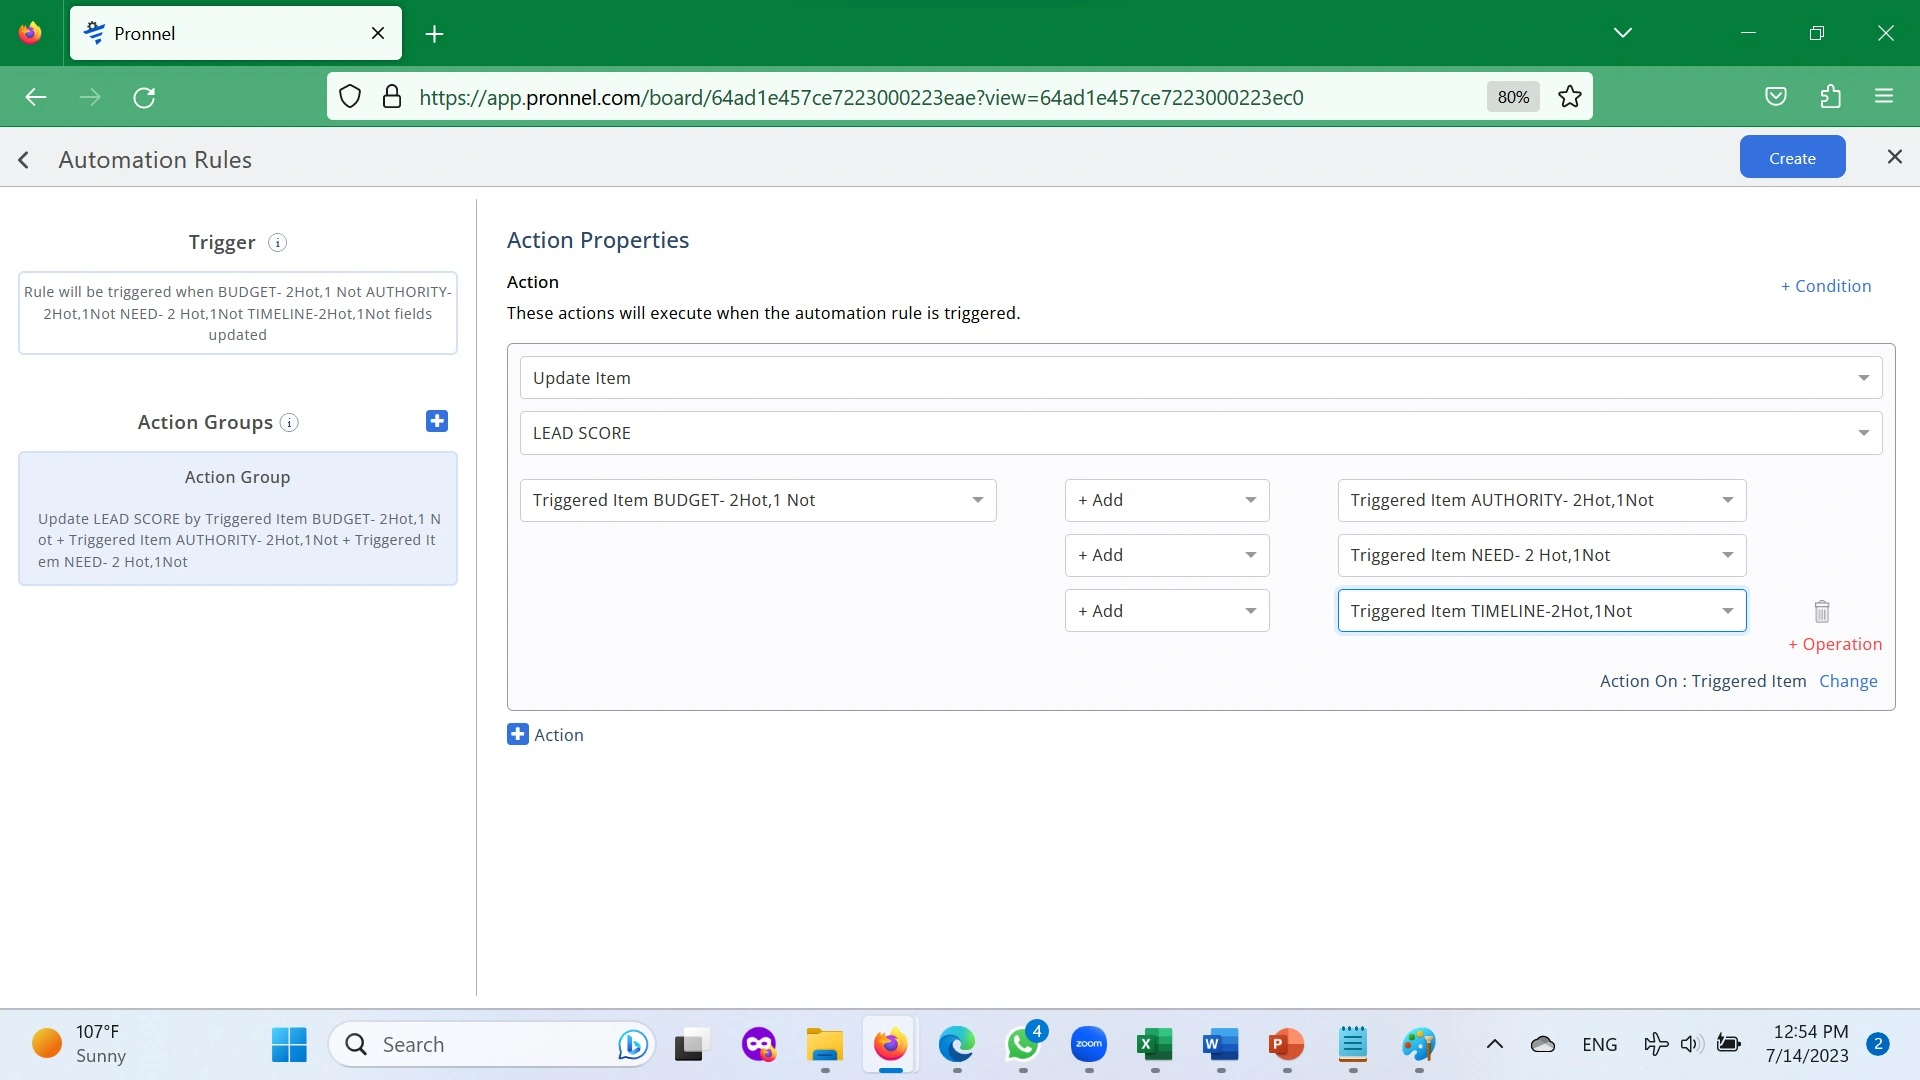
Next, click on +Operation and choose “Add,” and then set the following field to “Triggered Field AUTHORITY.”
And so on till you have all four Fields Added as below.
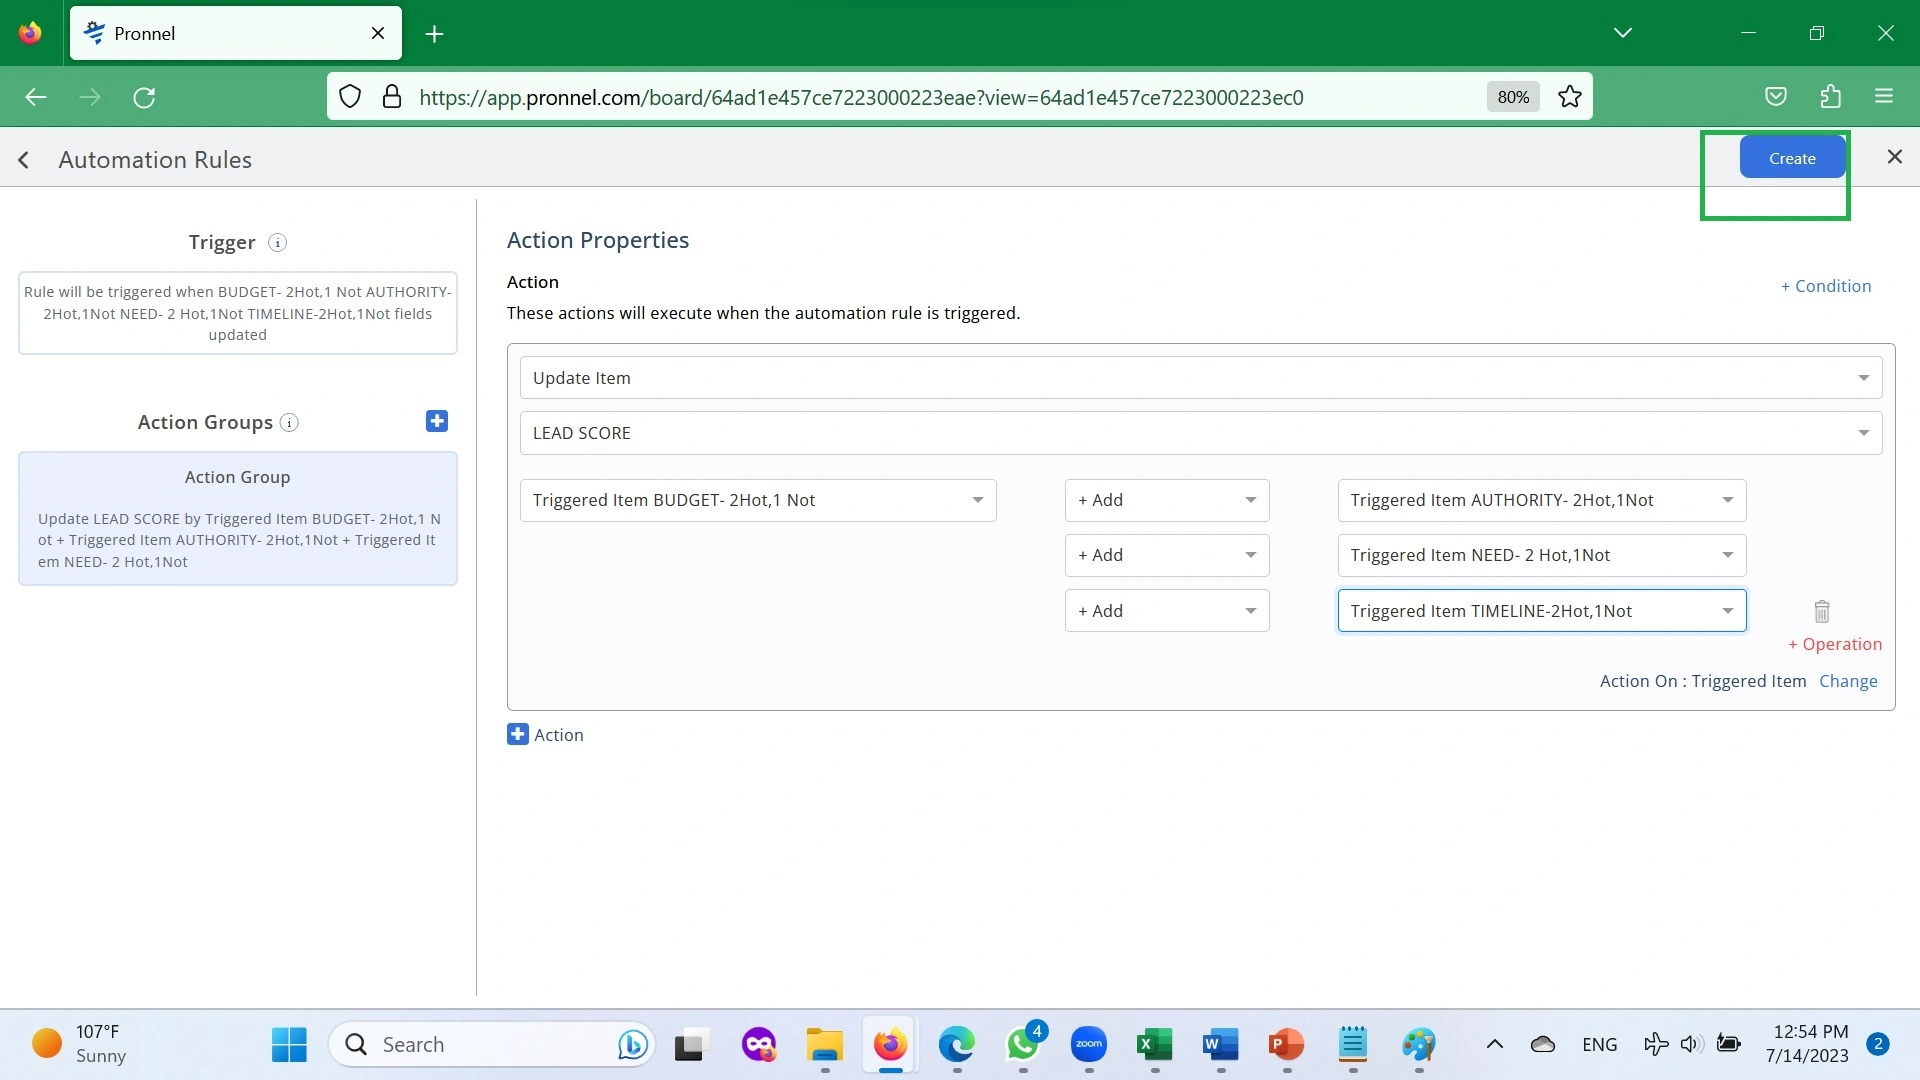
Next, click on CREATE.
Navigate to Automation in Settings and give an appropriate name to the Automation.
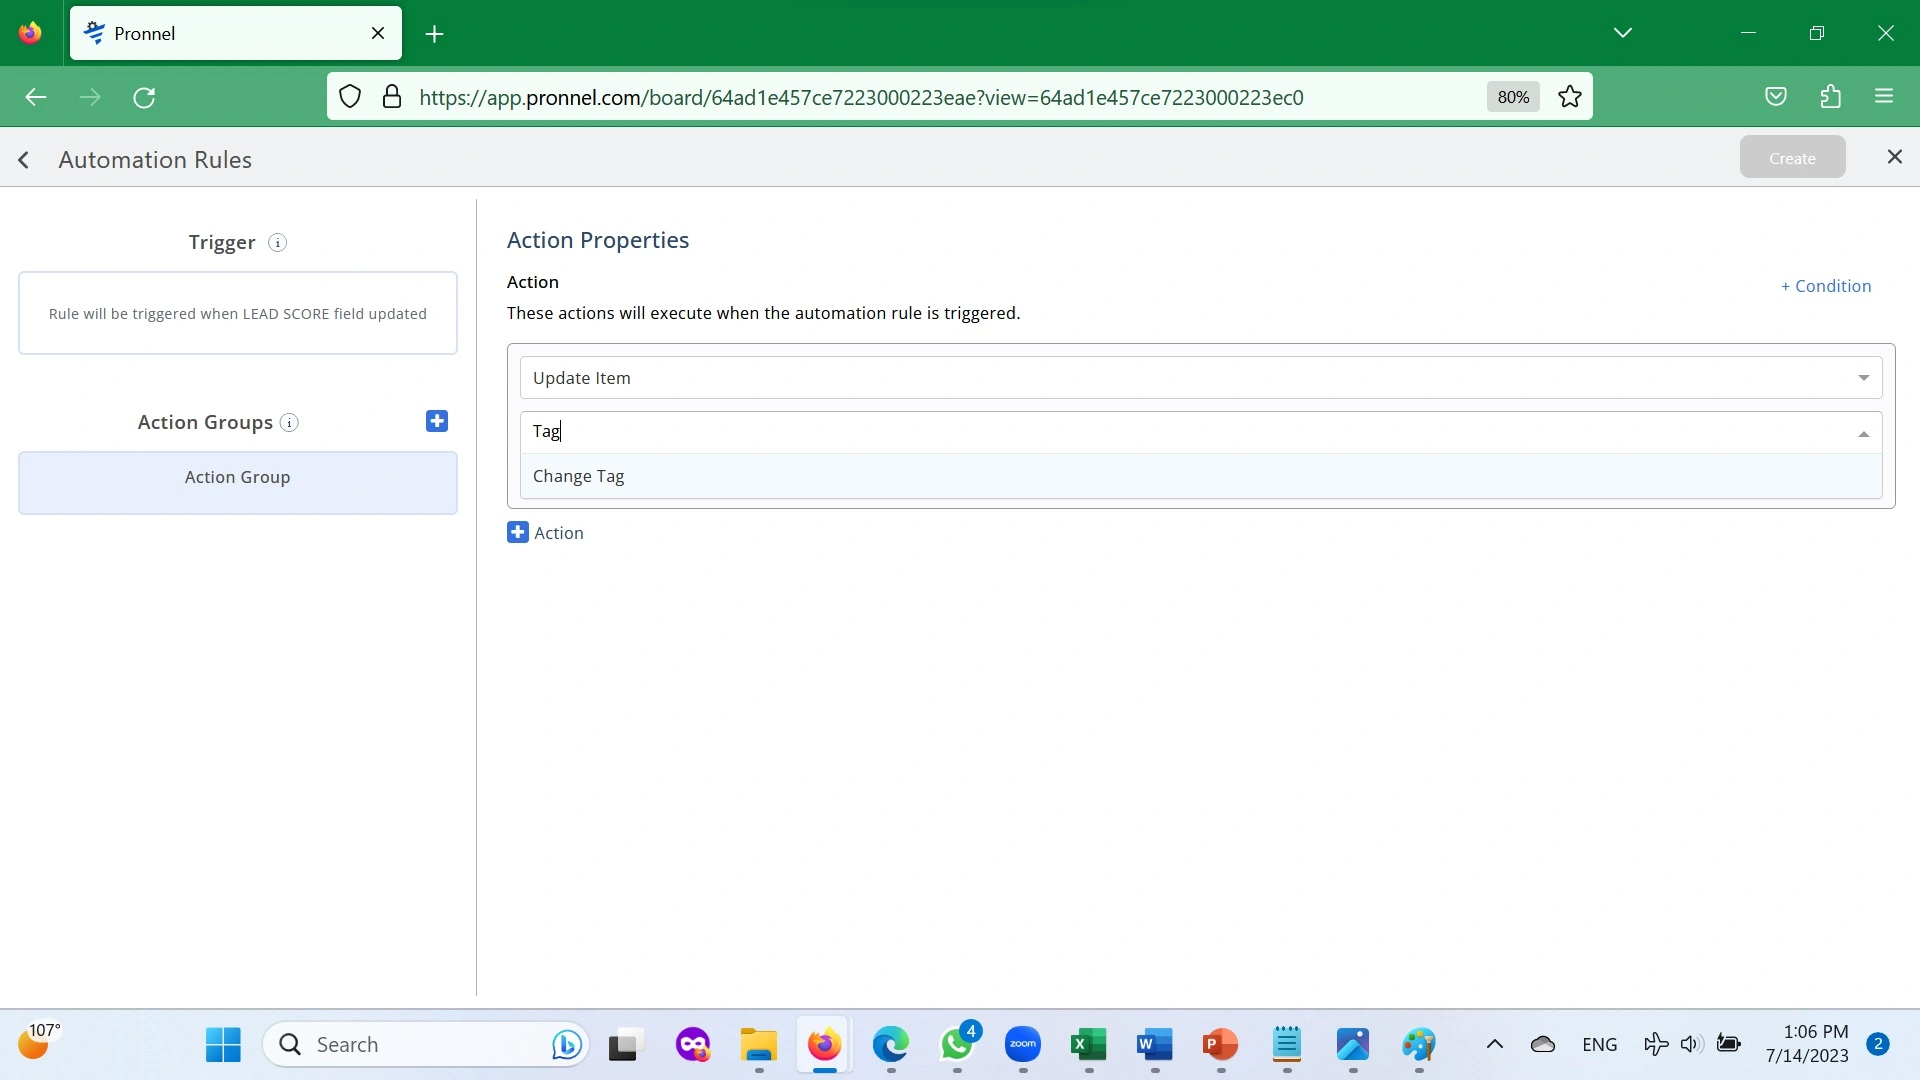
- Automation to update Tag based on the Calculation field. Now we will similarly create an Automation Rule for updating the Tag every time there is a change in LEAD SCORE (Trigger).
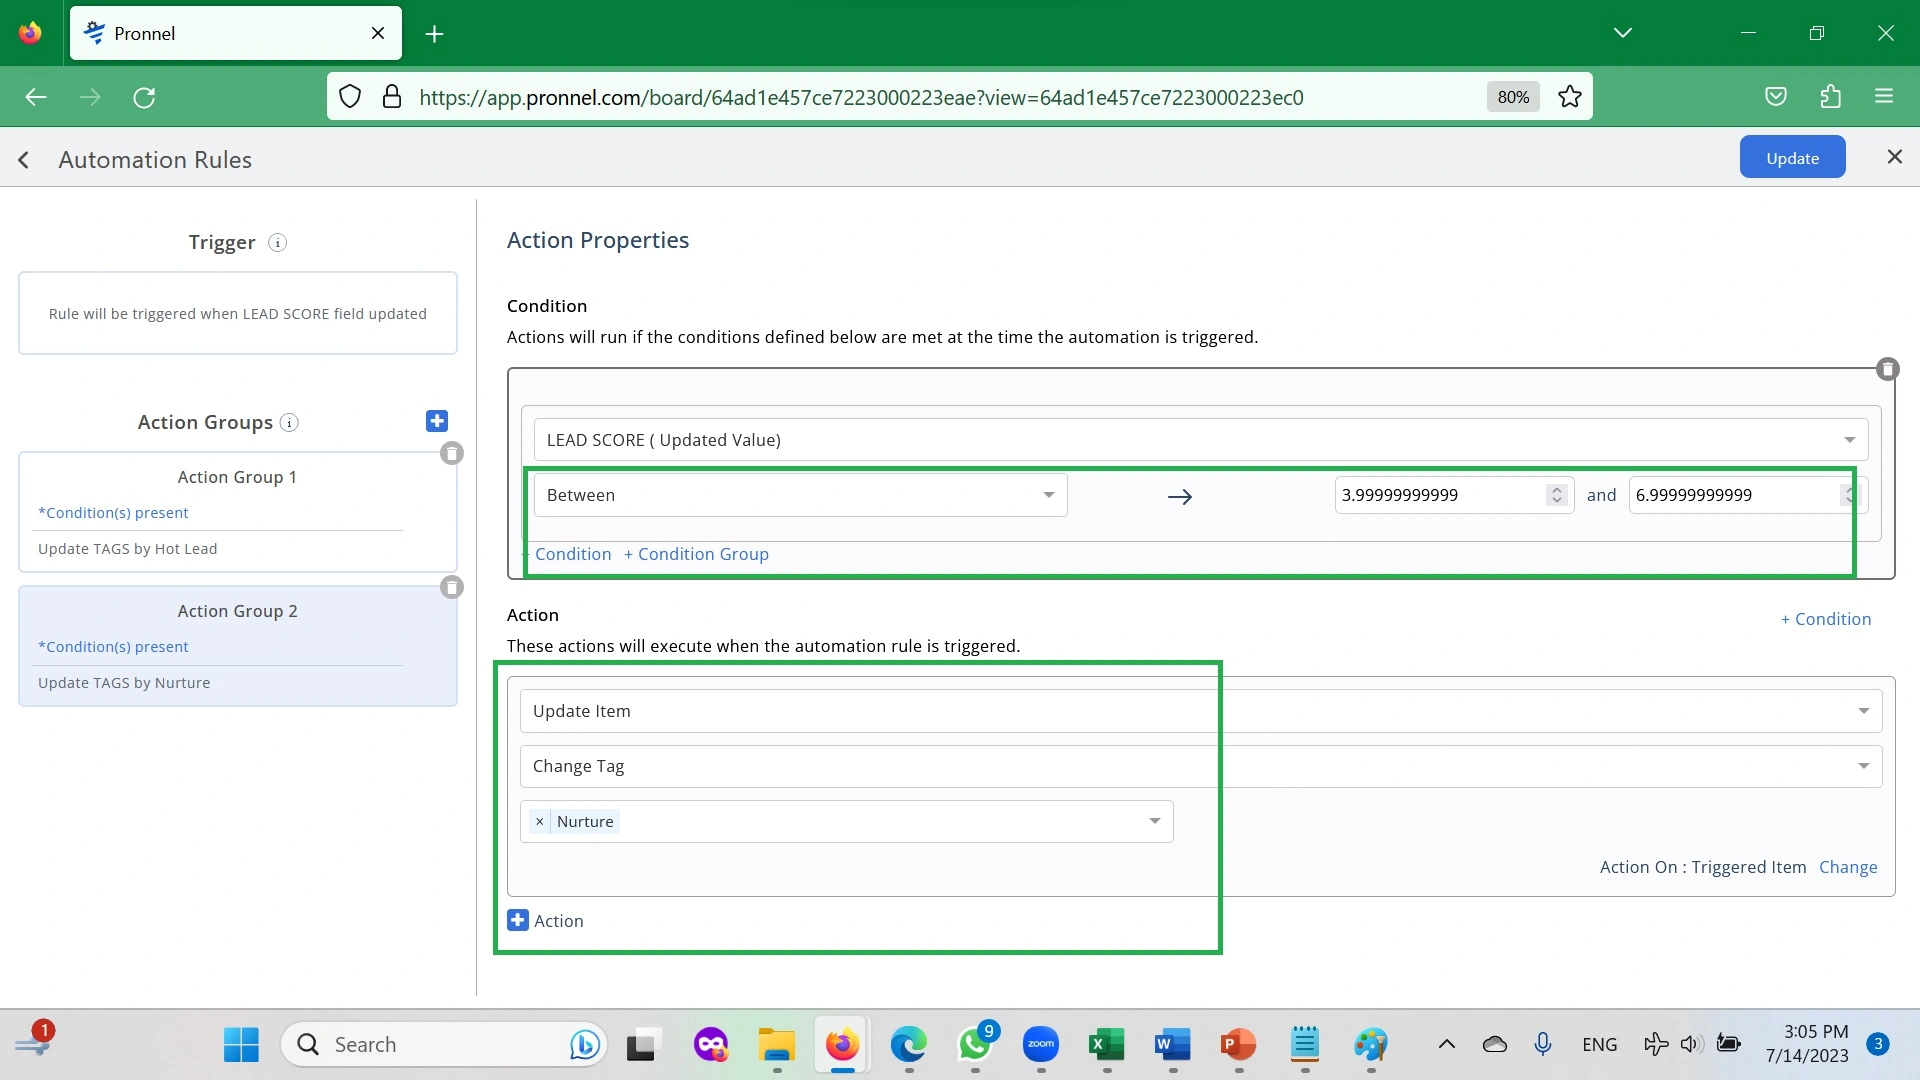
Next, let’s set the Action to Update Item → Change Tag.
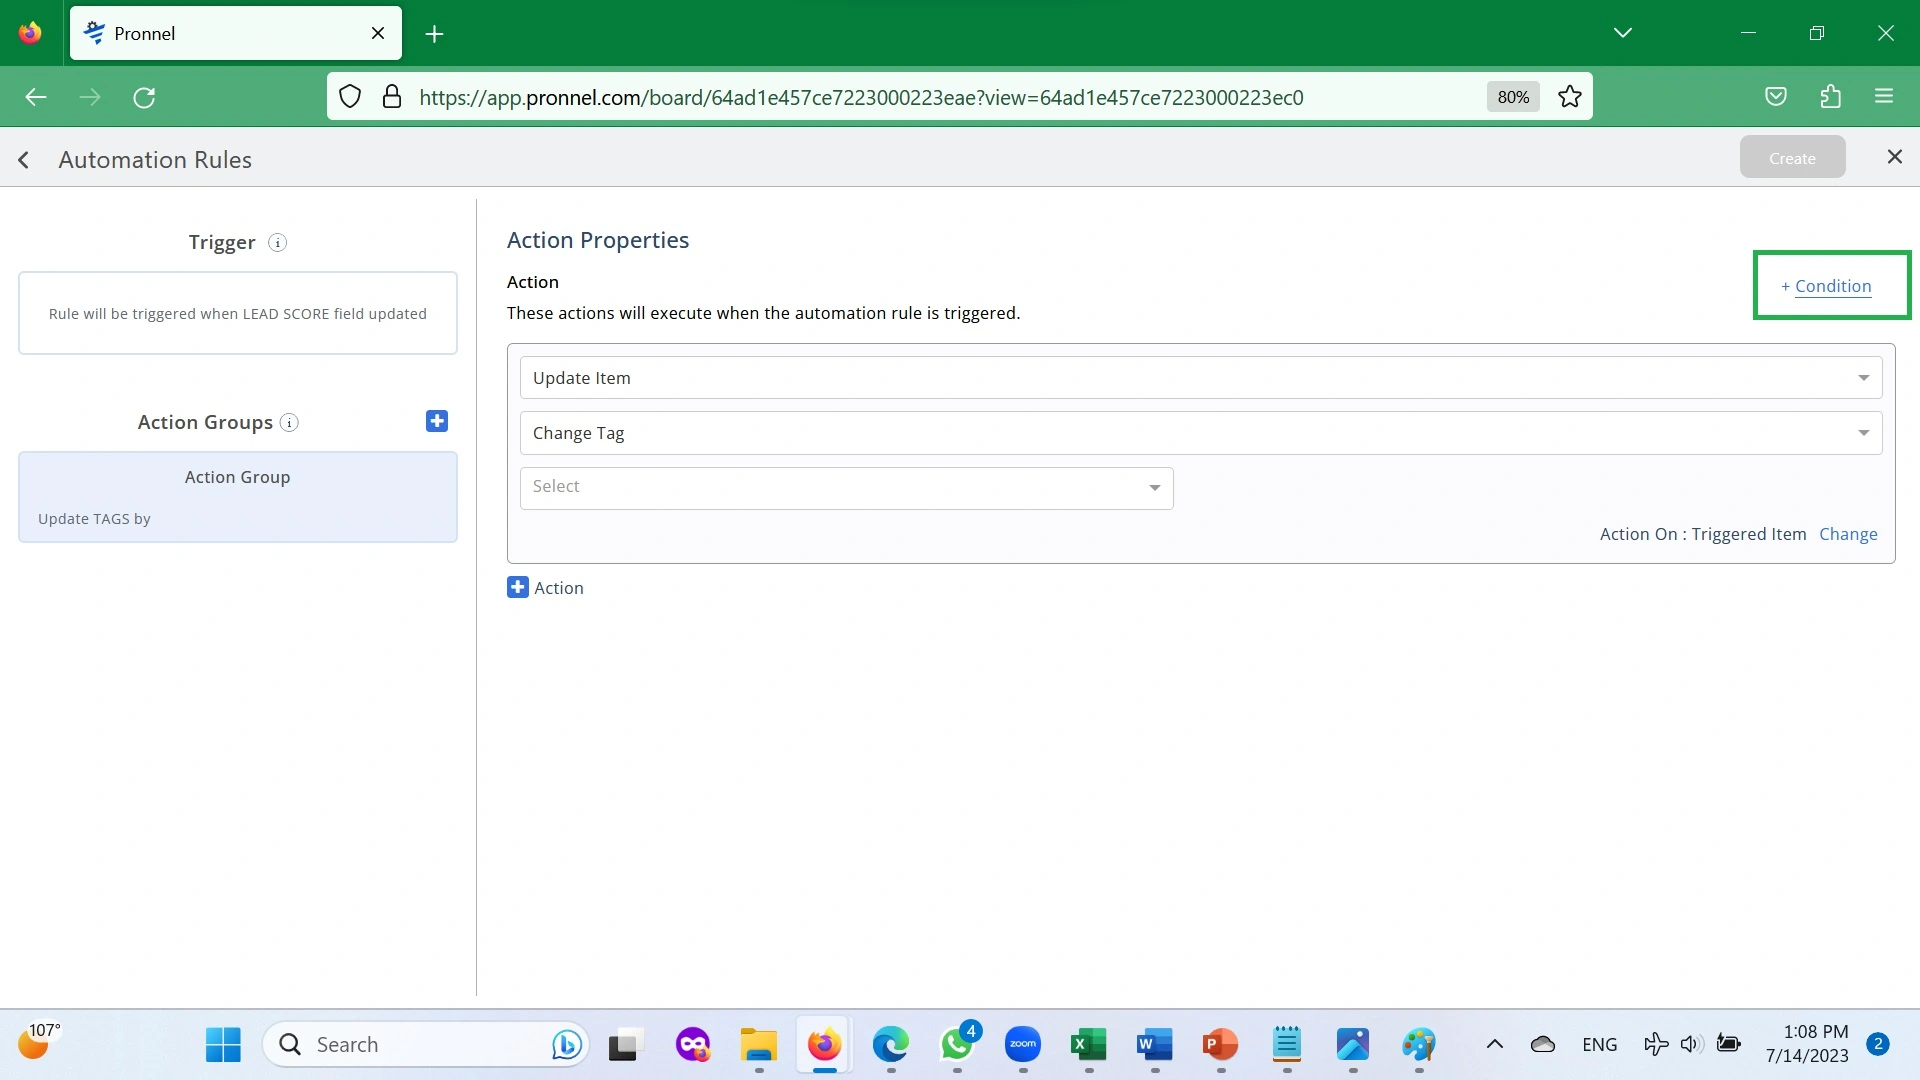
Because there are two possibilities, Hot Lead, and Nurture, we will have to do an additional condition to differentiate between them.
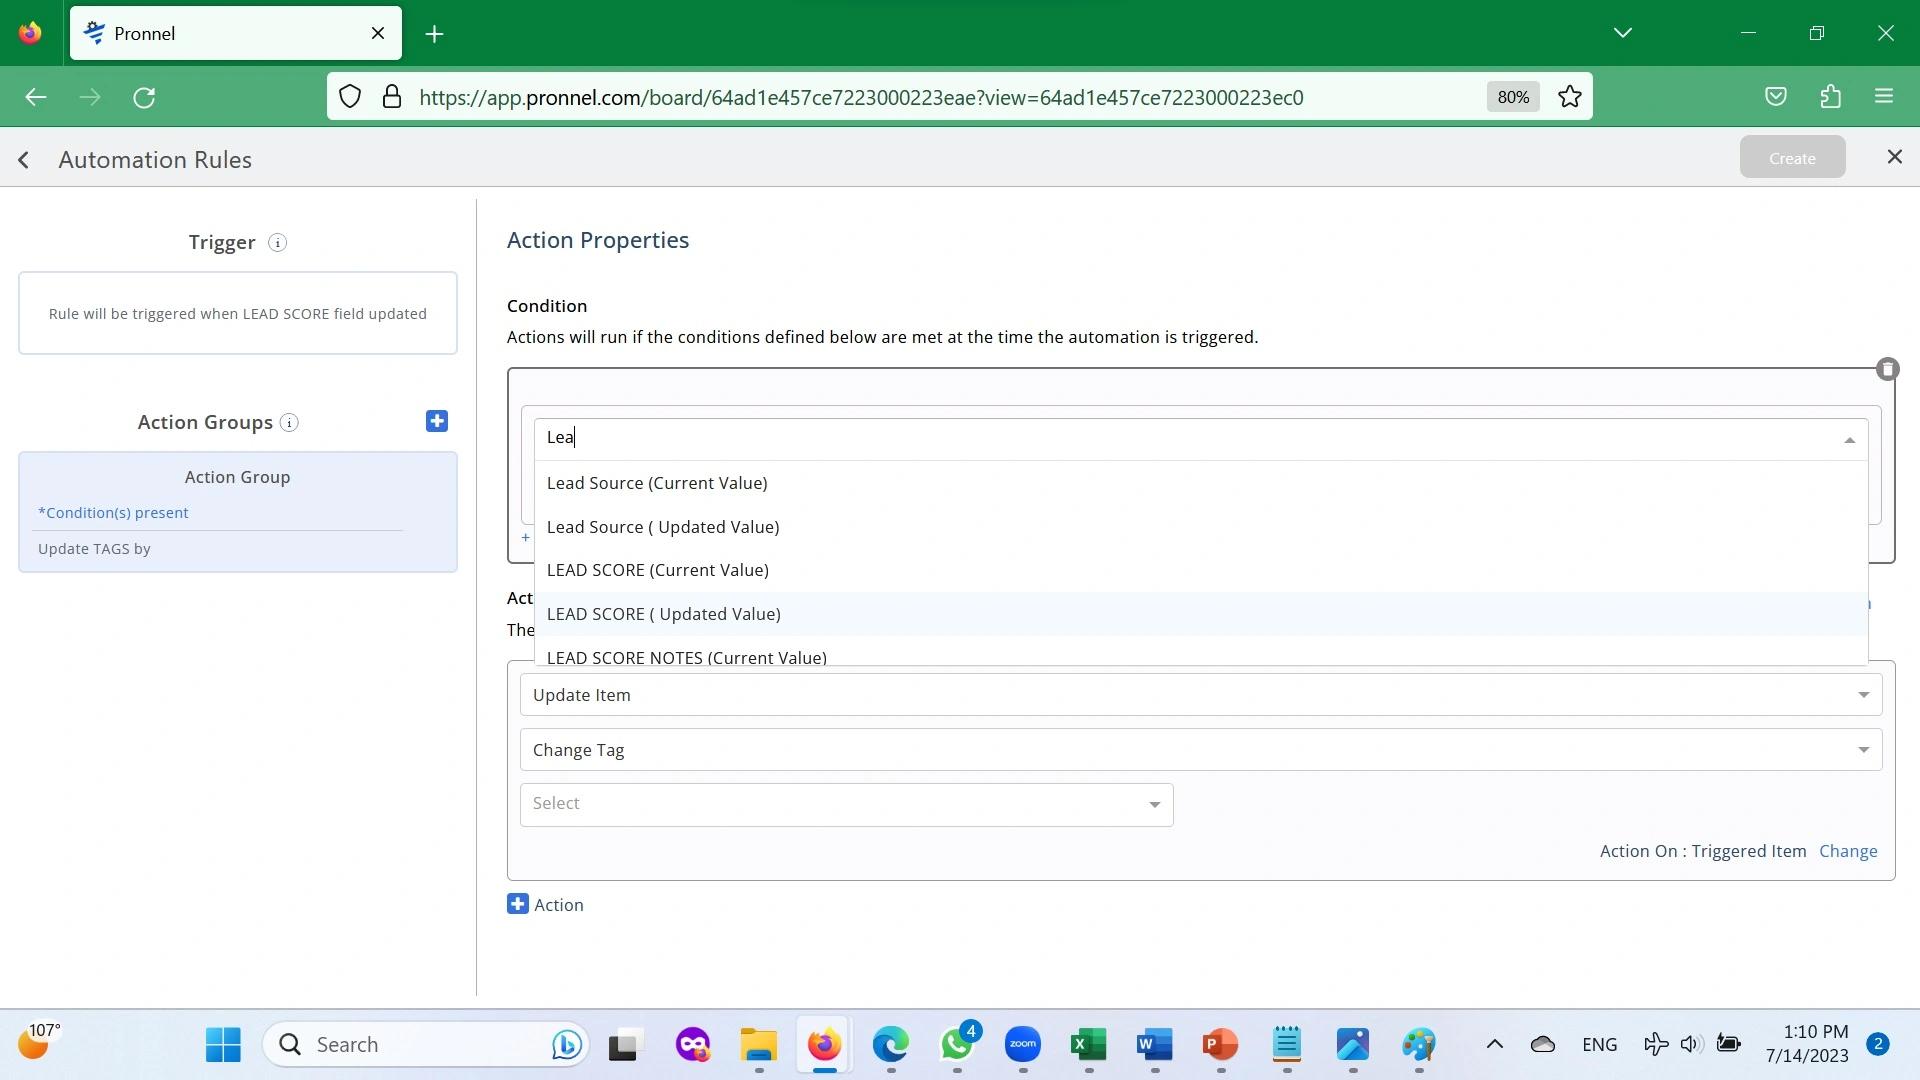
Set the condition that Action will run on LEAD SCORE (Updated Value) is Between 6.99999 and set the Tag Change Value will be Hot Lead.

Now let’s repeat the same for Nurture. Add another Action Group. Follow the same procedure of setting Trigger to change in LEAD SCORE.
Add Set condition that Action will run on LEAD SCORE (Updated Value) is Between 3.99999 and 6.99999, and the Tag Change Value will be Nurture.
Next, click on CREATE. Navigate to Automation in Settings and give an appropriate name to the Automation.
Before rolling it out to Team with a proper briefing, please test it out.
Test that your Automation works correctly before rolling it out to the Team. Ensure that the Team which will be working on Qualifying Leads are fully briefed on how to score Leads based on Client information.
Summary:
Pronnel can help you improve the efficiencies of your Sales Funnel by ensuring that Teams focus on the Prospects which are most likely to convert. With Automation, you can build customized Lead Qualification templates and roll them out to the Team.
FAQ’s:
My Industry is different. I have more than ten parameters in my Lead Scoring framework. Can I build a complex Lead Qualification in my CRM?
Most definitely. More parameters make the problem complex, but as long as you have a clear idea of the logic for Qualification, you can customize this. The only thing that changes is the number of Fields to be created. The general rule is that for an ‘n’ number of parameters, you will need ‘n’+2 (Score Field- Hidden, and a Notes Field).
My company uses a four-parameter Lead Qaulification model, but the factors have different weights. Can we build a weighted score model in my CRM?
Pronnel’s Automation can easily take care of this. Suppose your Lead Score is calculated as below:
Lead Score= Factor1 x Weightage1 + Factor2 x Weightage2 + Factor3 x Weightage3 + Factor4 x Weightage4
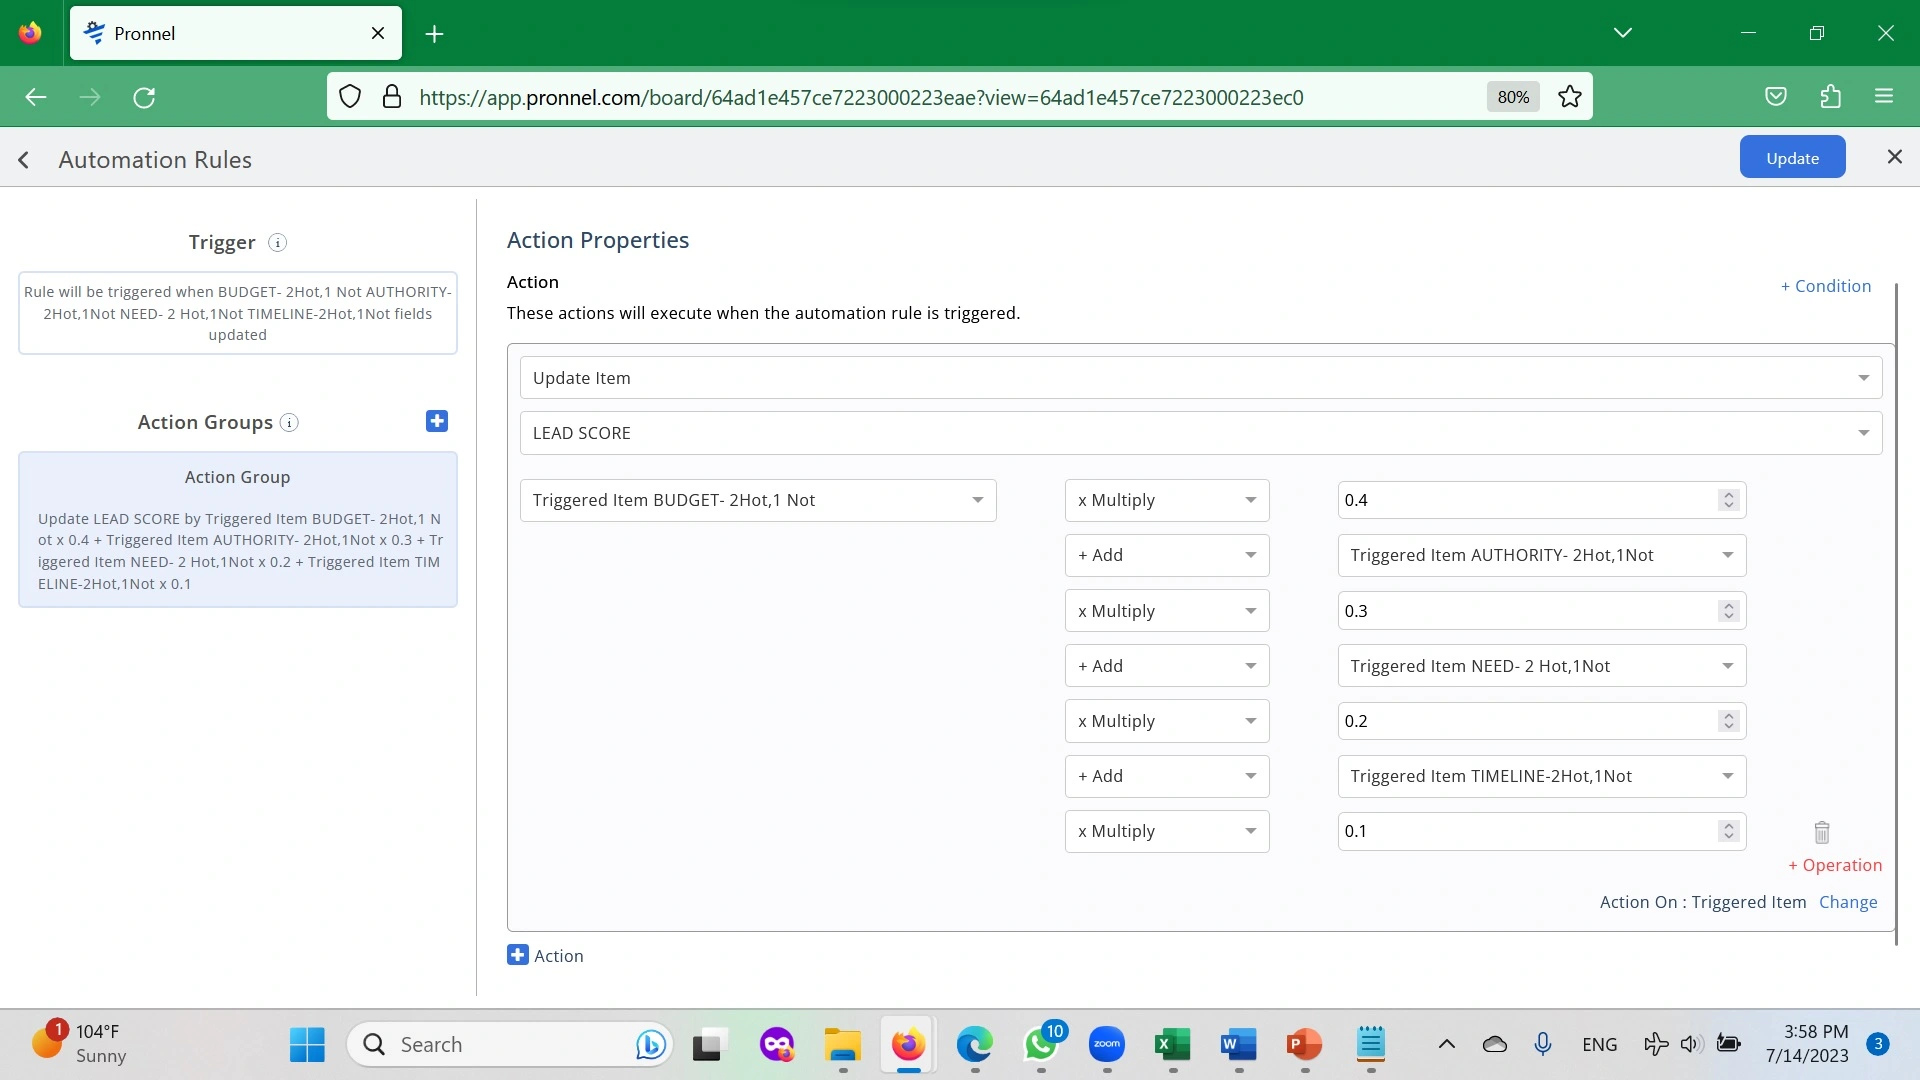
Then the only change happens in the Automation of the Lead Score calculation. Just replicate the Lead Score calculation using the BODMAS Operators available in the Action Step. Let’s look at how the equation below will modify the Automation settings:
Lead Score= BUDGET x 40% + Authority x 30% + Need x 20% + Timeline x 10%
Subscribe To Pronnel Blogs
Get the latest updates on AI CRM software, WhatsApp automation, business productivity, customer engagement, and workflow automation directly to your inbox.