Step-by-Step Guide to Creating an Account in Pronnel
Ready to elevate your project management? Pronnel offers powerful tools to simplify workflows and boost team collaboration. This quick guide walks you through creating your Pronnel account so you can start managing projects more efficiently from day one.
Steps To Follow
Step 1: Visit Pronnel.com and Sign Up

On the Pronnel.com homepage, click Get Started to open the sign-up page. Enter your email, create a strong password, and select “Sign Up” to create your Pronnel account.
Step 2: Confirm Your Email Address

After signing up, Pronnel sends a confirmation email to the address you provided. Open your inbox, locate the message from Pronnel, and click the confirmation link to verify your email. This step secures and activates your account.
Step 3: Log In and Customize Your Profile
After verifying your email, sign in to your Pronnel account with your email and password to access your dashboard.
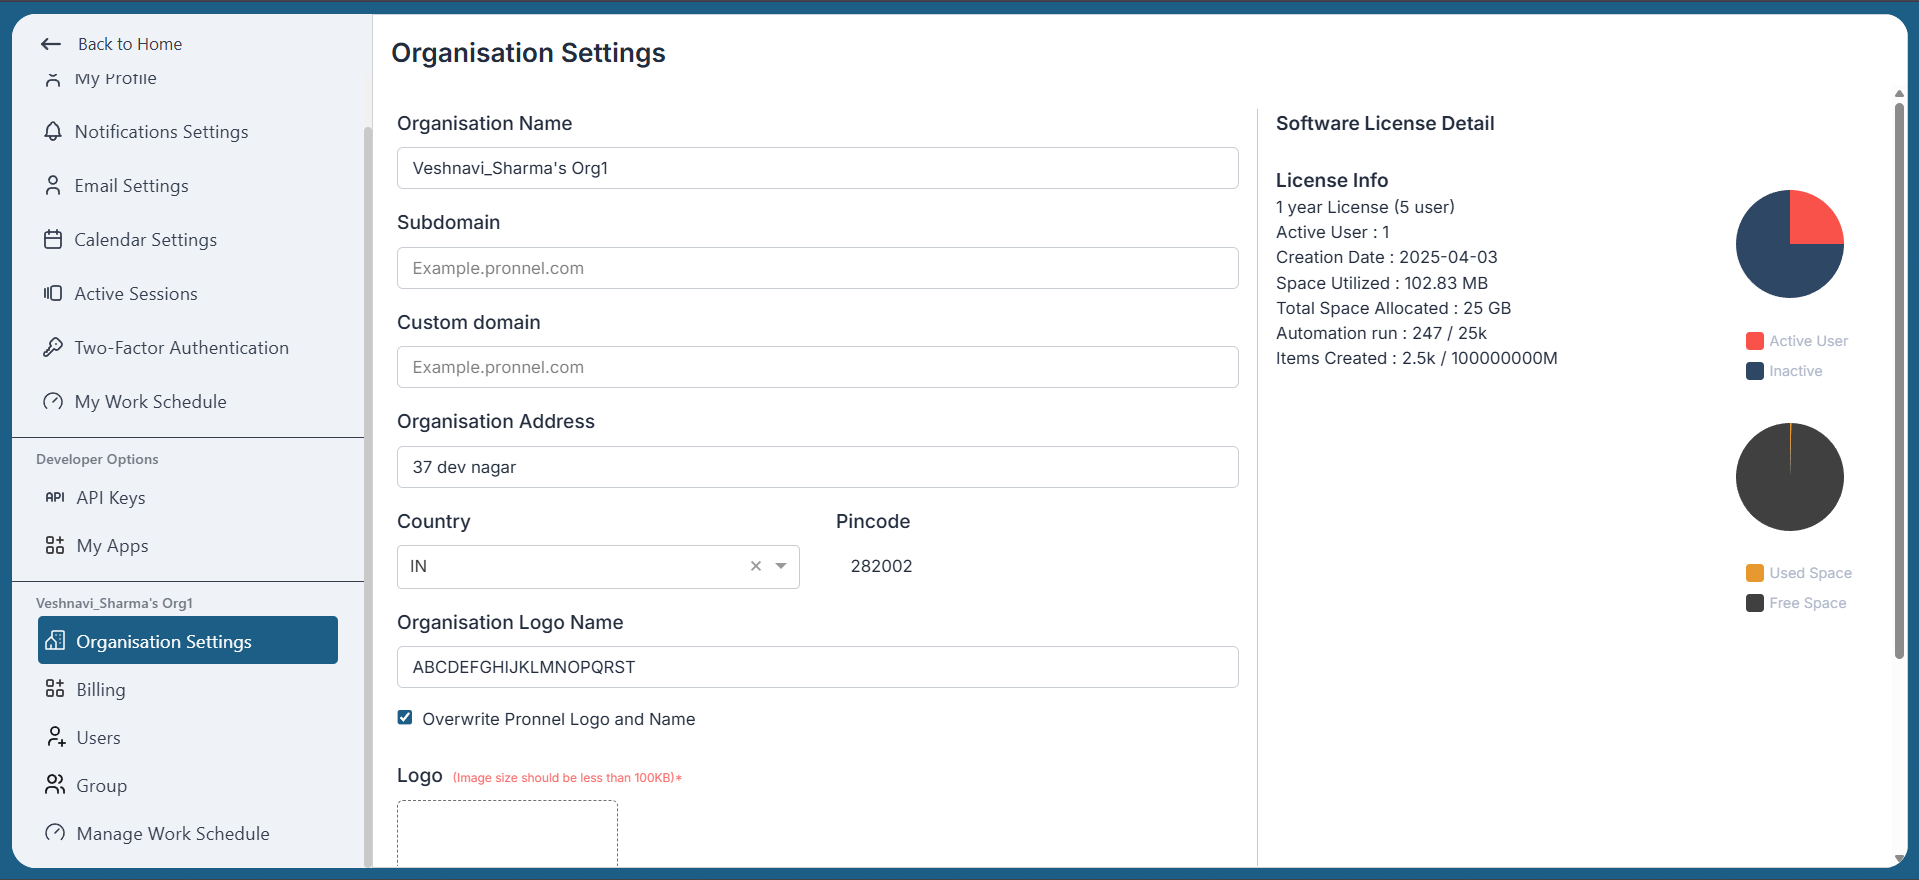
Next, personalize your workspace: go to Settings and update your organization and profile names to reflect your identity.
Step 4: Invite Team Members
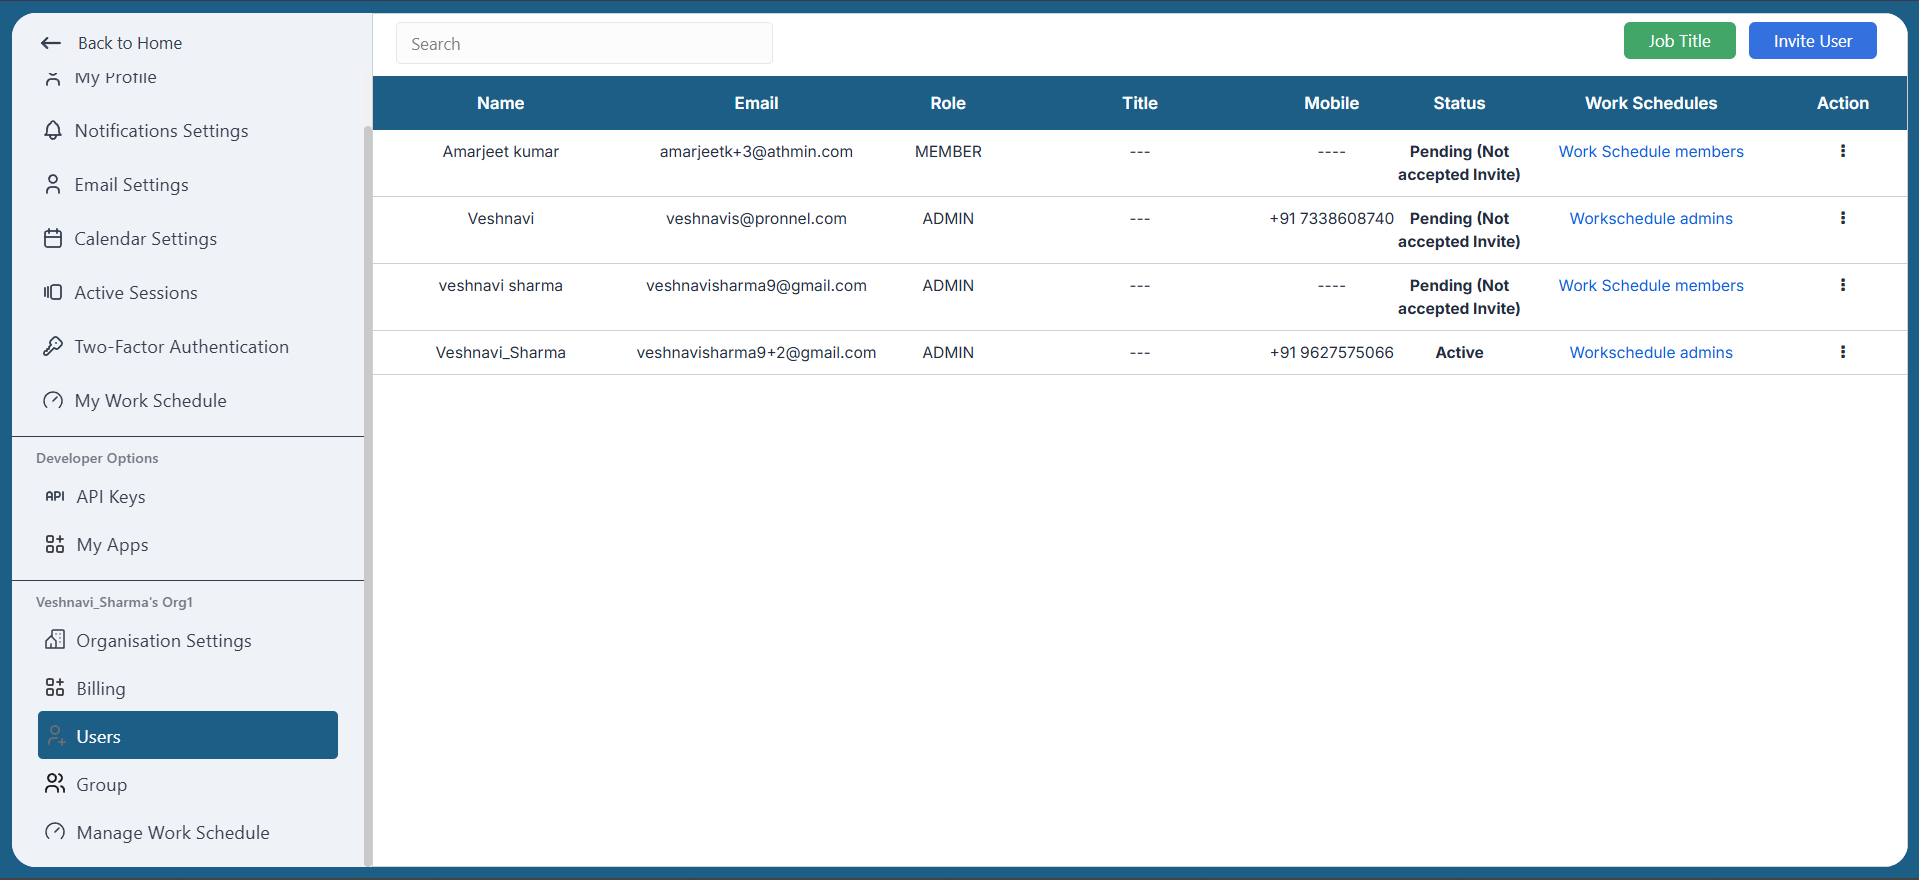
With your account ready, invite teammates to collaborate in Pronnel. Navigate to the "Users" section, select "Add users," and enter their email addresses to send invitations.
Conclusion
Creating a Pronnel account is quick and sets you up for efficient project management and team collaboration. Follow the steps in this guide to get started and unlock core features.
Visit Pronnel.com, sign up with your email and password, confirm your email, personalize your profile, and invite your team. With Pronnel’s intuitive interface and robust capabilities, you’ll streamline workflows and deliver better outcomes. For a walkthrough, watch: How to Create an Account in Pronnel.
Note: Steps may vary slightly based on platform updates. Refer to the latest in-product instructions when available.
Frequently Asked Questions About Creating an Account in Pronnel
Someone in my organization already created an account. Do I need a new one?
No. Ask an admin to invite you from the Users tab. Accept the invite and set your password.
We created two organizational accounts. Can you merge them?
Merging accounts is not supported. Choose one account to keep and discontinue the other.
I signed in and invited users, but the interface looks empty. How do I start?
Watch the short “Navigation in Pronnel” video to get familiar with core navigation and features.
How many users can I add to my organization?
Up to 20 users on the free tier with unlimited boards. For more users, explore paid plans or email support@pronnel.com.
I didn’t receive the confirmation email. What should I do?
Check spam/junk. If not found, request a new confirmation email from Pronnel.
Can I sign up with a social media account?
No. Social sign-up is not currently supported.
How do I update my organization and profile names?
Log in, open Settings, and update your organization and profile names.