How to Use Grid View in Pronnel
Pronnel understands that most professionals are familiar with tools like Excel or Google Sheets. To provide a similar experience, Pronnel offers a Grid View—a tabular format for viewing and managing your board data with ease and familiarity.
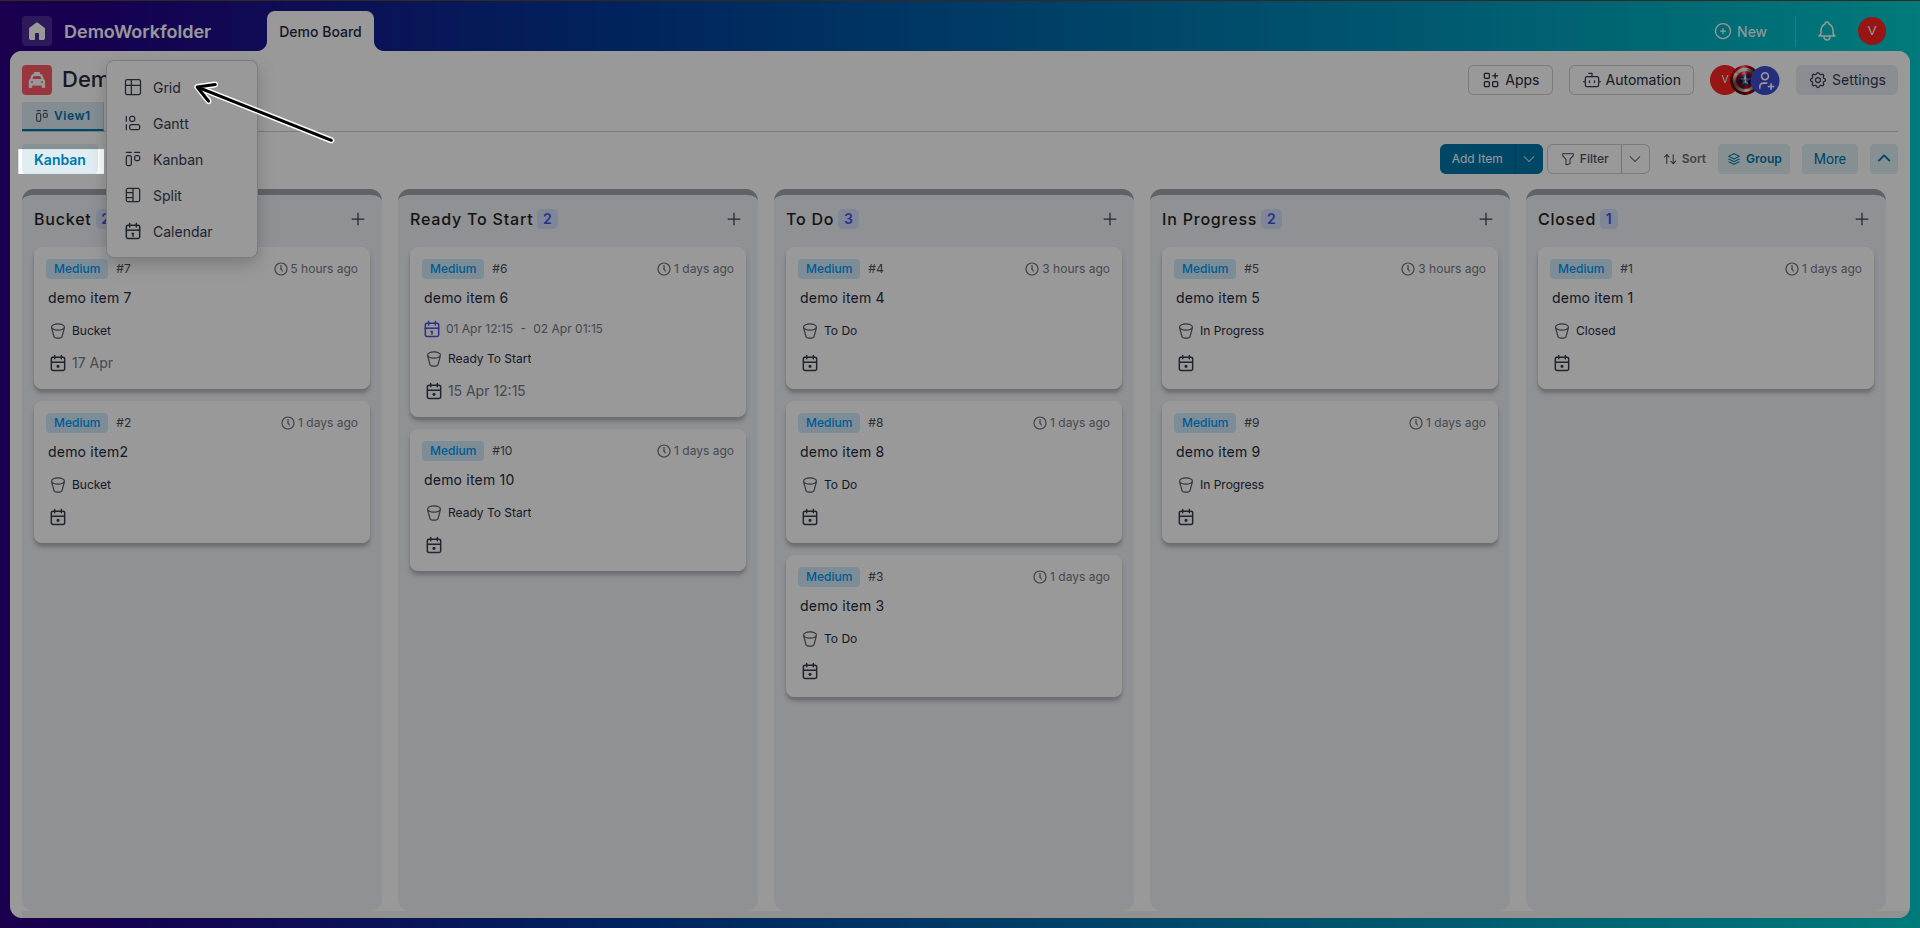
Accessing Grid View
When you open a board in Pronnel, you may not always start in Grid view. If it's not the default view, so you can change the view.
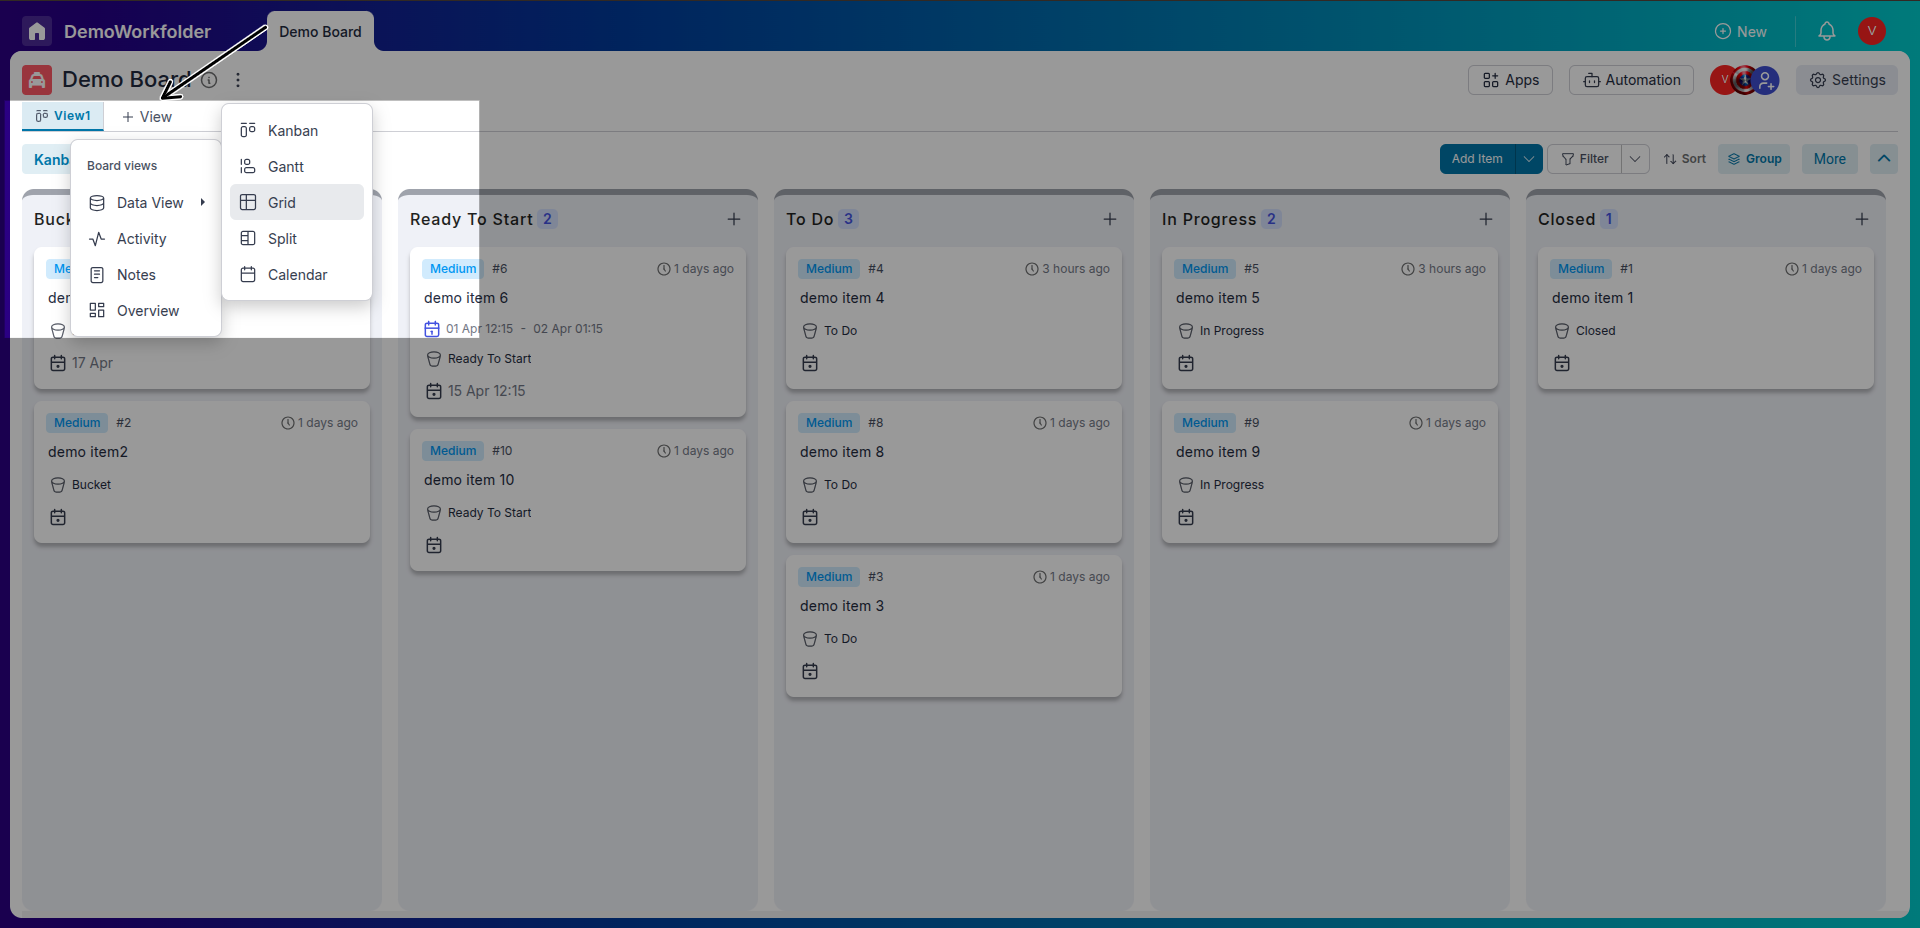
Creating a New Grid View
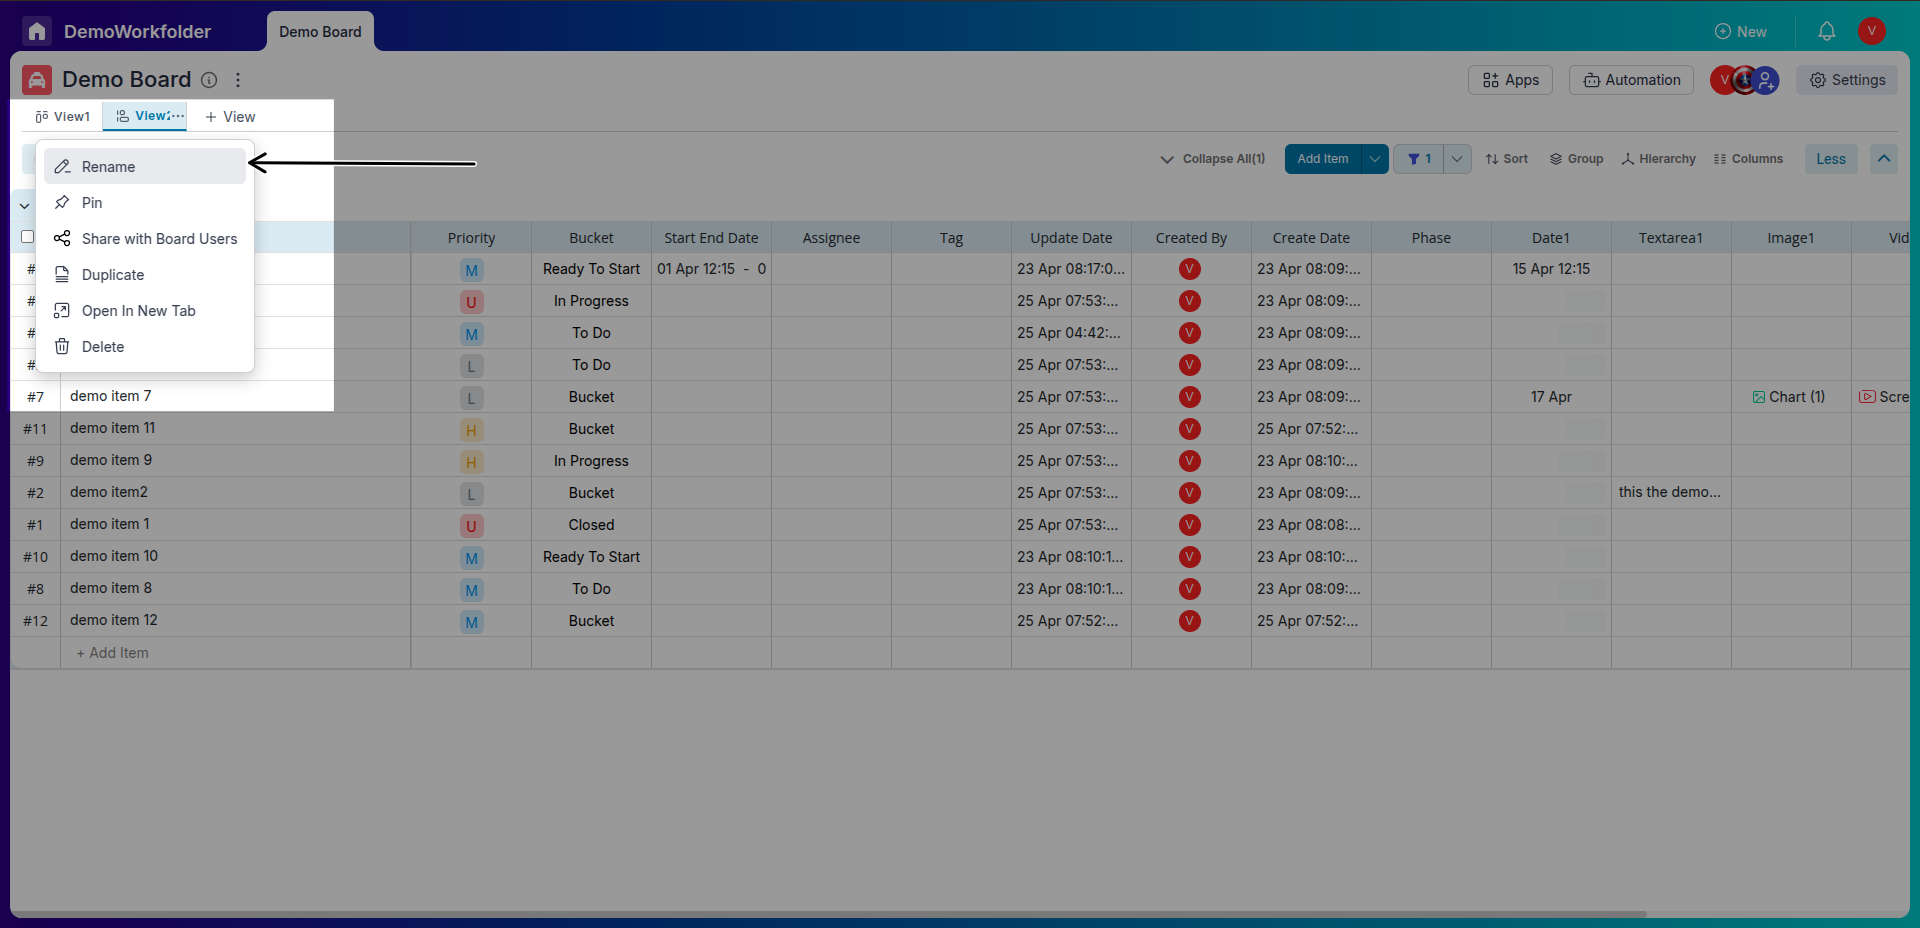
Click the “+” button at the top of your board to create a new Grid View. You can then rename this view and save it for specific needs or teams.
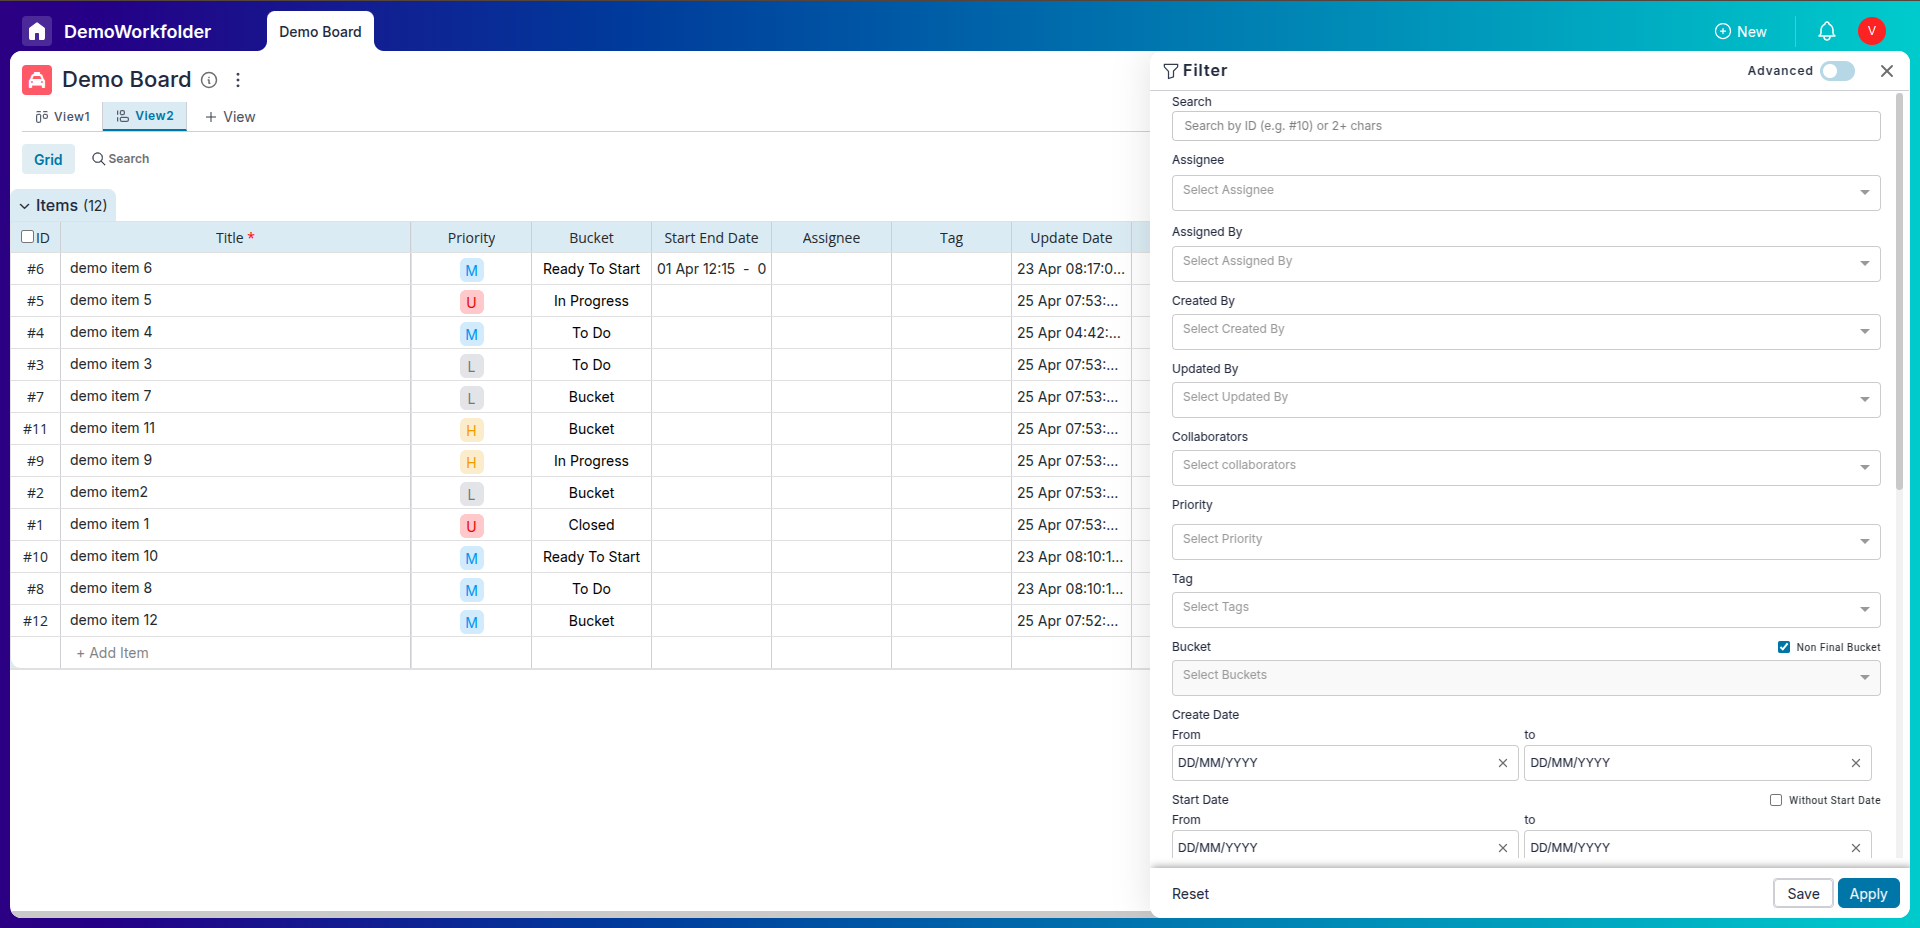
Applying Filters and Sorting
Creating multiple Grid views comes in handy when you need to apply filters to your data. With Grid views, you can easily use filters and sorting per your needs. Even if you revisit the board later, the Grid view will retain your previously applied filters and sorting, ensuring you see the same data.
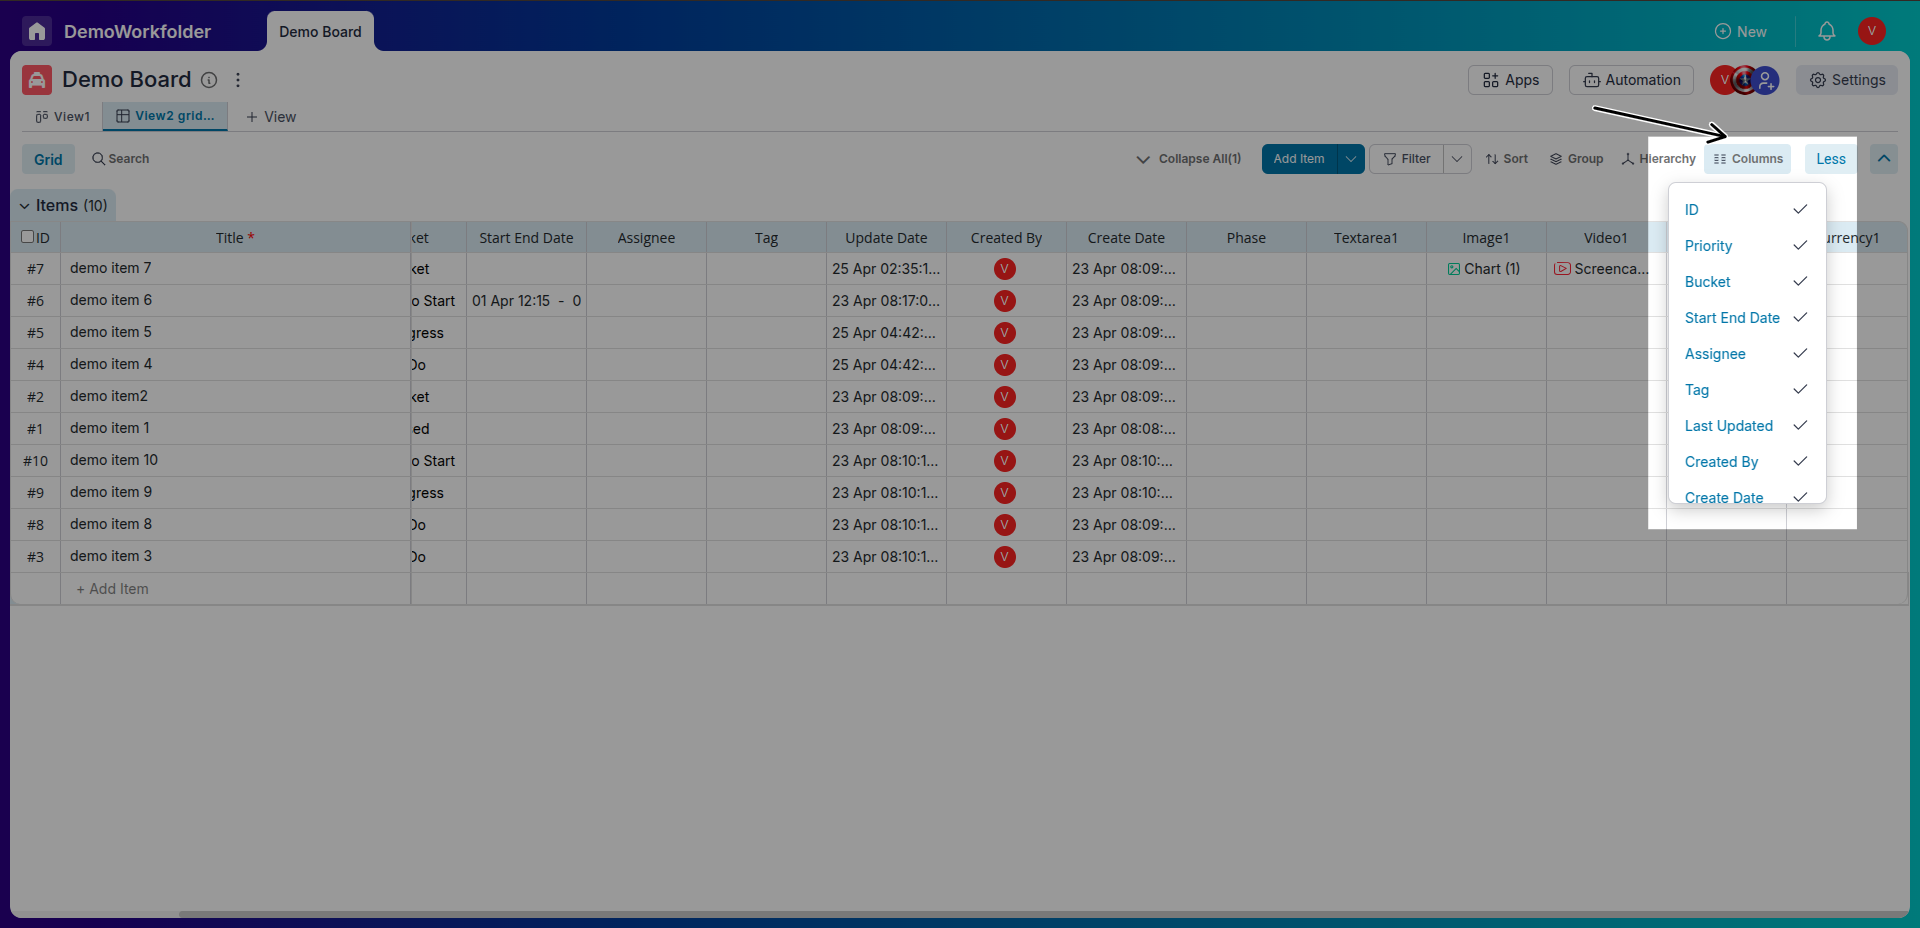
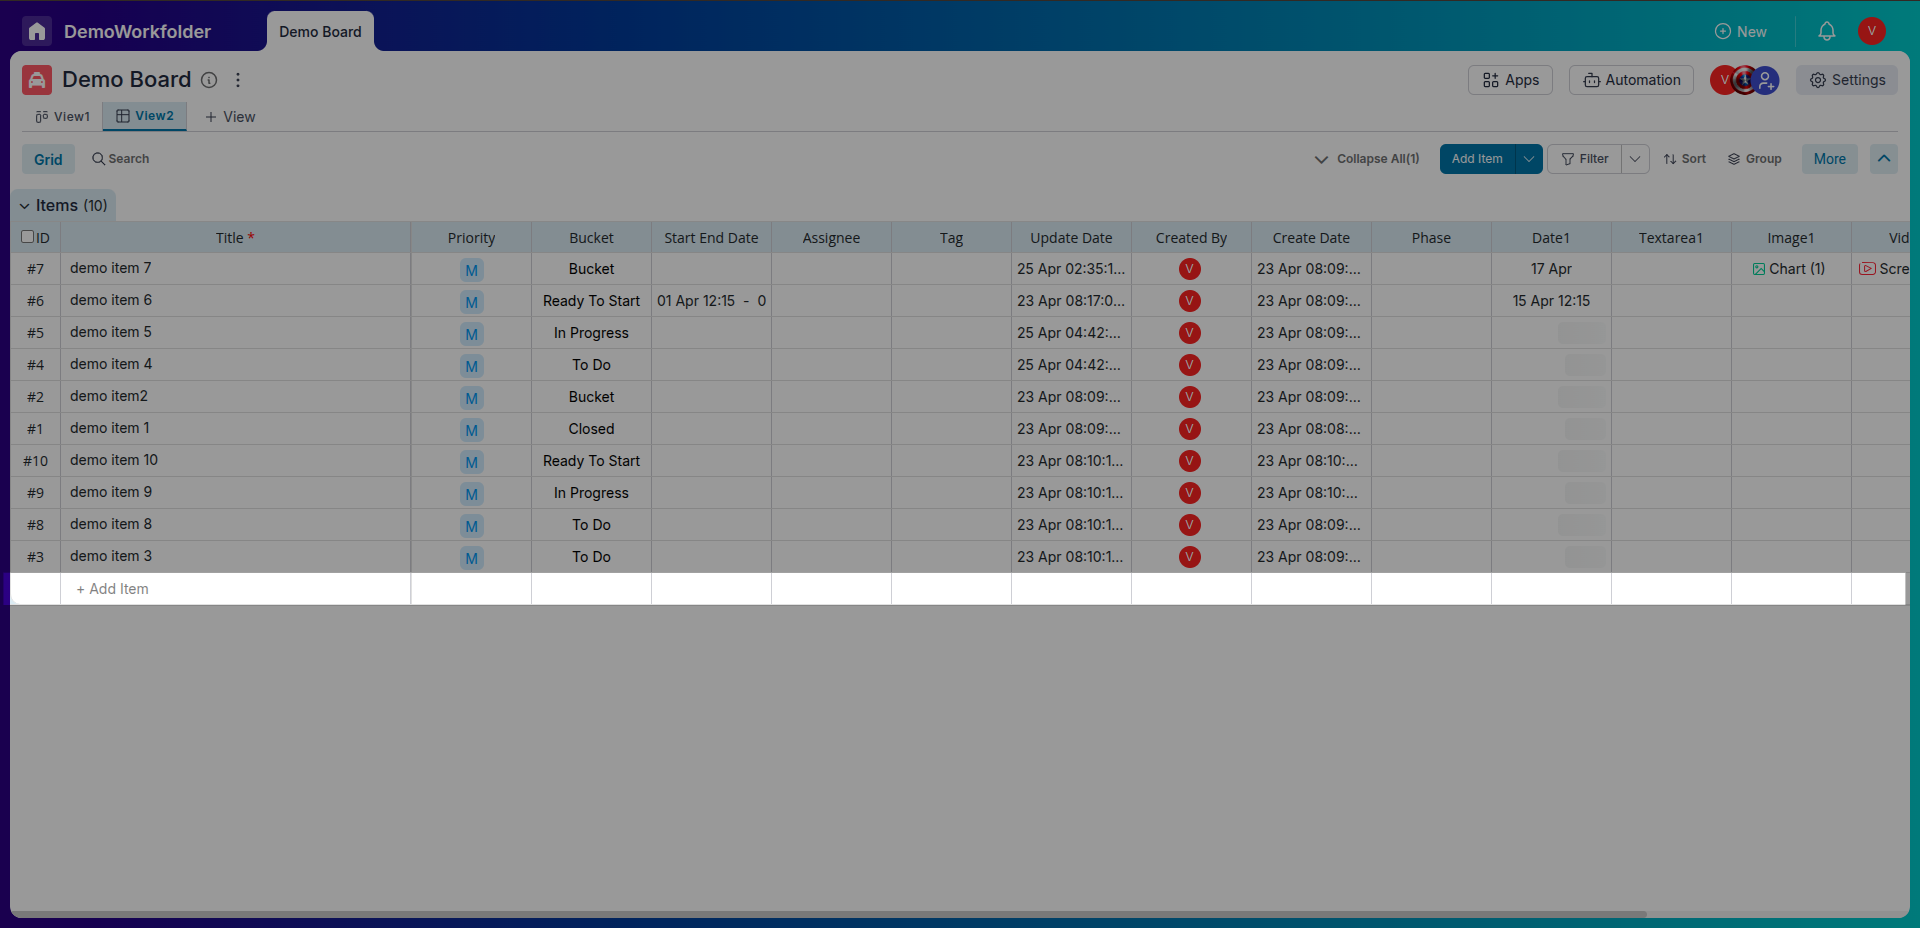
Customizing Columns
Click on the “Columns” button to select or deselect attributes. You can drag and drop to reorder them. If the view is shared publicly, other members will see the same arrangement.
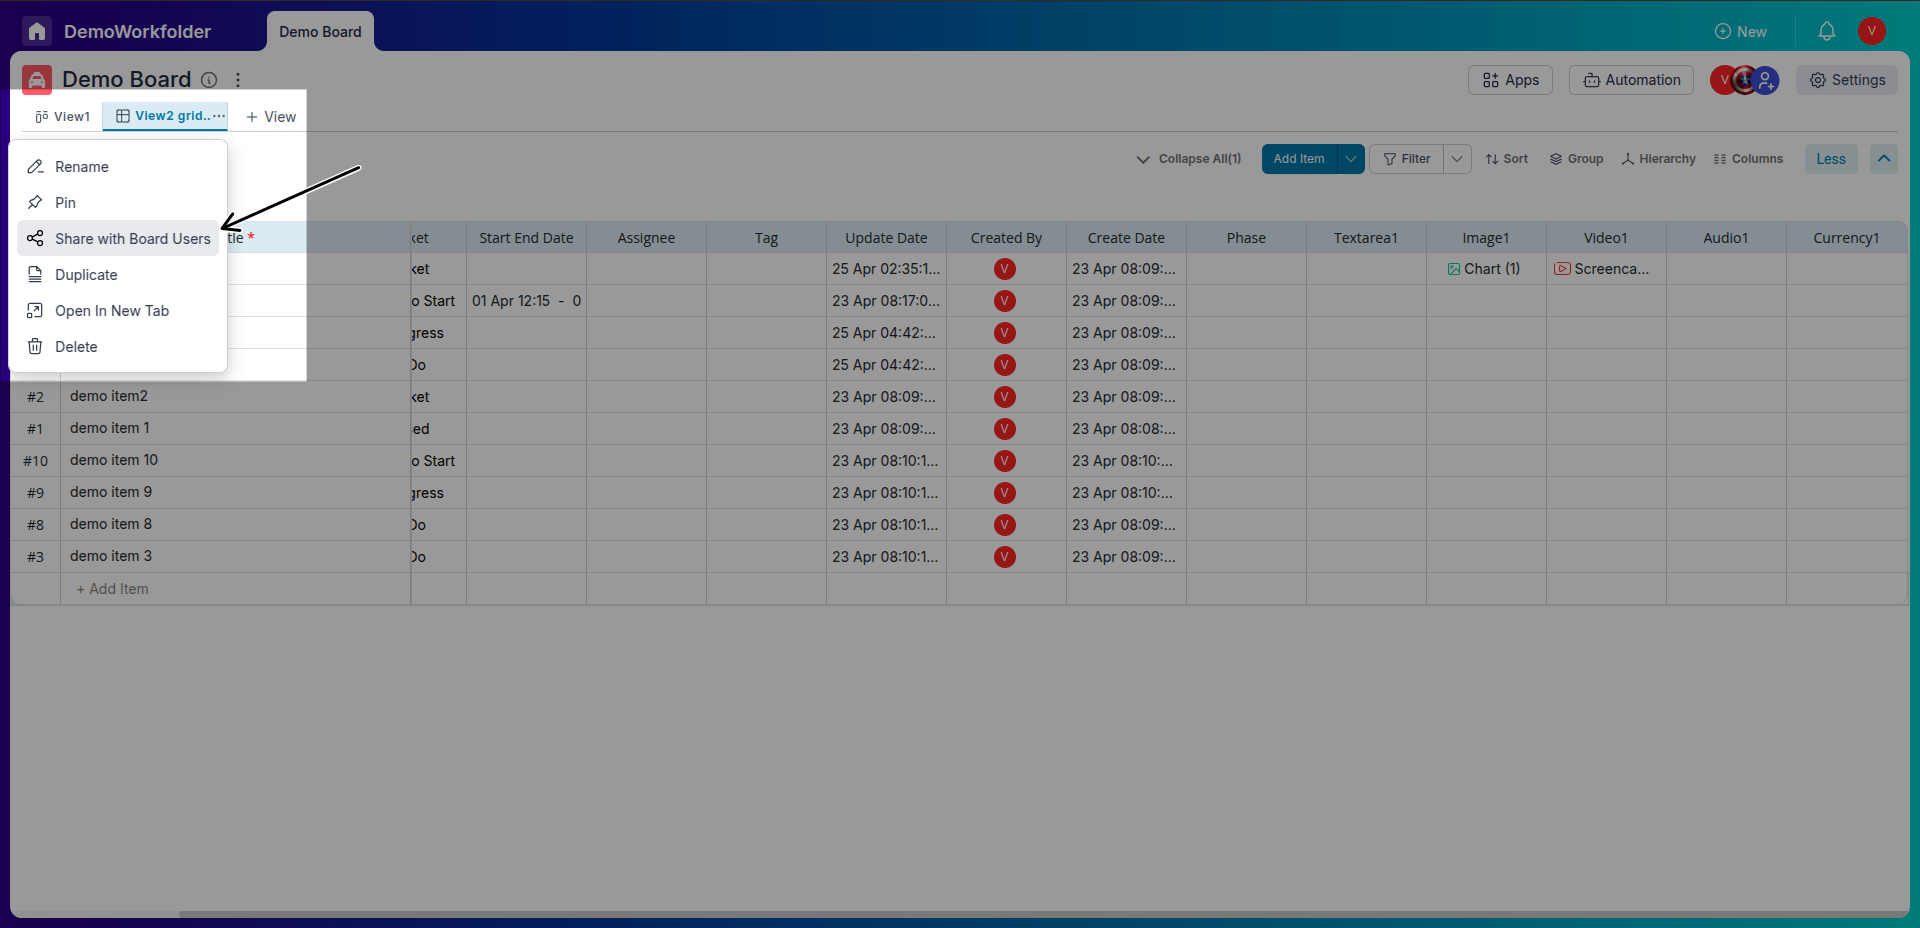
Sharing Grid Views
If you're an admin, you can share your grid view, so that your teammates can access the same filtered and sorted layout.
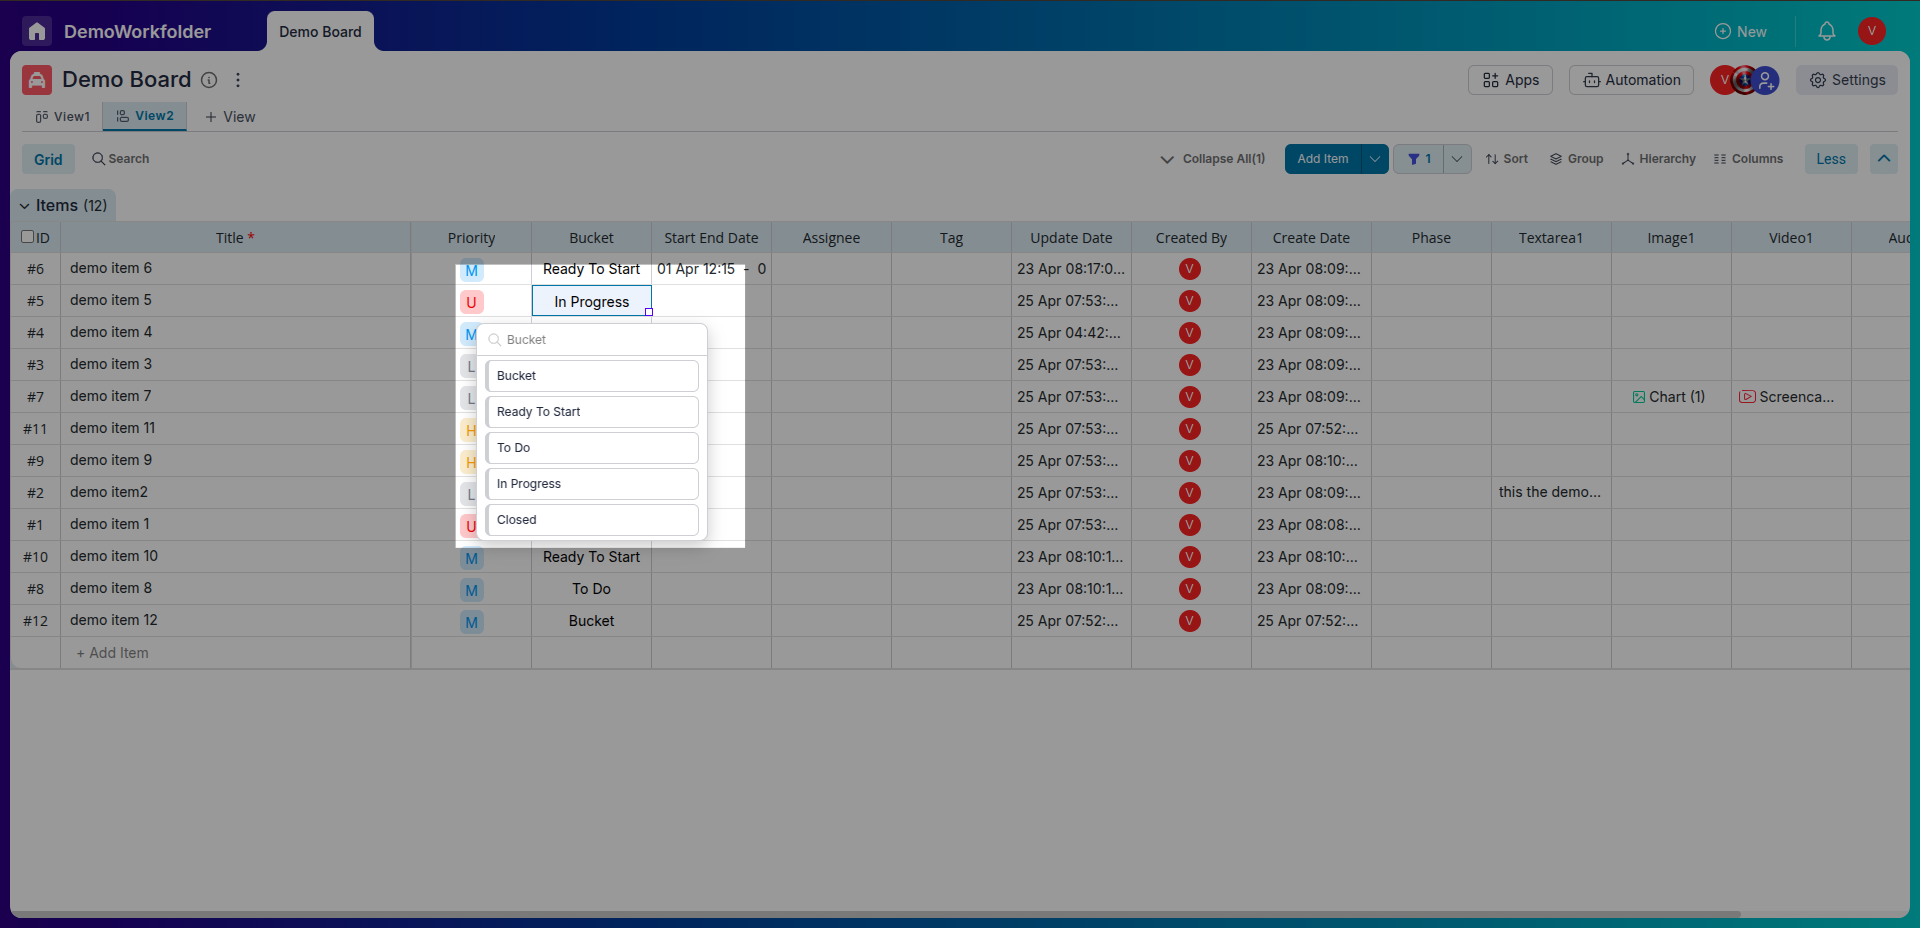
Editing Data Inline
Click directly on any cell in the Grid to edit it. It works just like a spreadsheet, allowing for quick changes and updates.
Creating New Items
To create new items in Grid view, you have a few options. Click on the "Add Item" button, and a popup will appear, allowing you to create a new item.

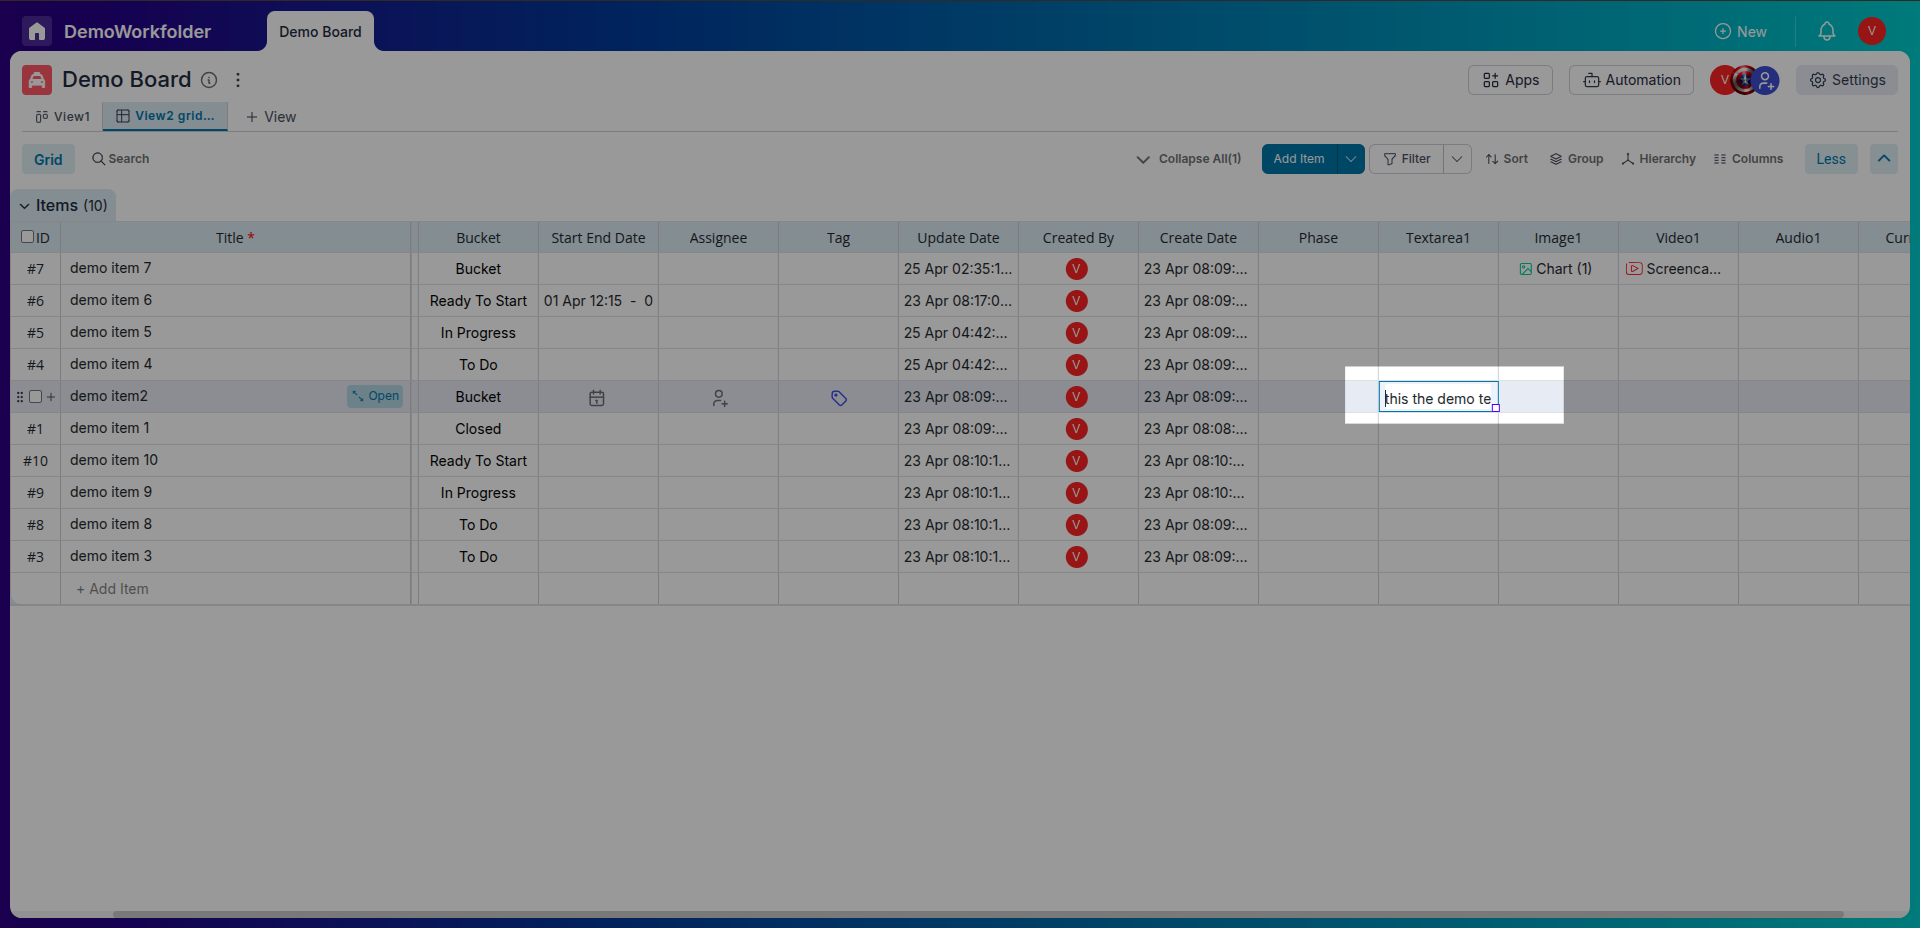
Alternatively, you can create a new item in a specific position on the Grid by clicking the plus sign button that appears when hovering over an item. This adds a new row below the selected item, where you can enter all the necessary information.
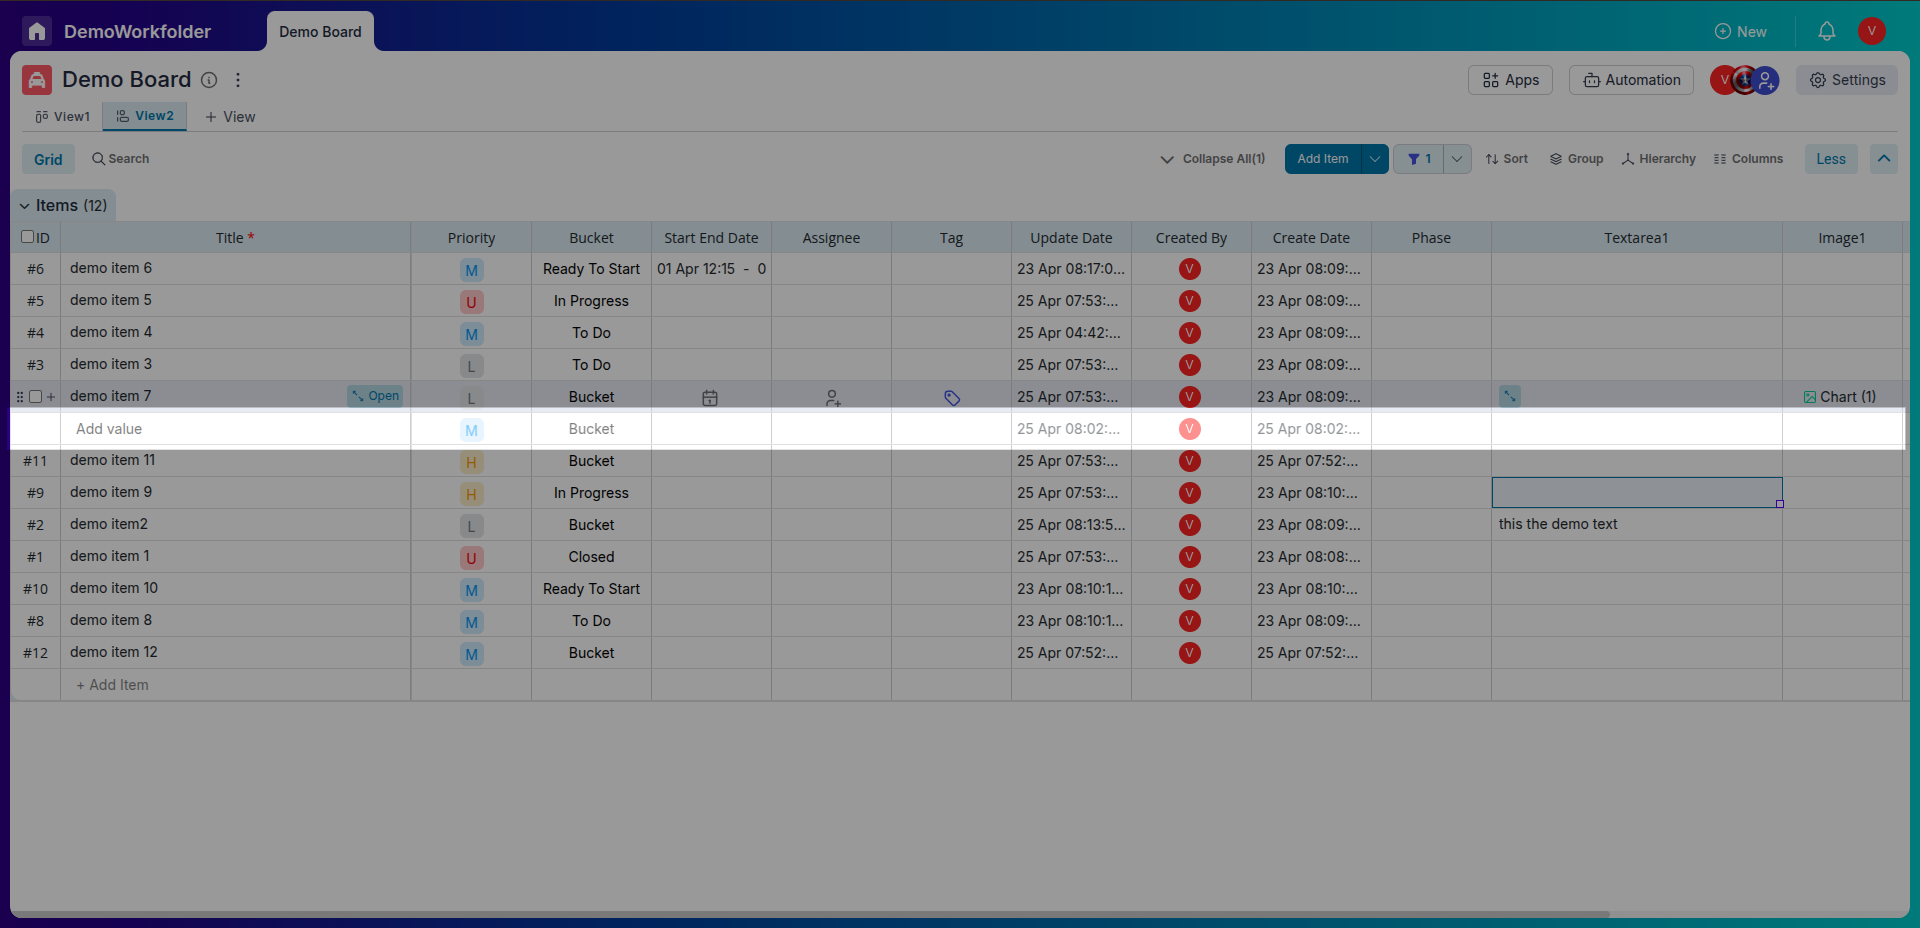
Additionally, at the bottom of the Grid, you'll always find an empty row that serves as another convenient way to create new items.
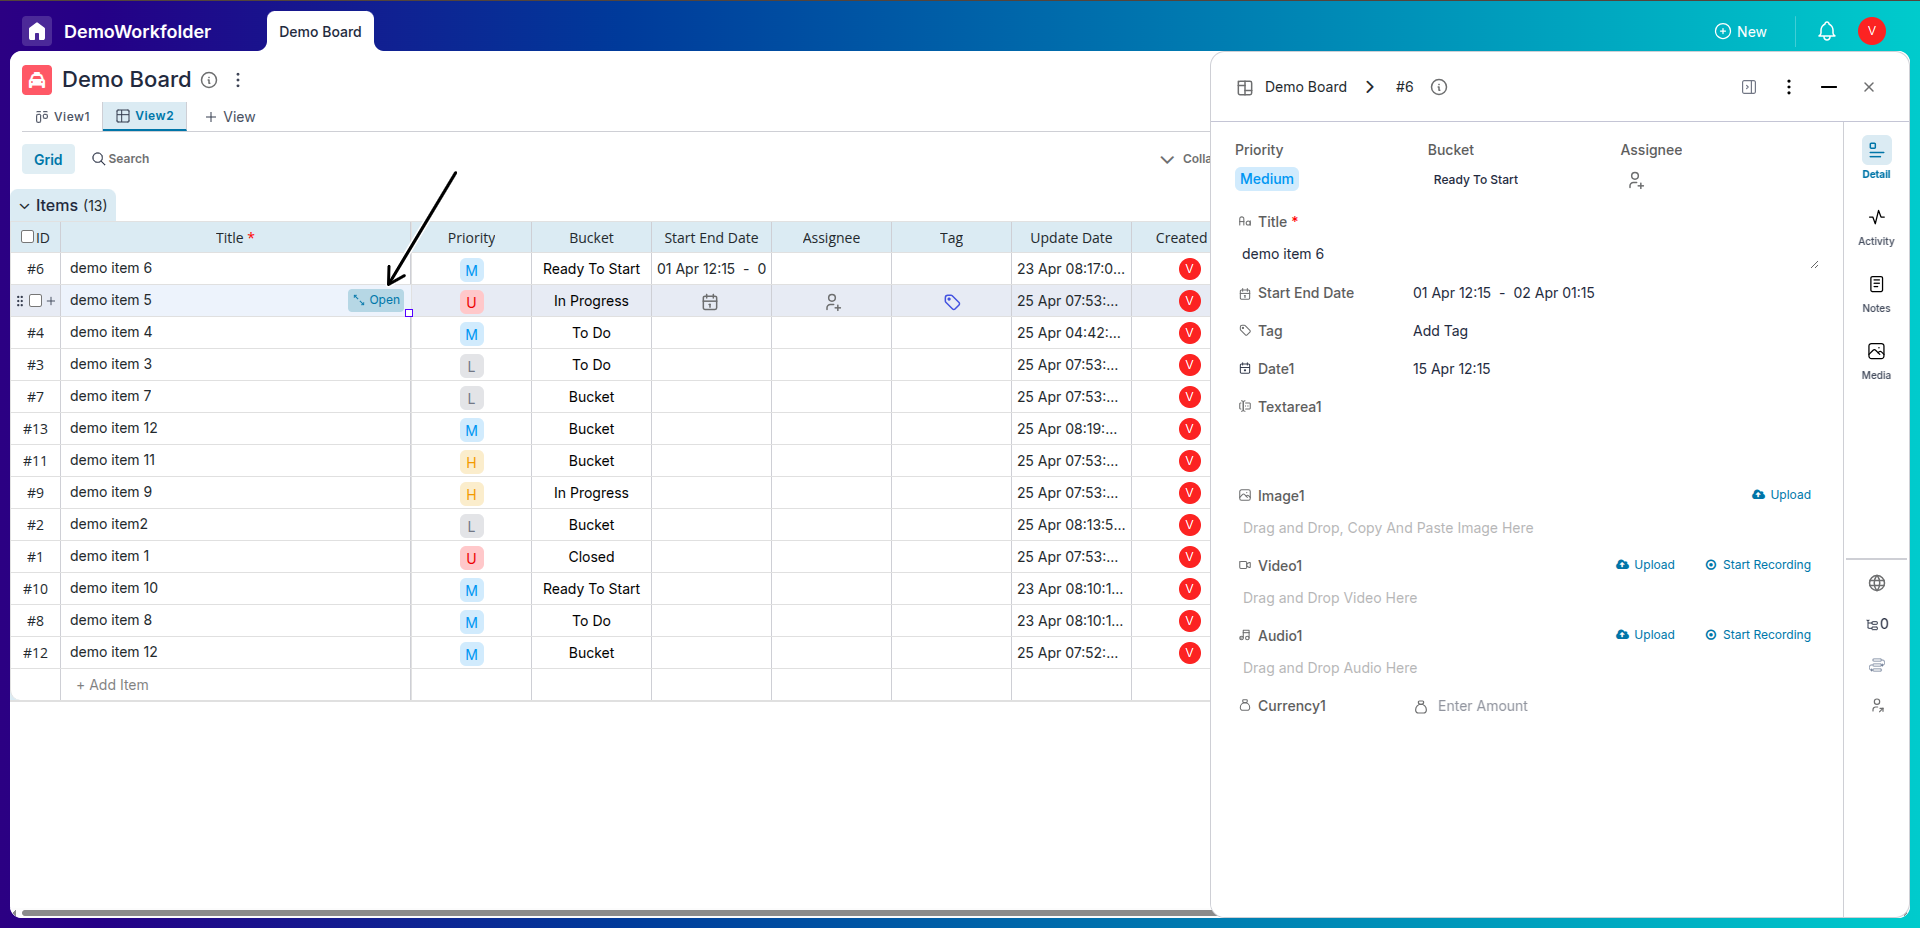
Viewing Item Details
Hover over the item title and click “Open” to see more details. Use the expand button to switch to full-screen view.
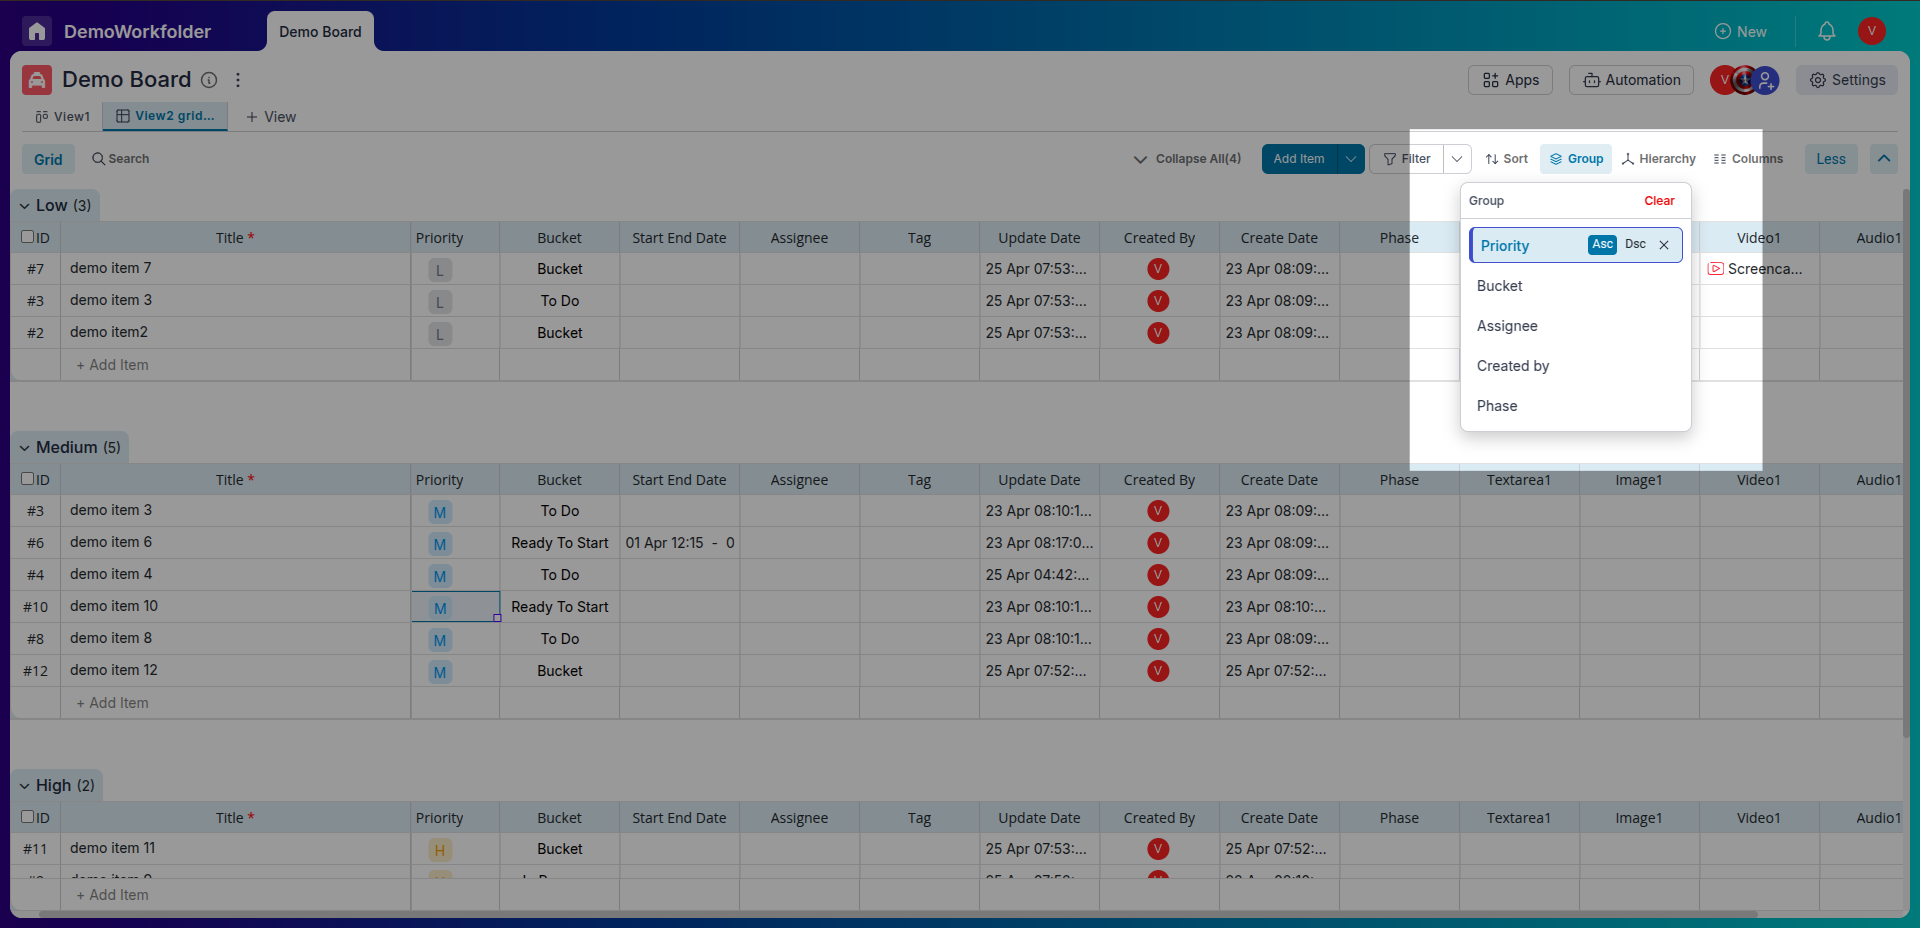
Grouping Data
Use the “Group By” option to organize data by Assignee, Status, Priority, or any dropdown field. This improves clarity and categorization of your data.
Frequently Asked Questions About Grid View in Pronnel
Can I have multiple Grid Views?
Yes. Create multiple Grid Views with different filters and layouts for various needs.
Do filters and sorting persist when I revisit?
Yes. Pronnel remembers your last filter and sort settings per Grid View.
How do I share a Grid View?
Admins can mark a Grid View as public for others to access with the same settings.
Can I rearrange columns?
Yes. Use the Columns panel to drag and drop attributes into your desired order.
Are column arrangements shared with the team?
If the view is public, column order and visibility are shared with all users.
Is real-time collaboration supported?
Yes. Edits made in Grid View are reflected in real time for other users.
How can I edit a field quickly?
Click any editable cell and start typing or selecting; it saves automatically.
Can I use Grid View on mobile?
Yes, though desktop or tablet offers the best experience.
Can I view full details of an item?
Hover the title and click Open to view details in the side panel or expand.
What fields can be grouped by?
Any dropdown field like Status, Assignee, Priority, or custom dropdowns.