Streamlining Website Functionality with Pronnel Forms: A WordPress Integration Tutorial
Optimizing website functionality in today's digital landscape is crucial for businesses and individuals. Pronnel Forms offers a seamless solution for contact tracking and item creation, and integrating this feature into your WordPress site is simpler than you might think. In this tutorial, we'll guide you through the process step-by-step, empowering you to enhance your website effortlessly.
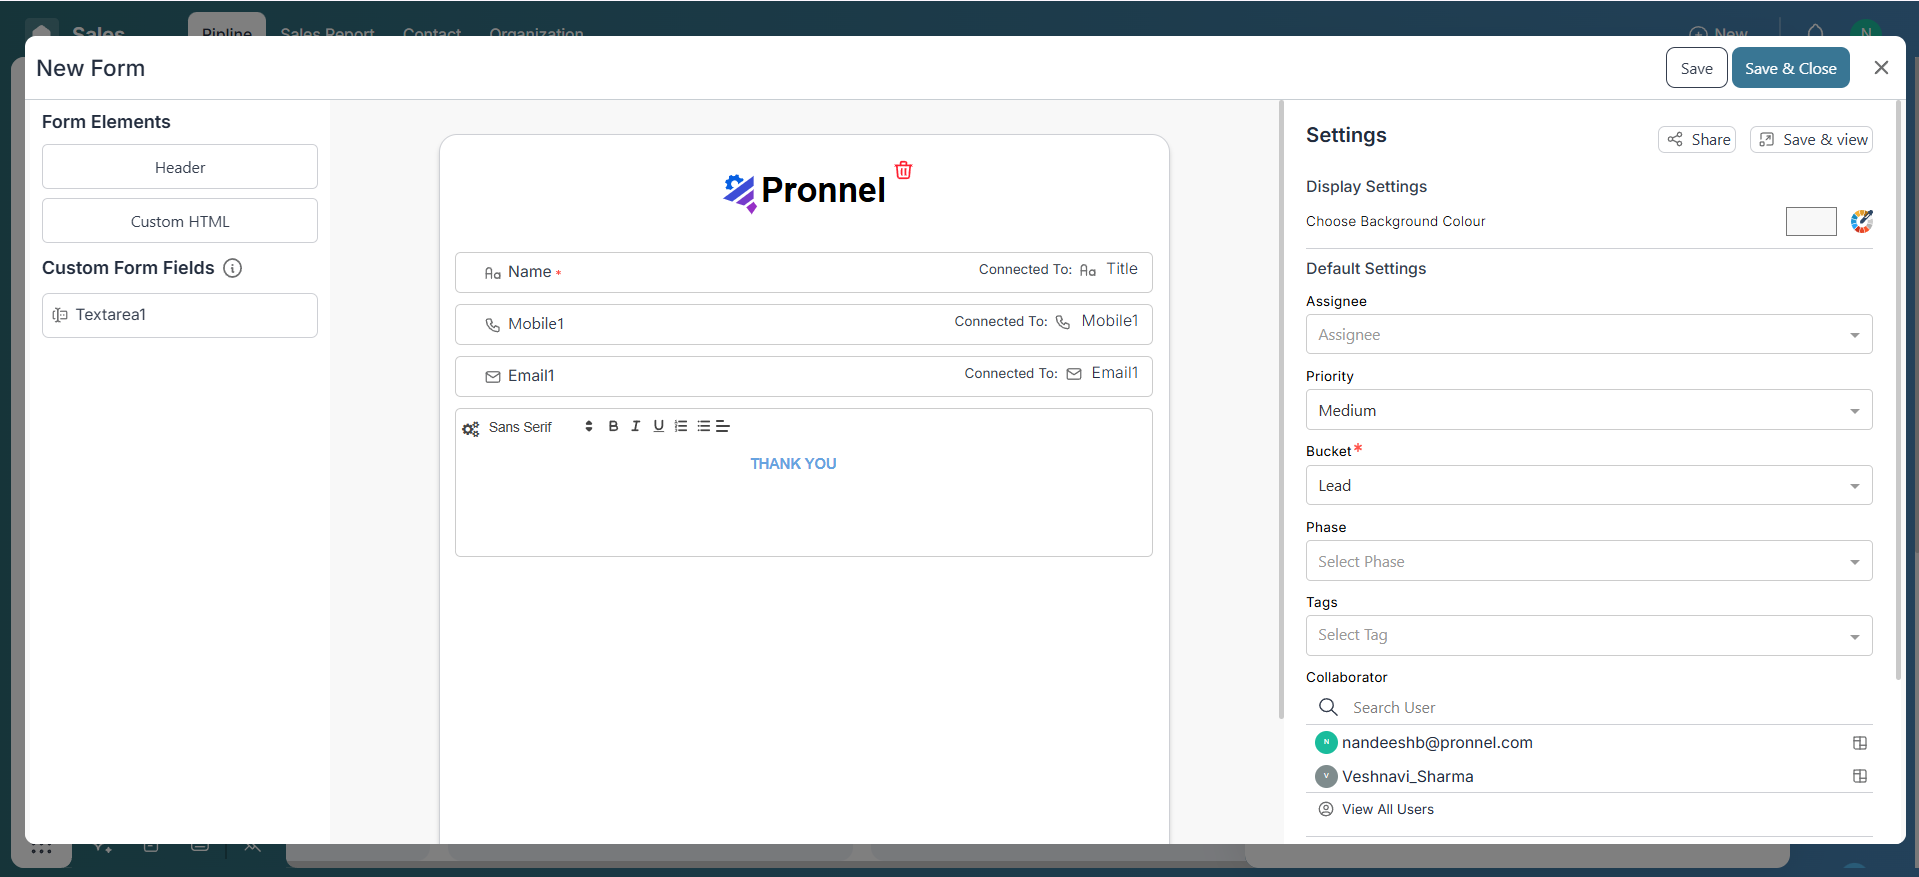
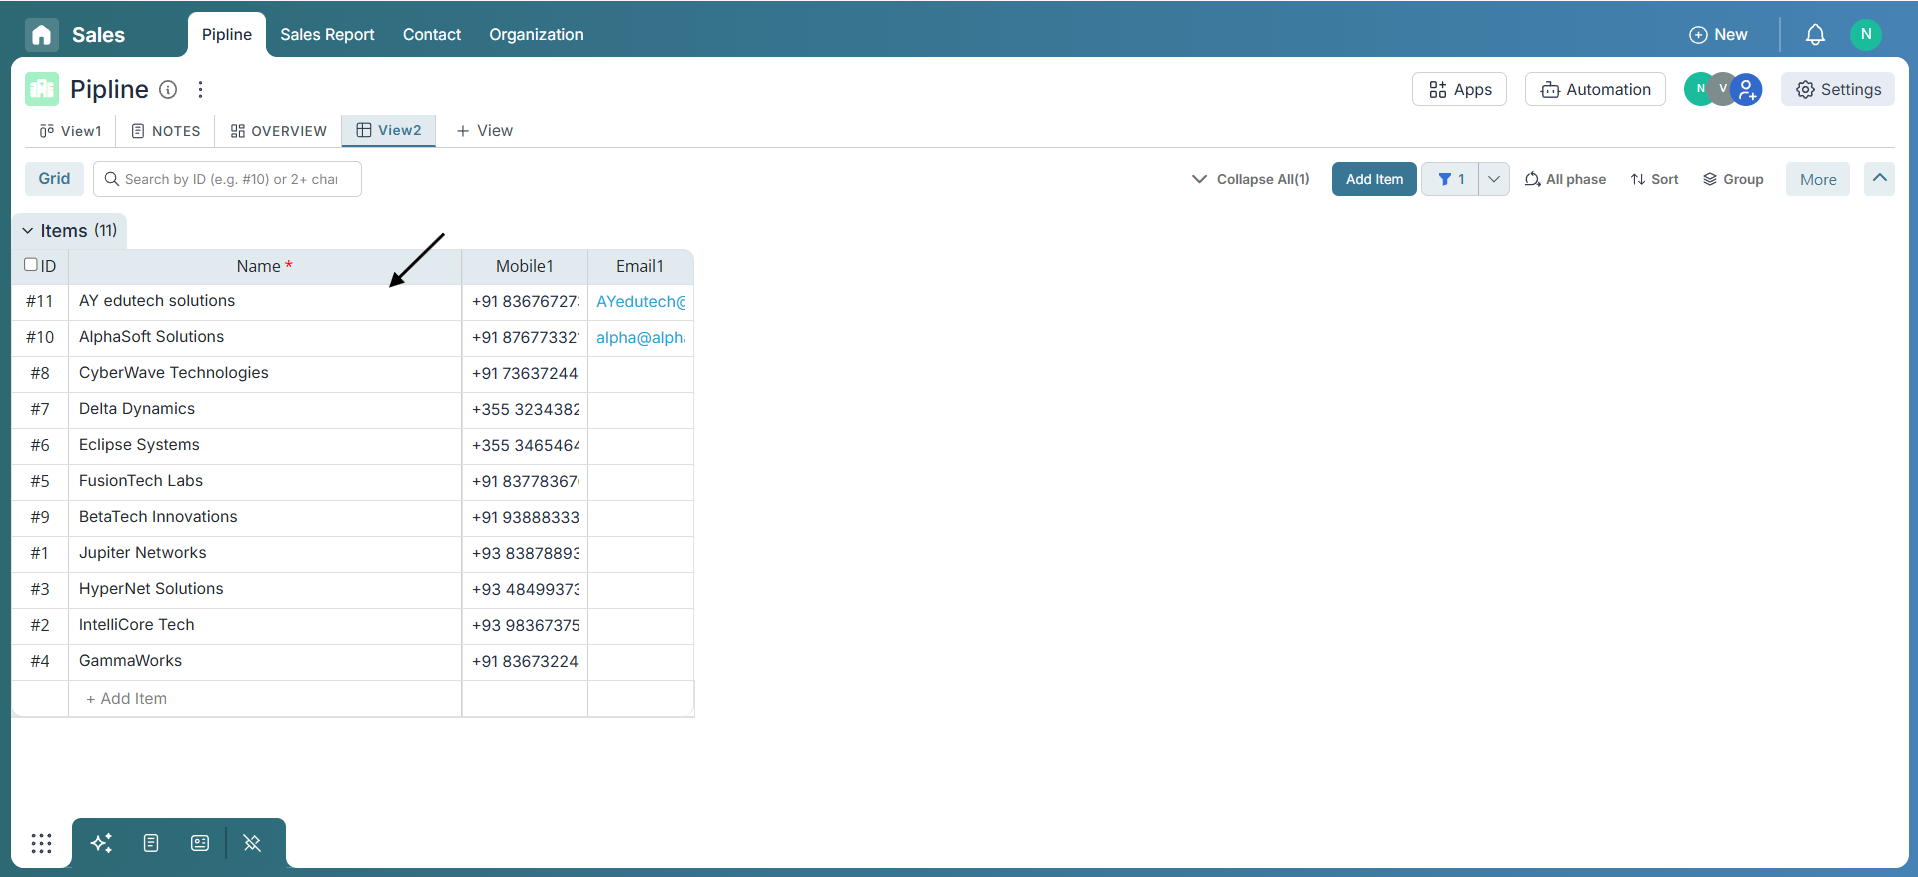
Step 1: Create Your Pronnel Form
Before diving into WordPress integration, ensure your Pronnel form is ready. If you still need to create one, you can follow the tutorial provided by Pronnel on how to make a form.
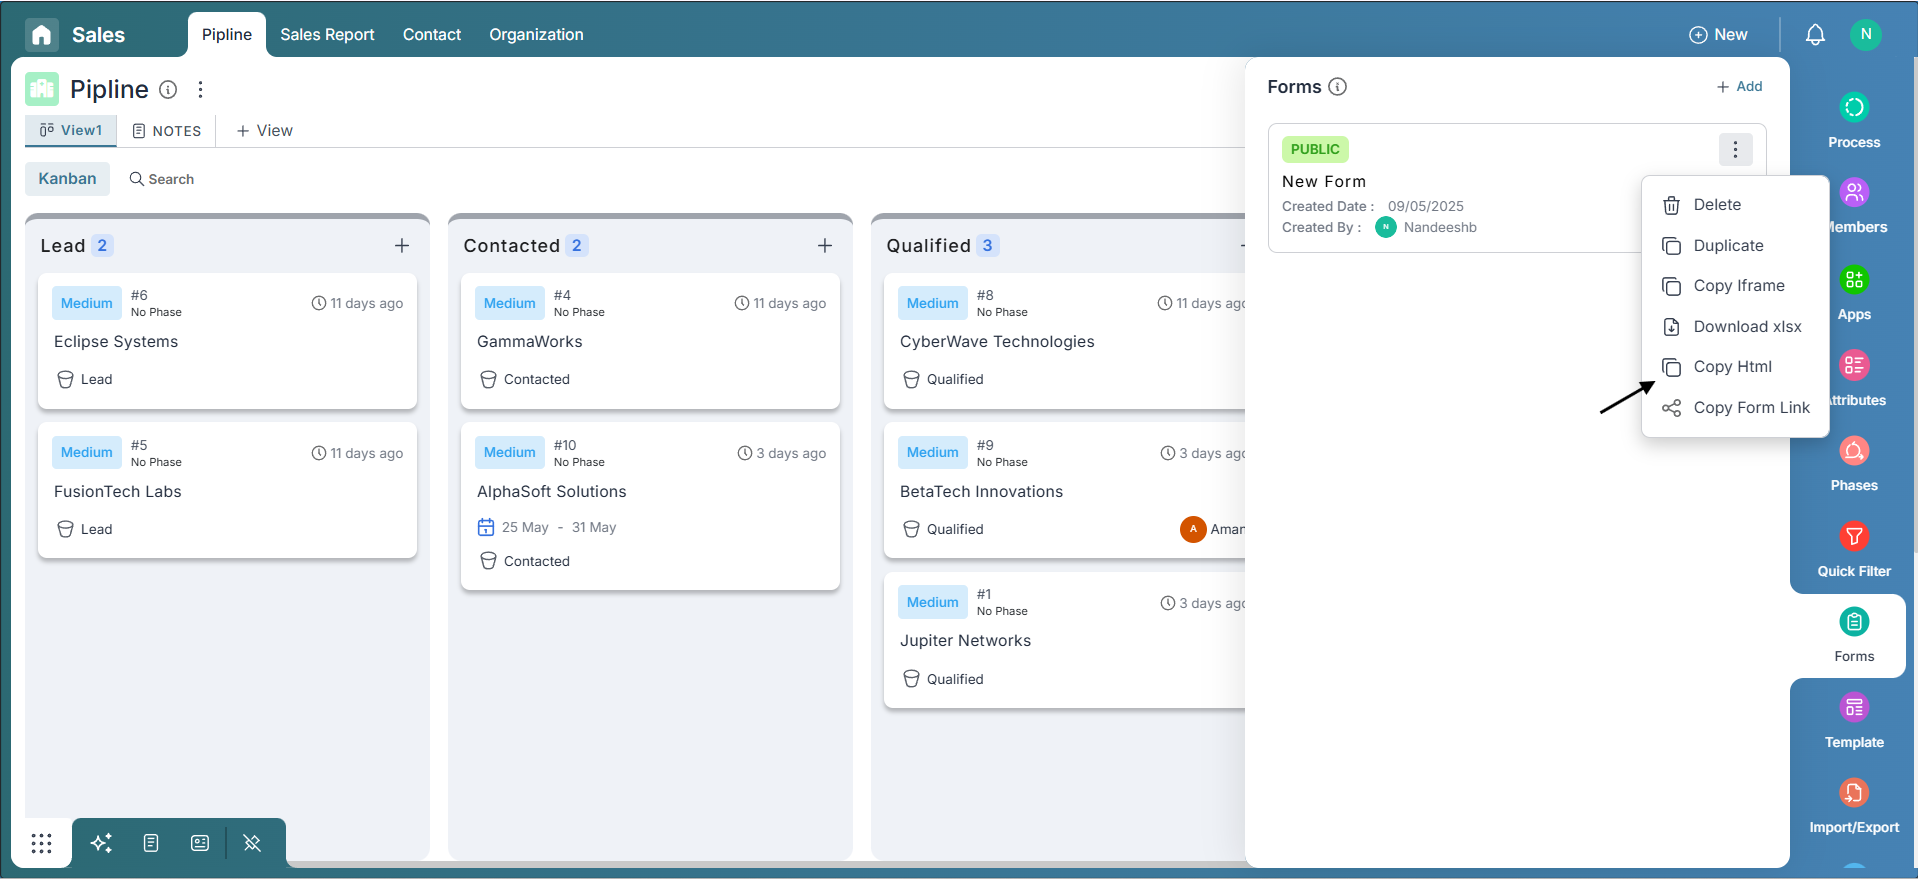
Step 2: Copy the HTML Code
Before copying the embed code, make sure to set the form’s share setting to “Anyone with this link”. Once the form is saved with this setting, navigate to it and click on the three dots icon. From the options provided, select “Copy HTML” to copy the necessary HTML code for embedding your Pronnel form.
Step 3: Log in to WordPress
Access your WordPress account and proceed to the dashboard.
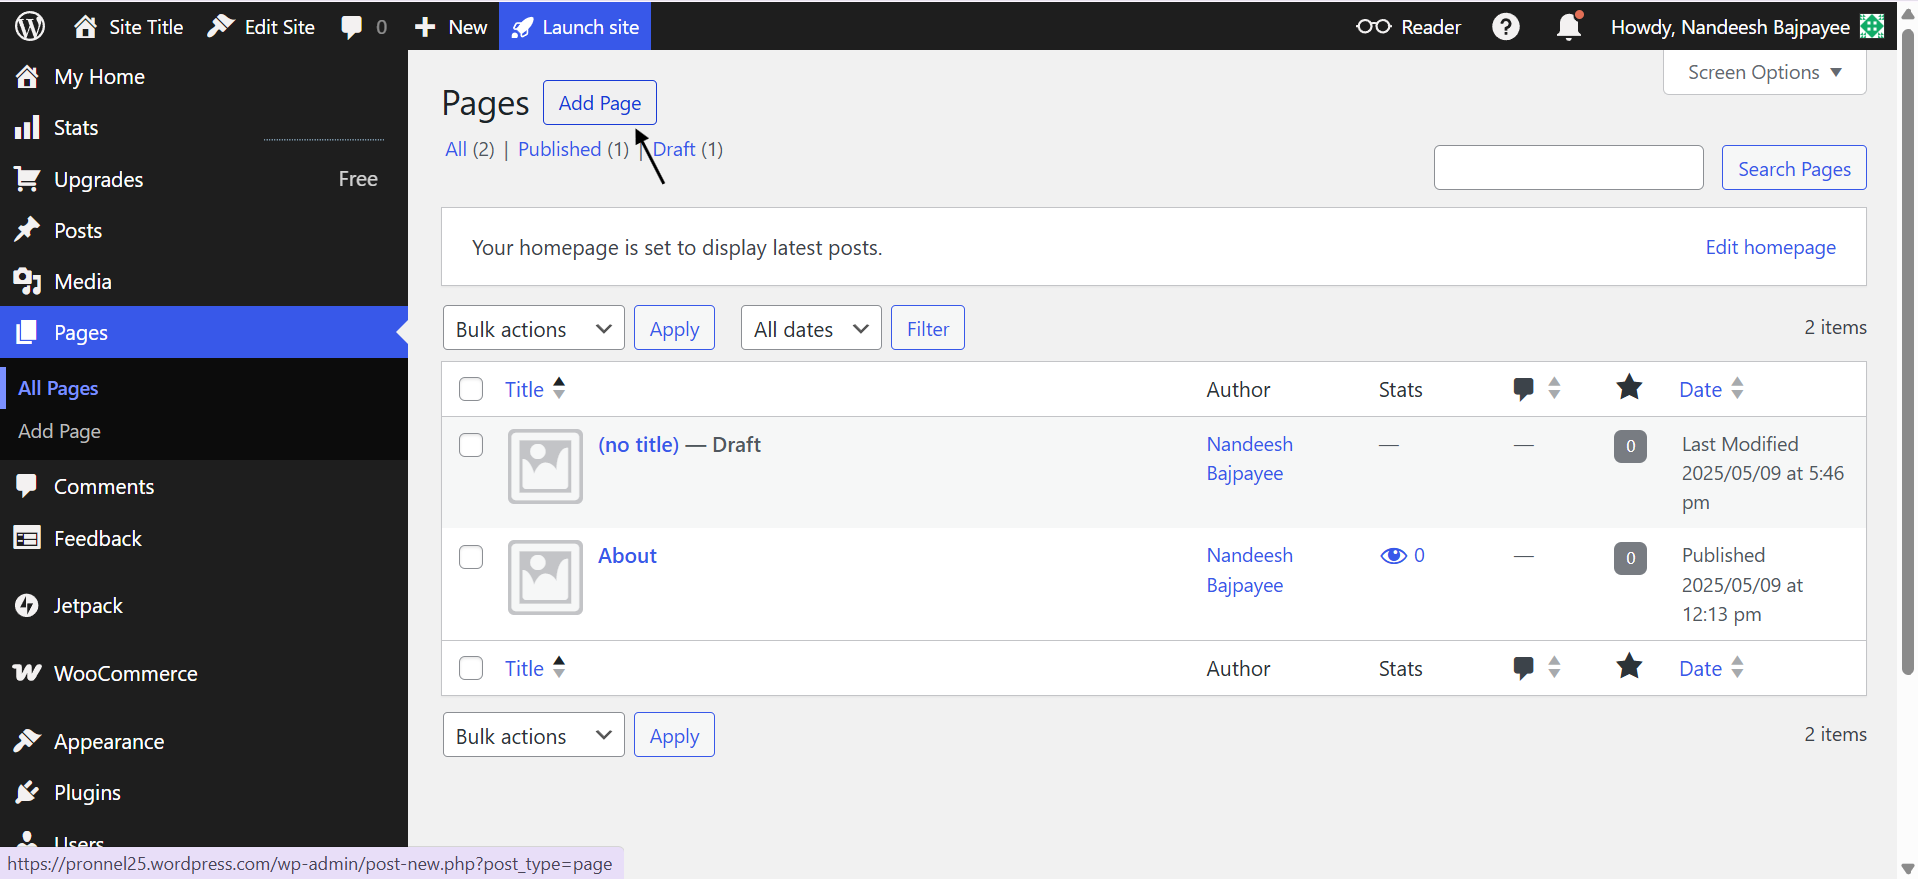
Step 4: Create a New Page
In the dashboard menu, locate and click the "Pages" option. From the dropdown menu, select "Add New Page." This action will initiate the page creation process.

Step 5: Choose a Blank Canvas
To start with a clean slate, choose a blank canvas by selecting "Start Blank." This ensures you're creating an empty page where you can embed your Pronnel form seamlessly.
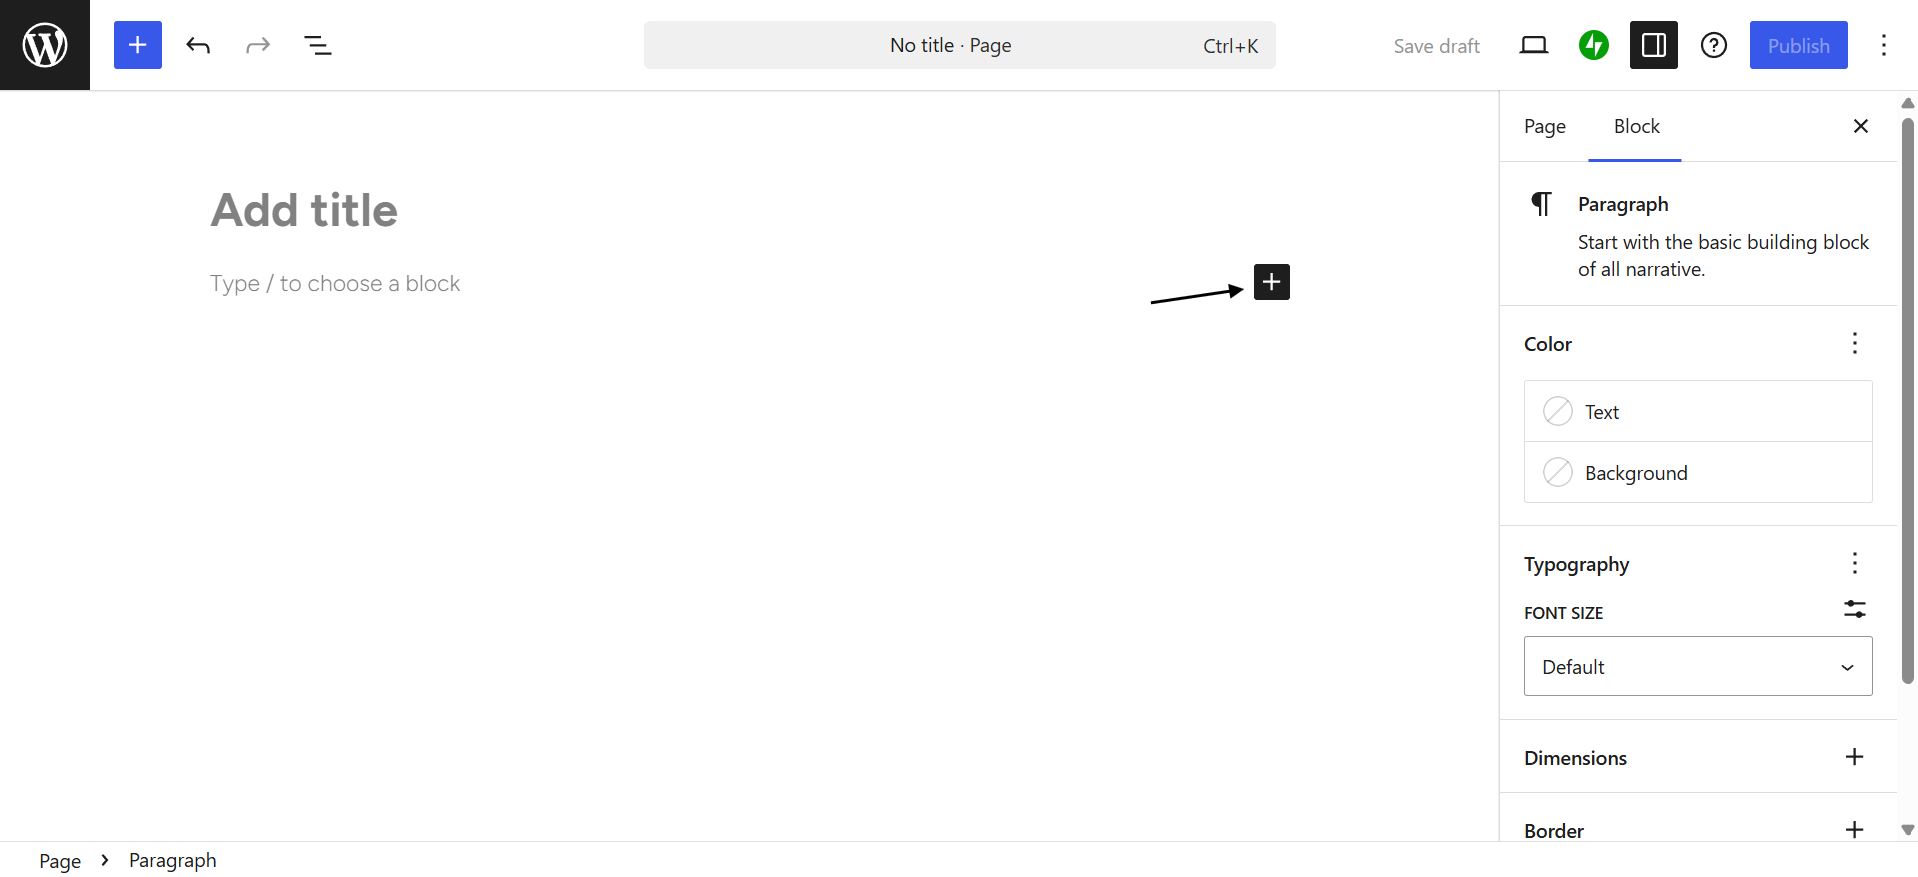
Step 6: Provide a Title
In the designated box at the top of the page editor labelled "Add a Title," input a title for your page. Choose a title that accurately reflects the page's purpose, such as "Contact Us" or "Item Creation Form."
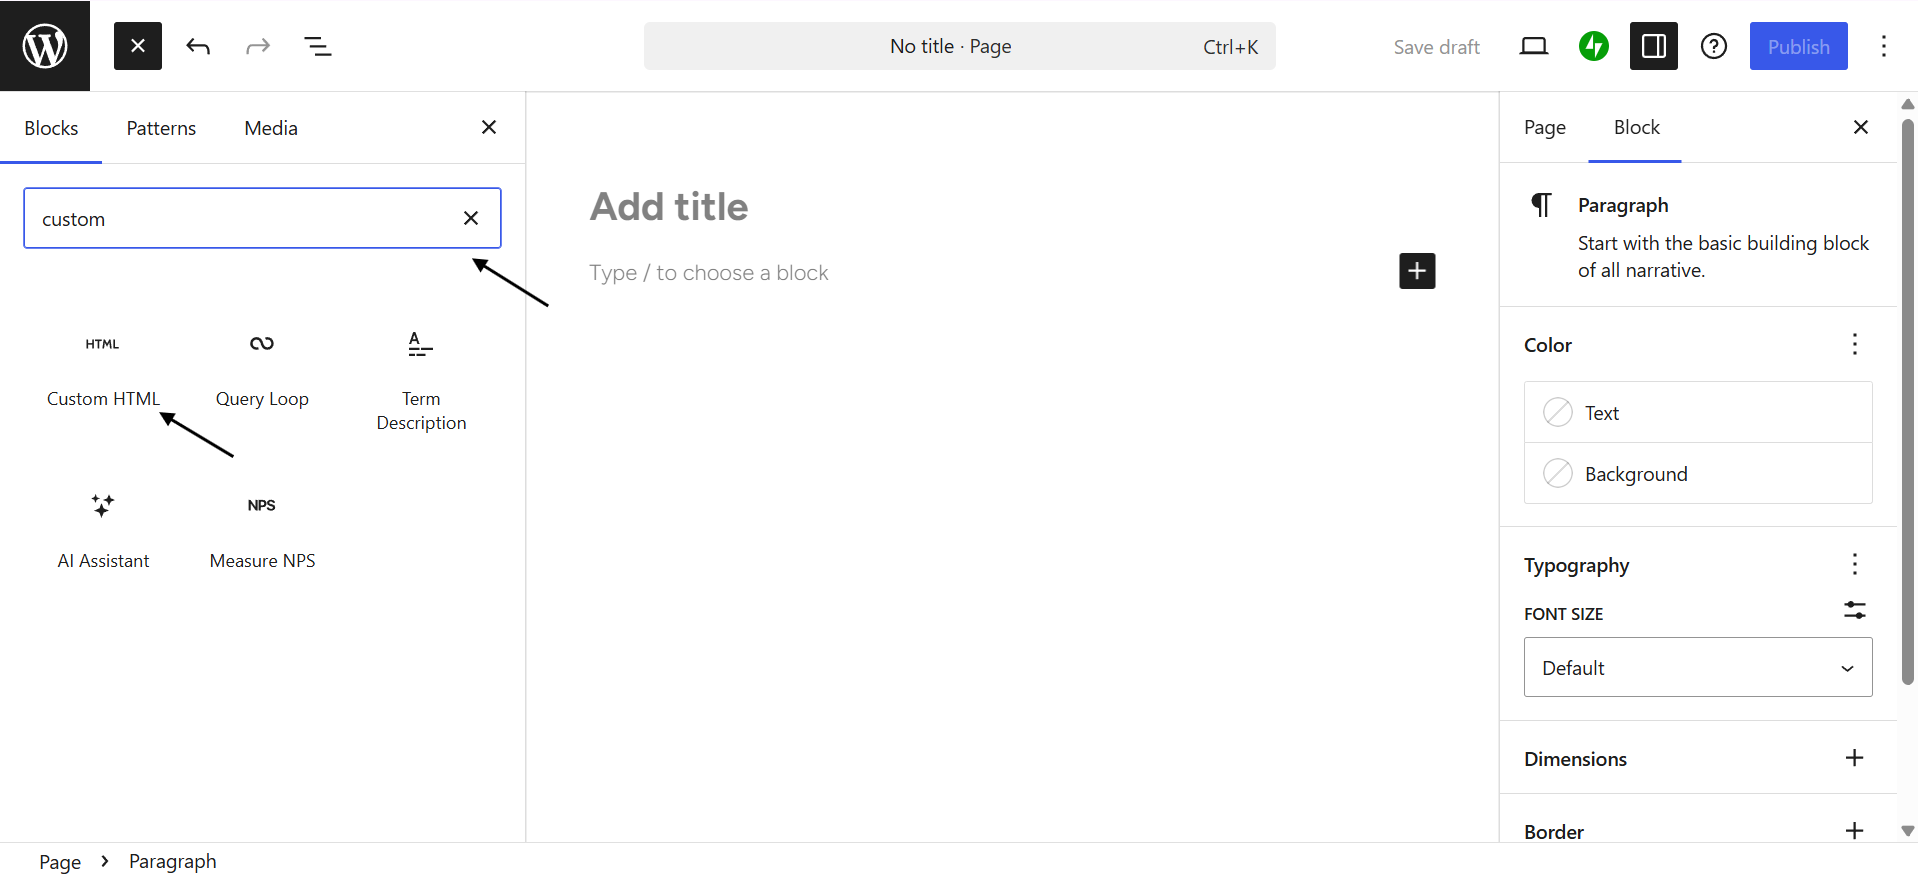
Step 7: Add a Custom HTML Block
Click on the Add icon to choose the type of block. Then, click the "Browse All" button in the dialogue box and search for the "Custom HTML" option.
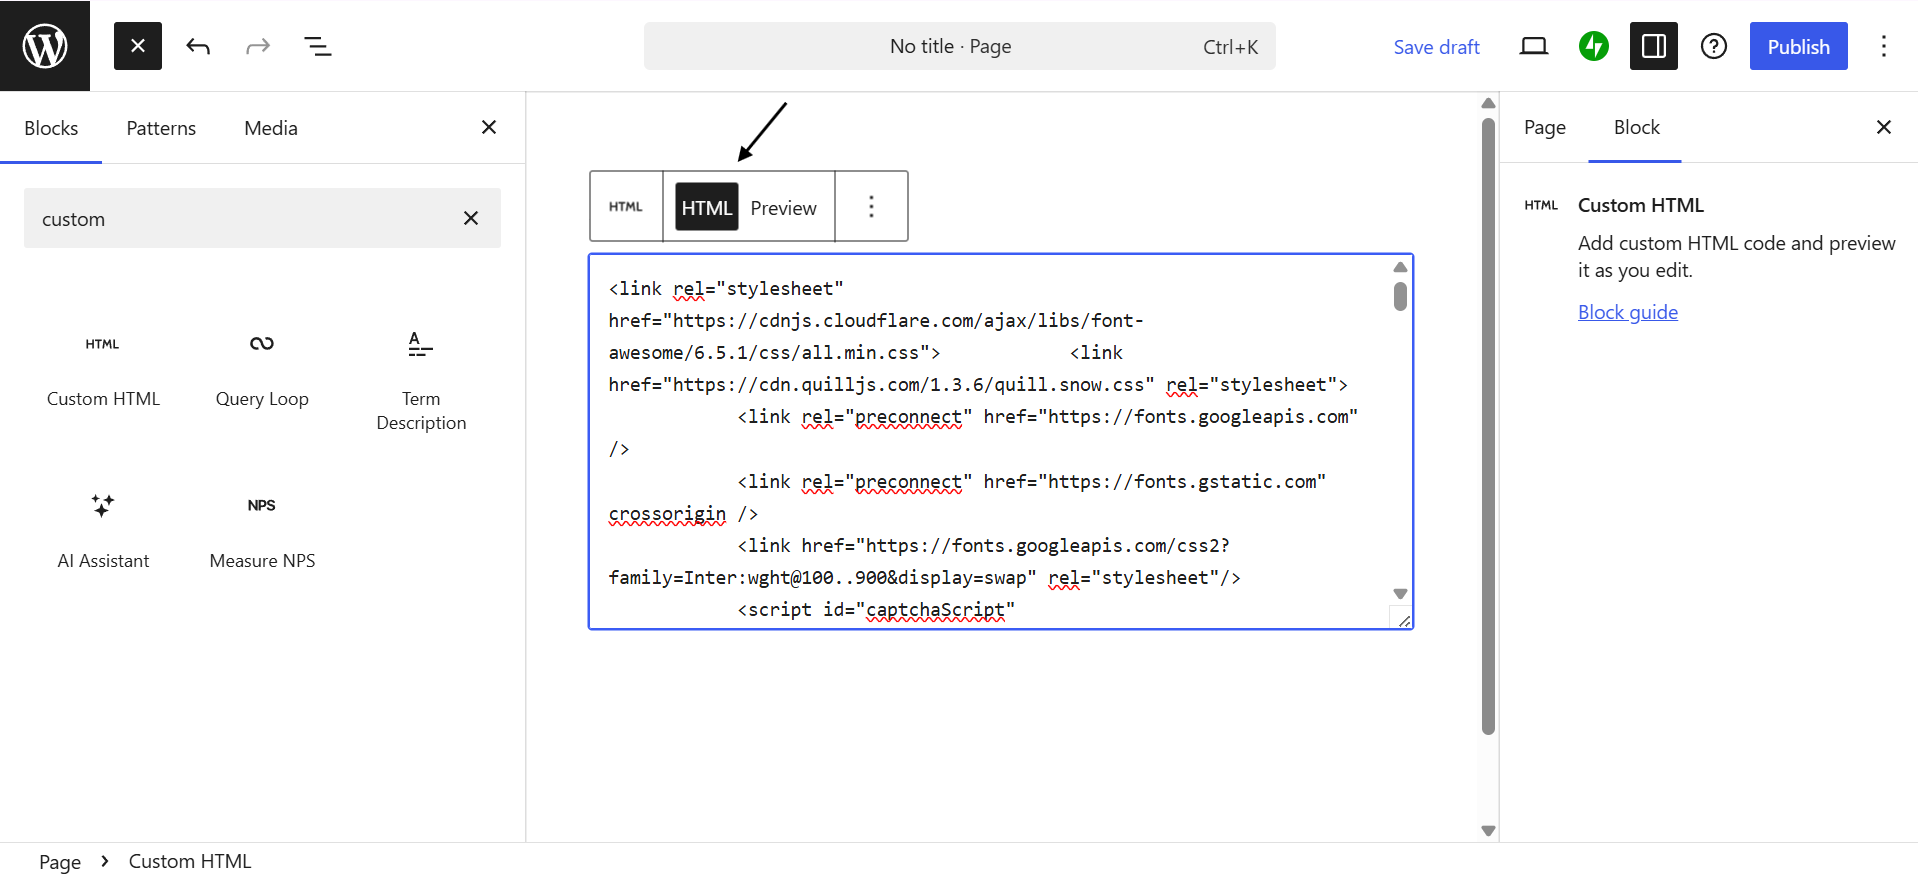
Step 8: Paste the HTML Code
Paste the HTML code you copied earlier into the Custom HTML block. This code represents your Pronnel form.
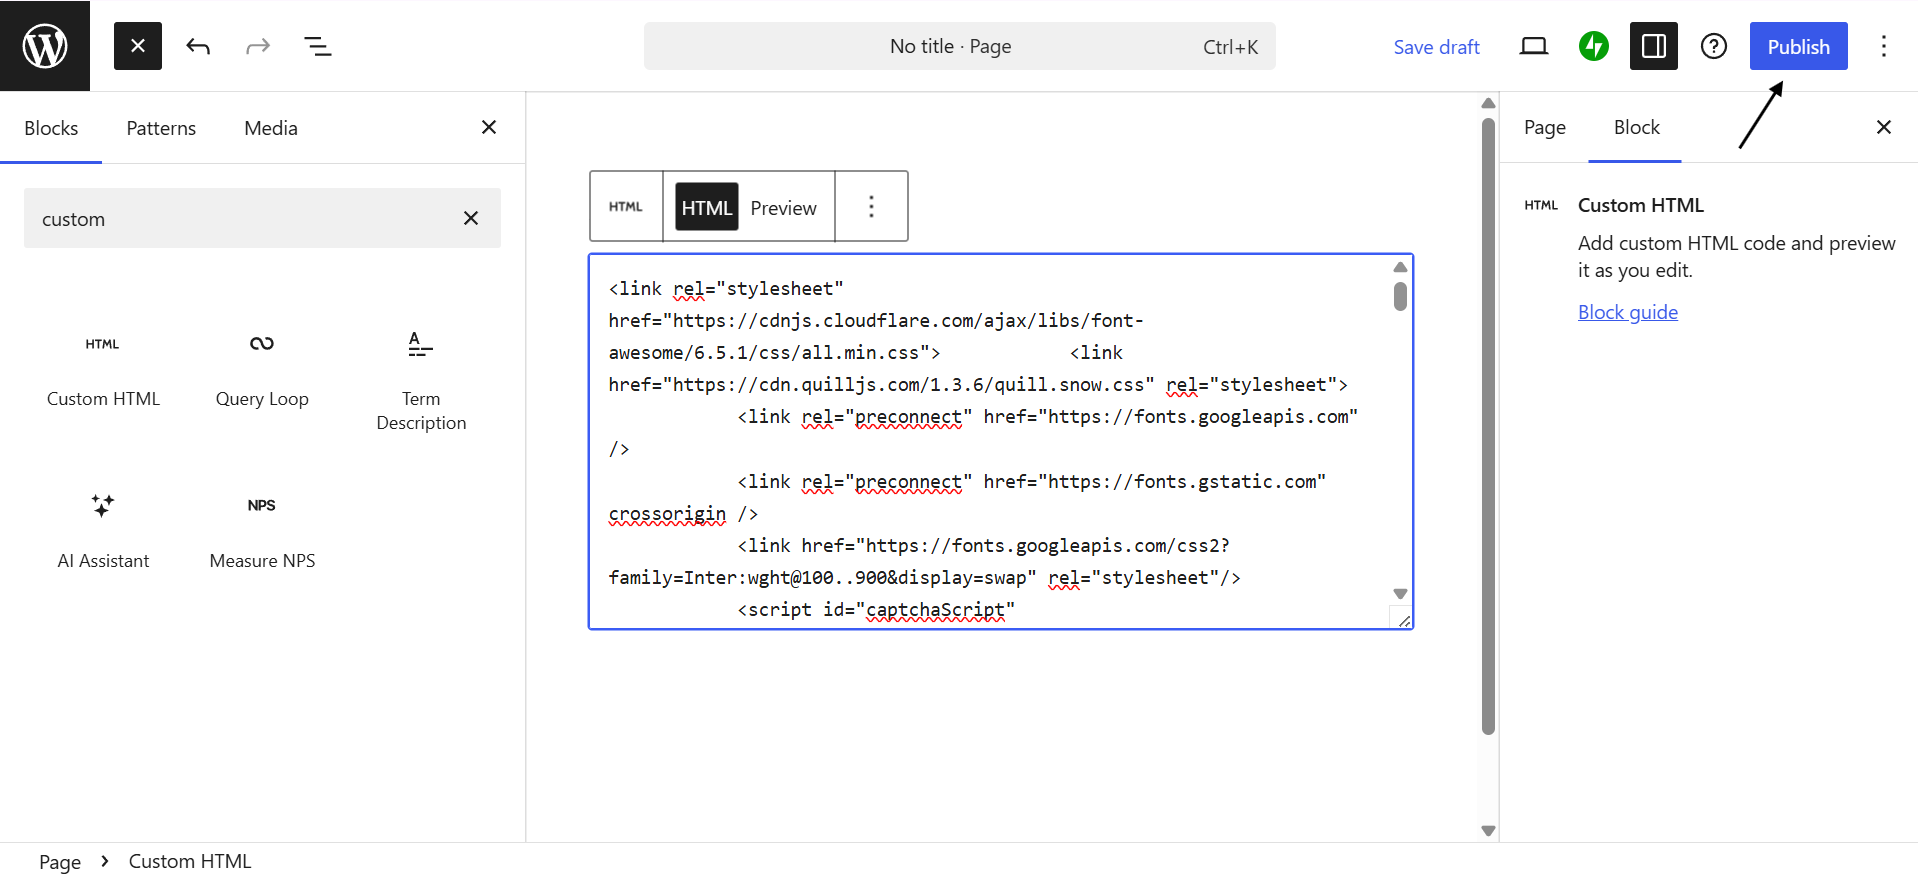
Step 9: Publish Your Page
Review the page once you've pasted the HTML code to ensure everything looks as expected. If satisfied, click the "Publish" option to make your Pronnel form live on your website.
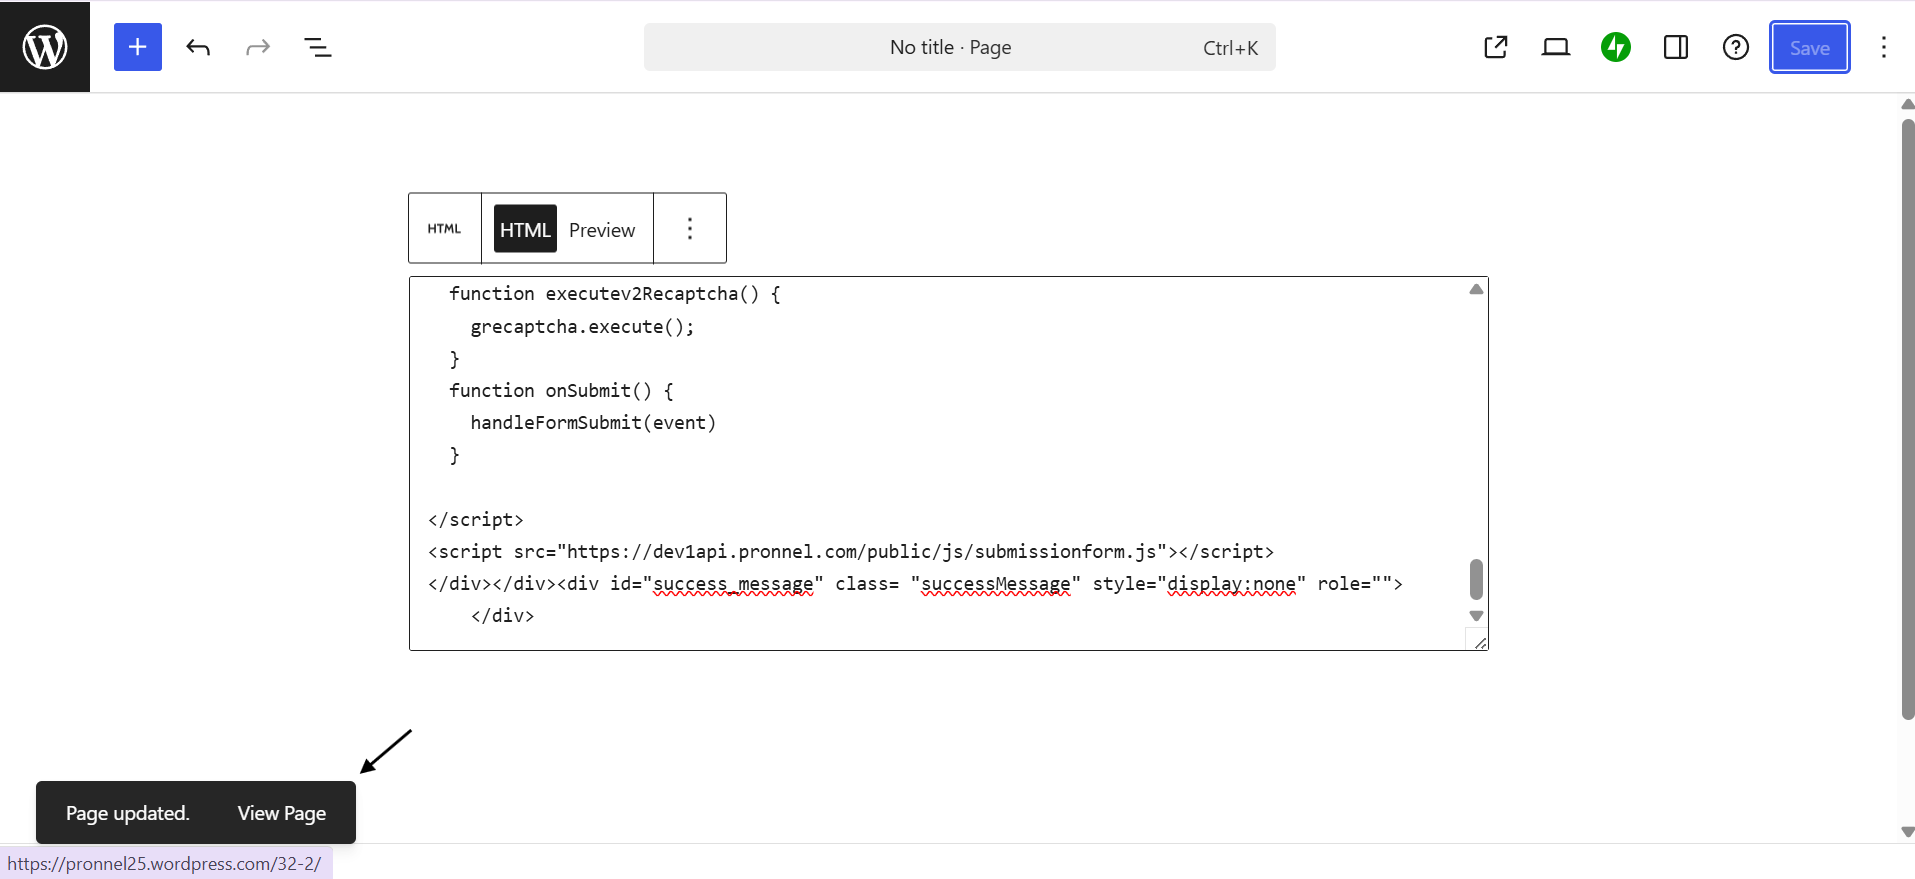
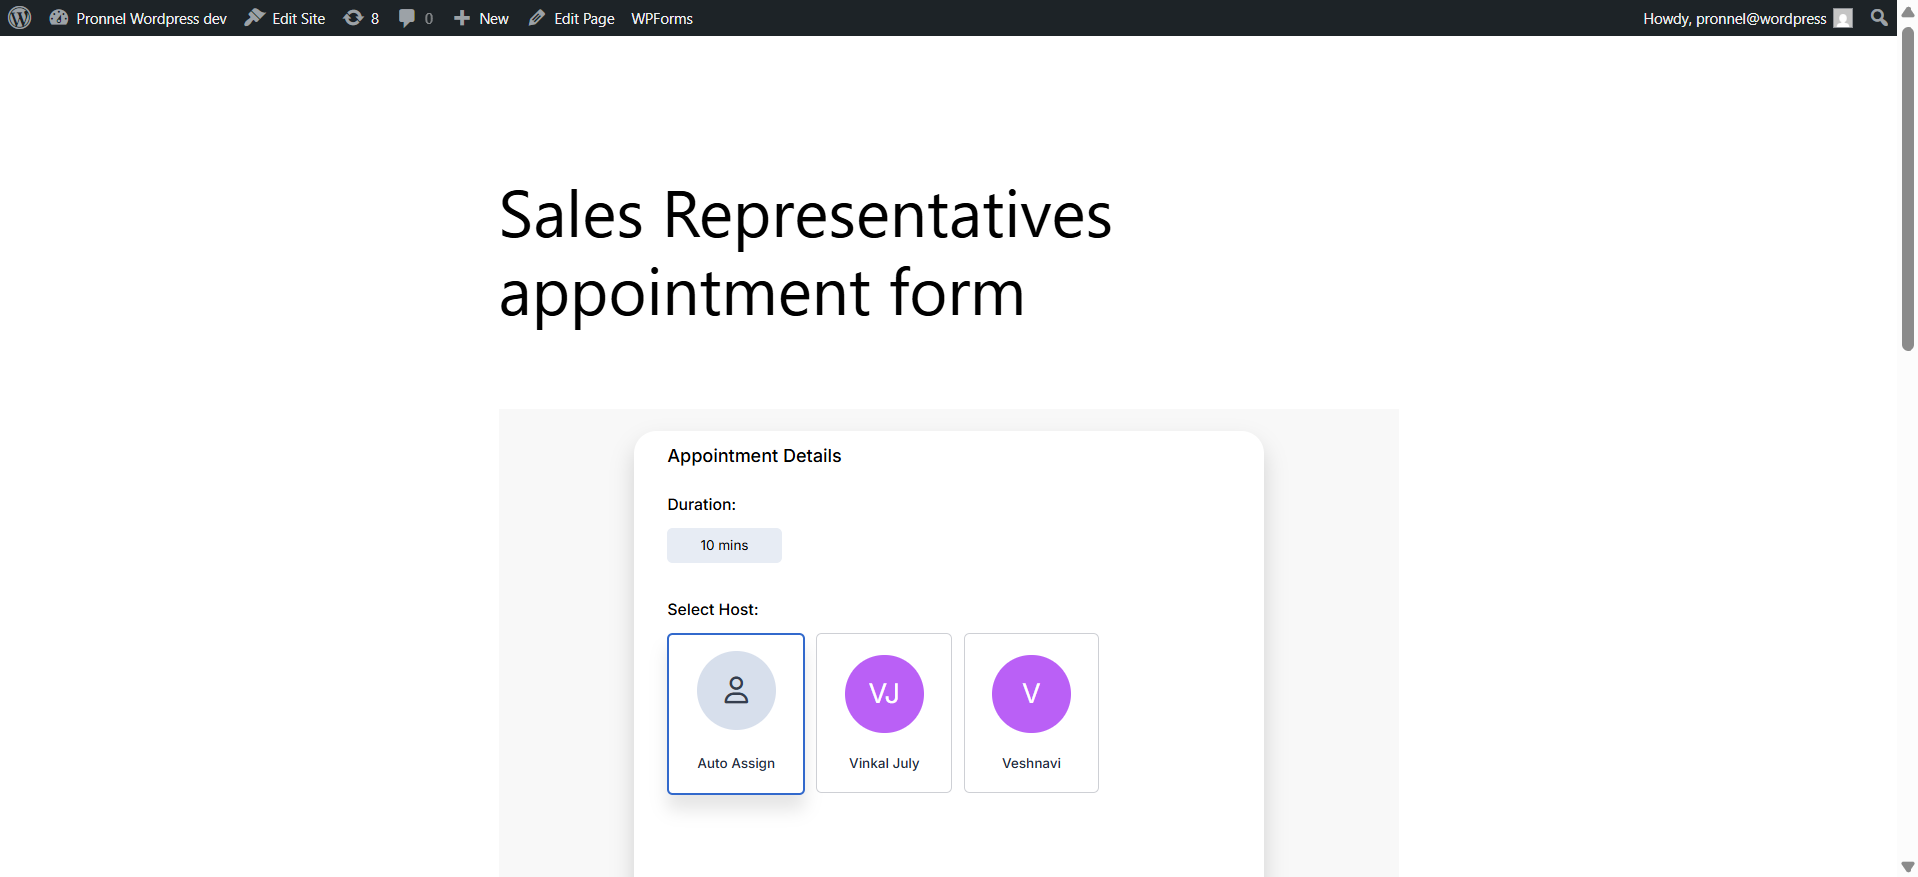
Step 10: Test Your Form
After publishing the page, you must test your Pronnel form to ensure it functions correctly. Please fill out the form as a user would and submit it to confirm that submissions are being processed as intended.

By following these straightforward steps, you've successfully enhanced your website's functionality with Pronnel Forms, providing a seamless experience for contact tracking and item creation. Keep exploring and optimizing your website to serve your audience better and achieve your goals.
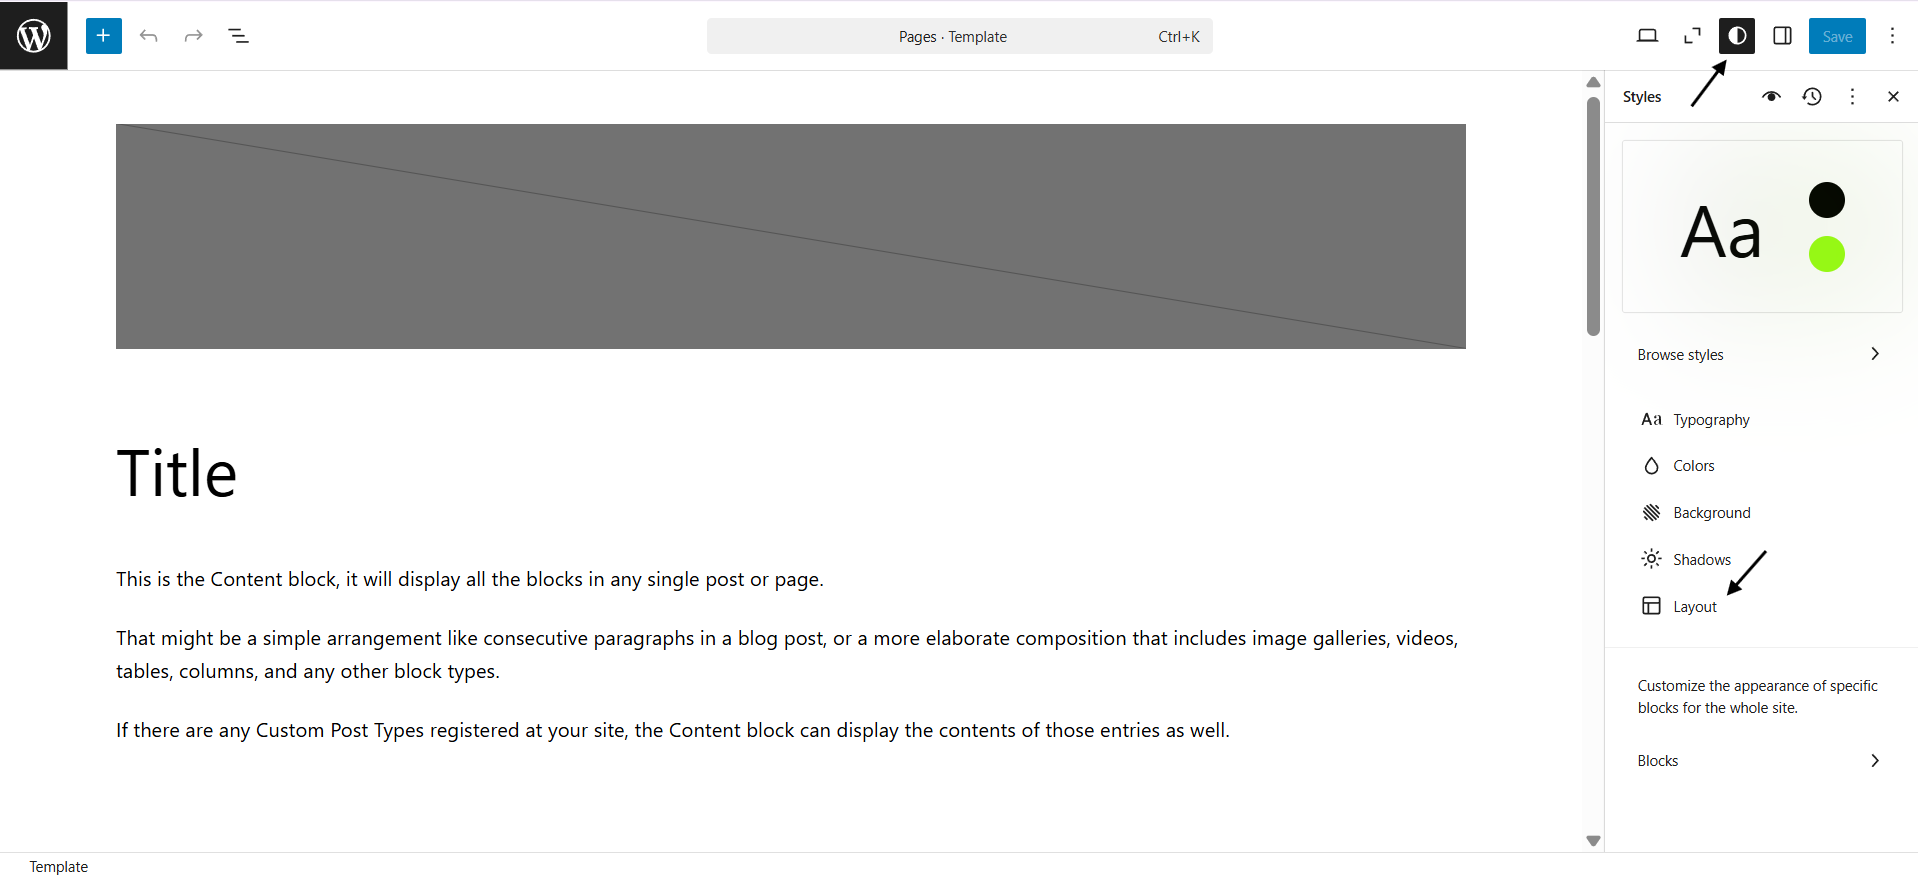
Style Your Pronnel Form in WordPress
If you wish to further customize your embedded Pronnel Form—such as adjusting its layout, changing colors, or updating typography—you can do so using the WordPress "Edit Site" option.

For instance, if you want to change the width of the form container, use the layout settings from the sidebar. You can add a custom width value to ensure it fits better within your page design.
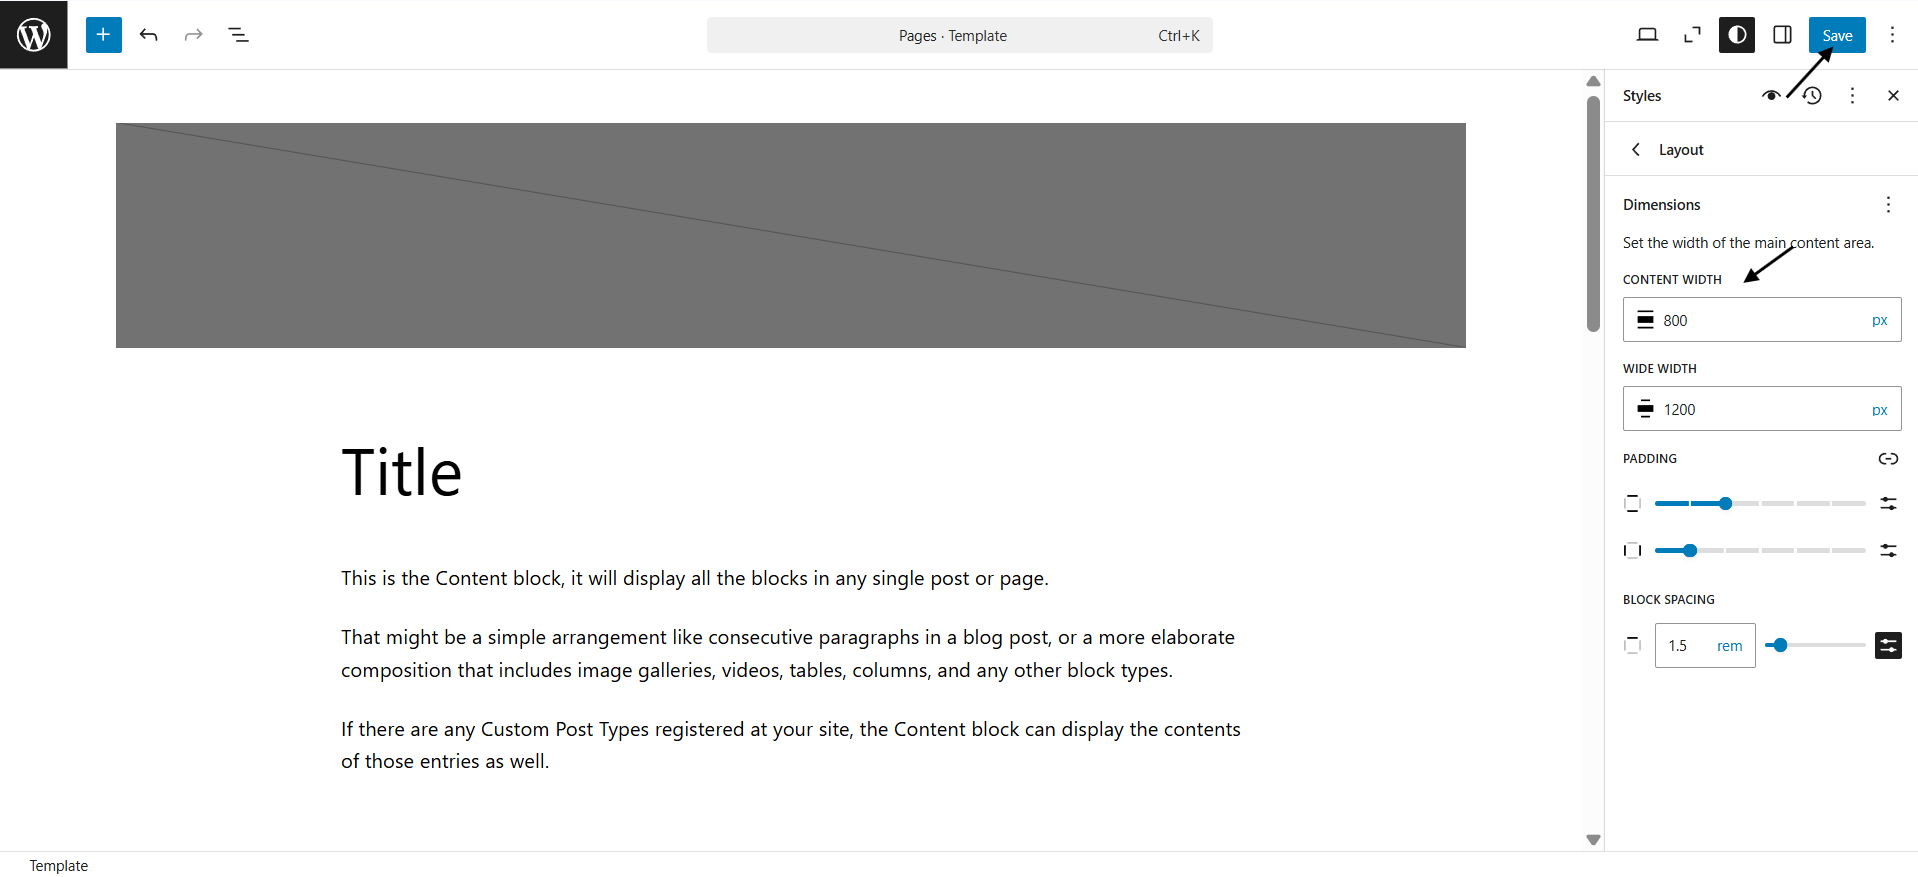
After changing the width in the layout settings, make sure to click "Save" to apply the changes. When you revisit your site, you’ll see the updated layout reflected immediately.
Frequently Asked Questions About Pronnel Forms WordPress Integration
What is Pronnel Forms?
A simple way to collect submissions and create items/contacts, embeddable on your site.
Do I need coding knowledge?
No. Copy the HTML from Pronnel and paste it into a Custom HTML block in WordPress.
Can I match my site’s design?
Yes. Use WordPress styles to adjust layout, colors, and typography after embedding.
Is it compatible with most themes?
Yes. Pronnel Forms works with common WordPress themes (free and premium).
Can I embed multiple forms?
Yes. Repeat the steps for each form/page you want to embed.
Are forms responsive?
Yes. Embedded forms adapt to mobile screens automatically.
What types of forms can I build?
Contact, feedback, registration, orders, and more—customize fields to your needs.
Can I track and analyze submissions?
Yes. View submissions in Pronnel and analyze data for insights.
Where can I get support?
Use Pronnel support if you run into issues integrating forms into WordPress.