Phases in Pronnel for Effective Project Management
Pronnel offers a powerful feature called "Phases" that helps you manage your projects or processes more effectively by dividing them into time-bound segments. These segments, or Phases, make it easier to track your progress and handle your workload efficiently. In this tutorial, we will explore how to enable and use Phases in Pronnel to streamline your project management.
How To Enable Phases
Enabling Phases in Pronnel is a straightforward process. Here's a step-by-step guide on how to do it.
-
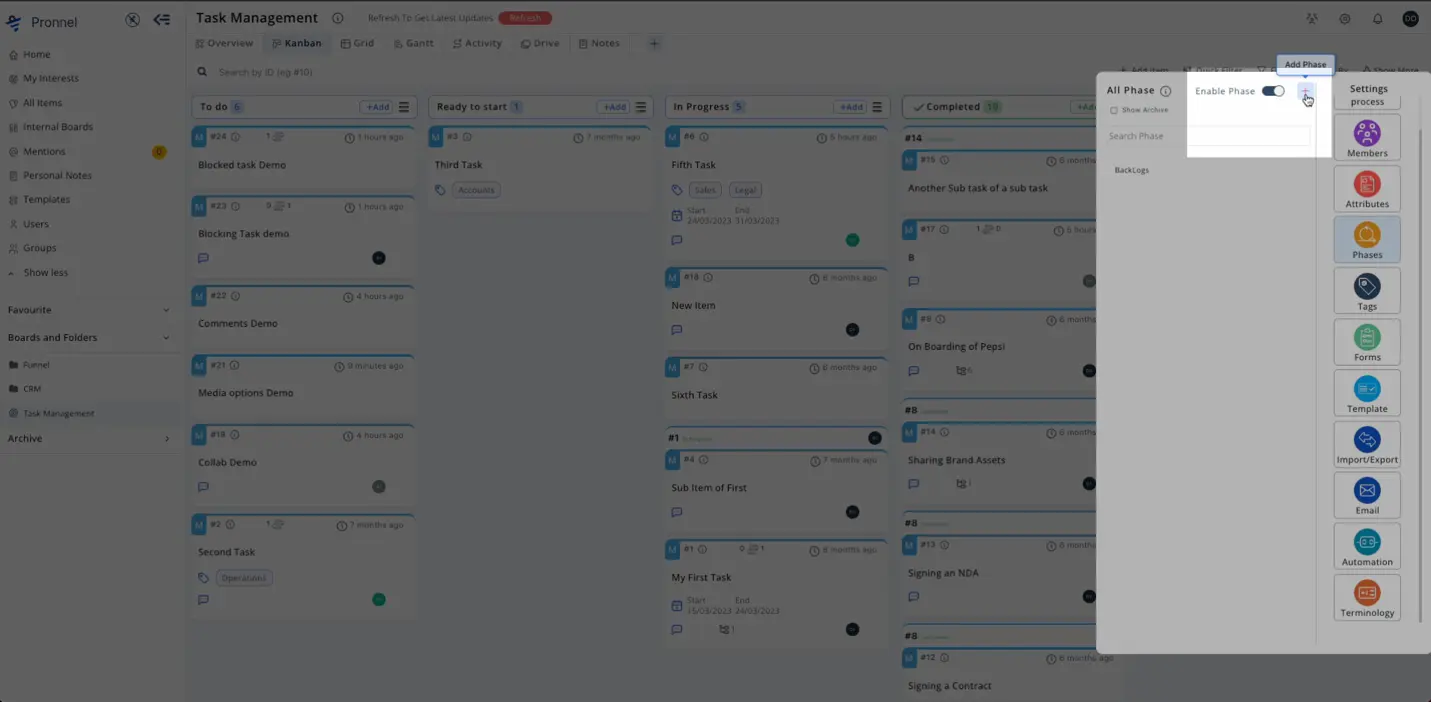
Access Your Board Settings:
Access the board where you want to implement Phases. Click on the board settings, typically located in the upper right corner of your screen.
-
Select the Phases Option:

Within the board settings, you will find an option labeled "Phases." Click on this option to begin configuring your Phases.
-
Automatically Created Backlog Phase:
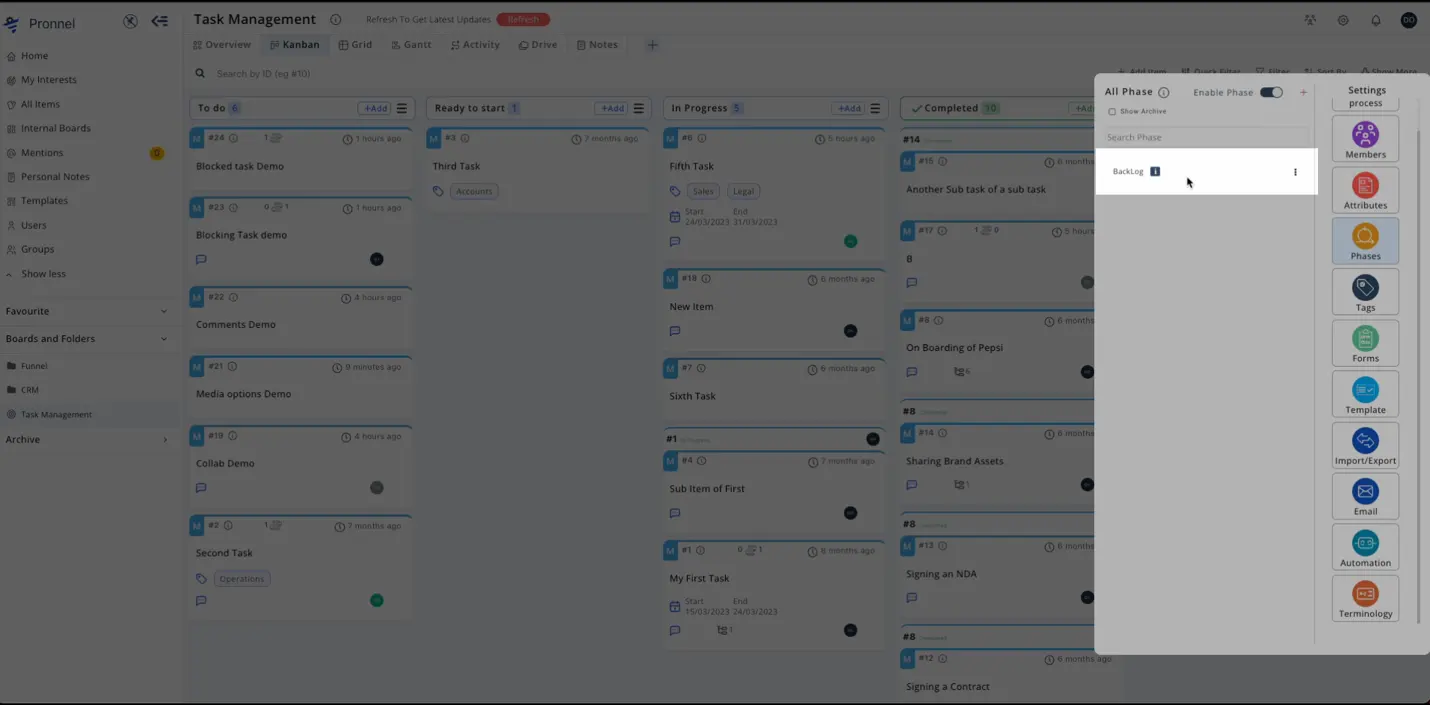
Upon enabling Phases, Pronnel will automatically create a Phase named "Backlog." This Phase is designed to collect items that are not assigned to any specific Phase but are yet to be worked on. You have the option to rename or delete this backlog Phase if needed.
-
Choose Single or Multiple Phases:
Pronnel provides you with the flexibility to have either a single Phase or create multiple Phases in one go. For this tutorial, we will focus on creating multiple Phases. However, you can also create a single Phase following a similar process.
How To Create Multiple Phases
Now, let's dive into the process of creating multiple Phases in Pronnel:
-
Define Phase Details:
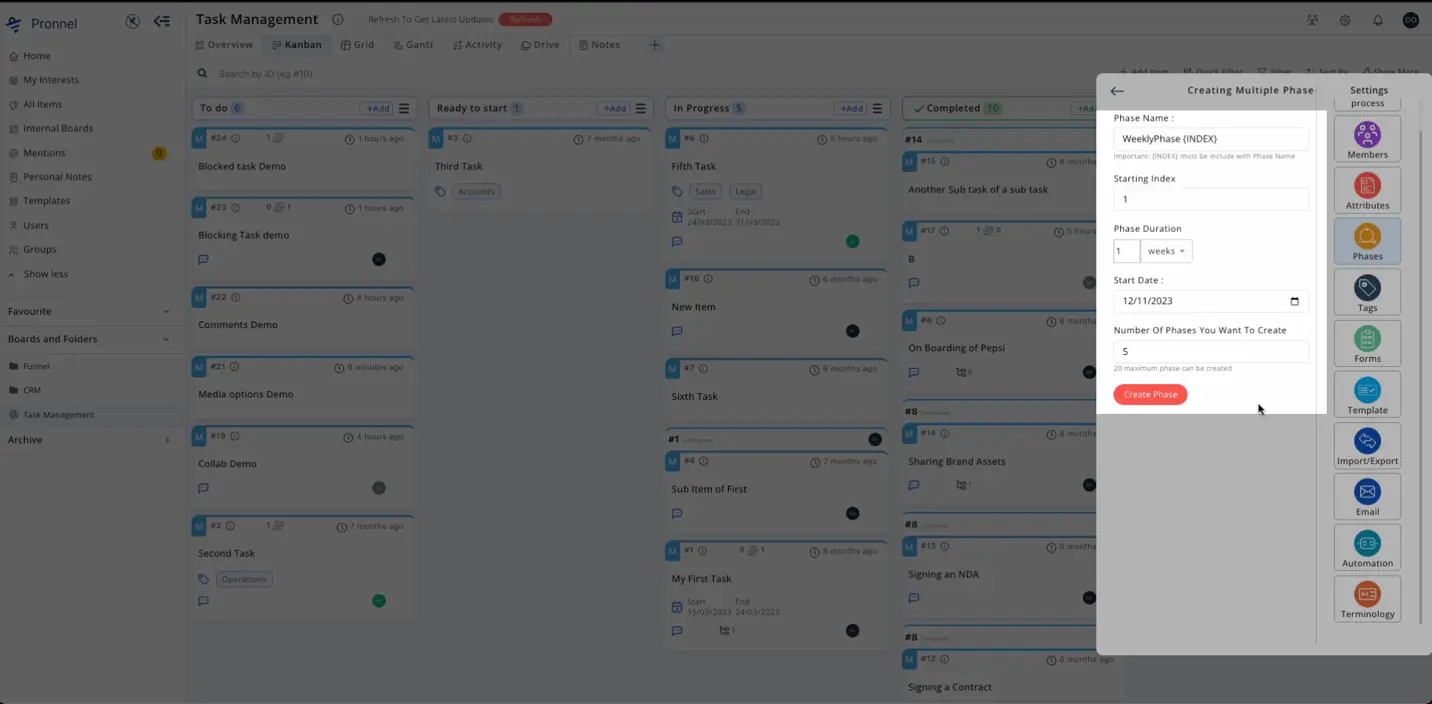
To create multiple Phases, you'll need to specify a Phase name. If you are creating multiple phases together, to create a unique phase name, you need to include an index in the name and enclose it within curly braces ({}). Additionally, select a start index and specify the duration of the Phases.
-
Start Date and Number of Phases:
Begin by setting the start date for the first Phase. Next, specify the total number of Phases you want to create. Pronnel will automatically generate Phases based on your input.
-
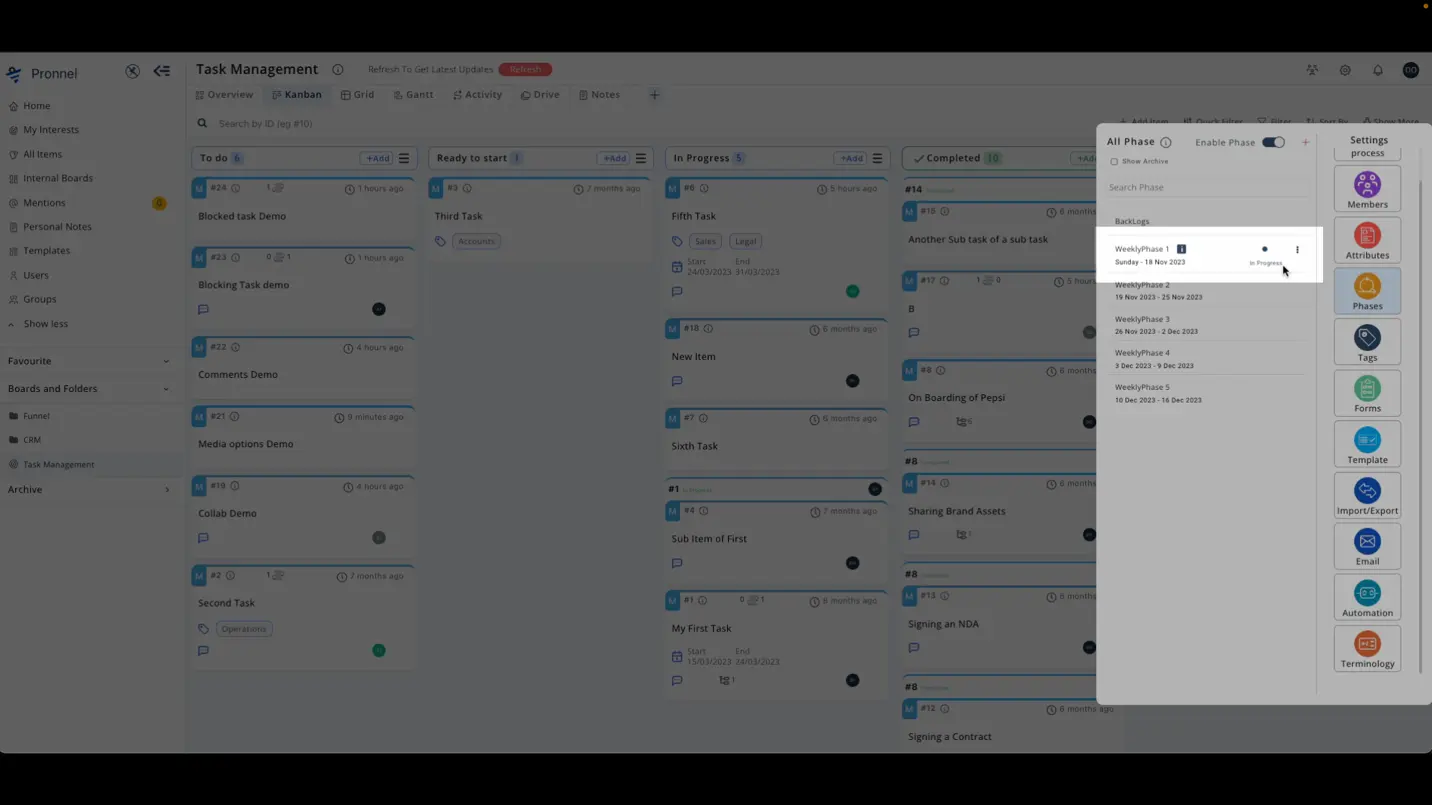
Phases Are Created:
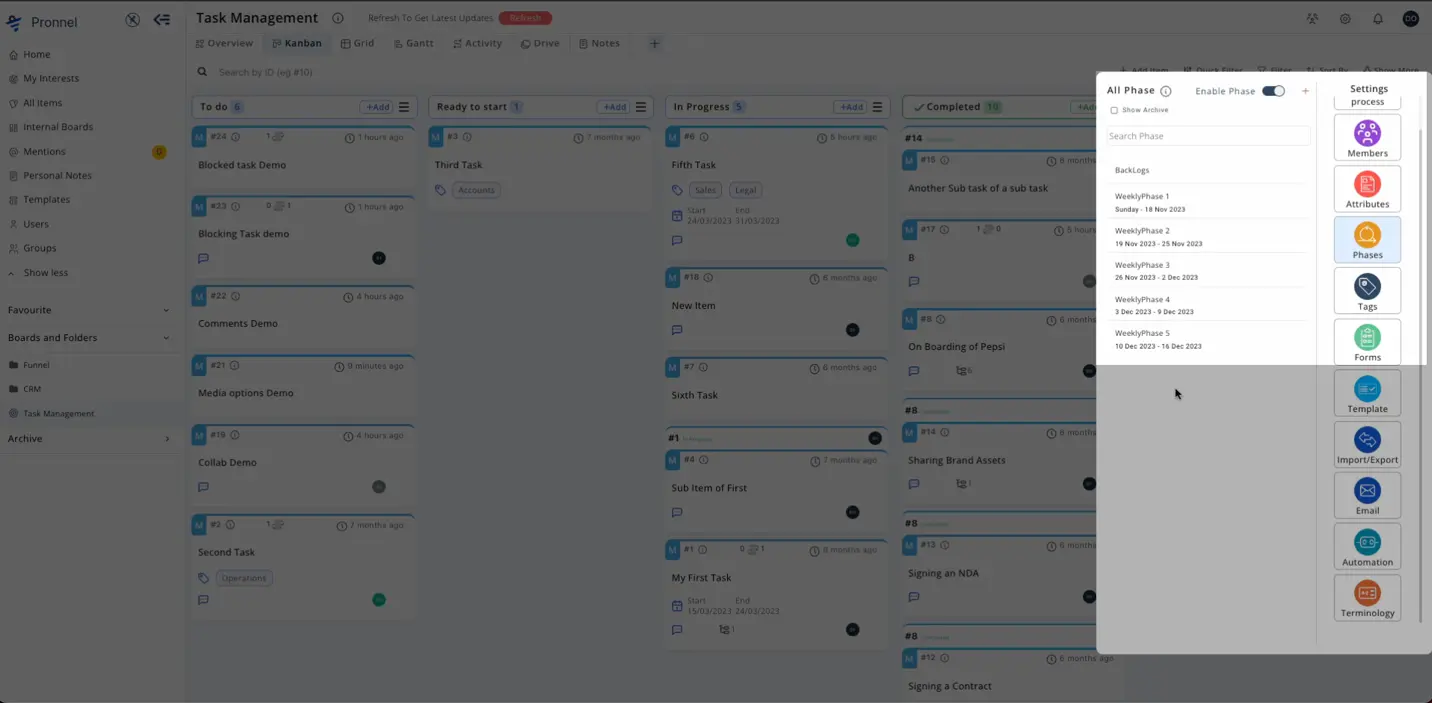
Once you've provided the necessary information, Pronnel will generate the Phases for your project or process.
Managing Phase
-
Starting and Completing Phases:
You can start a Phase, indicating it is in Progress.
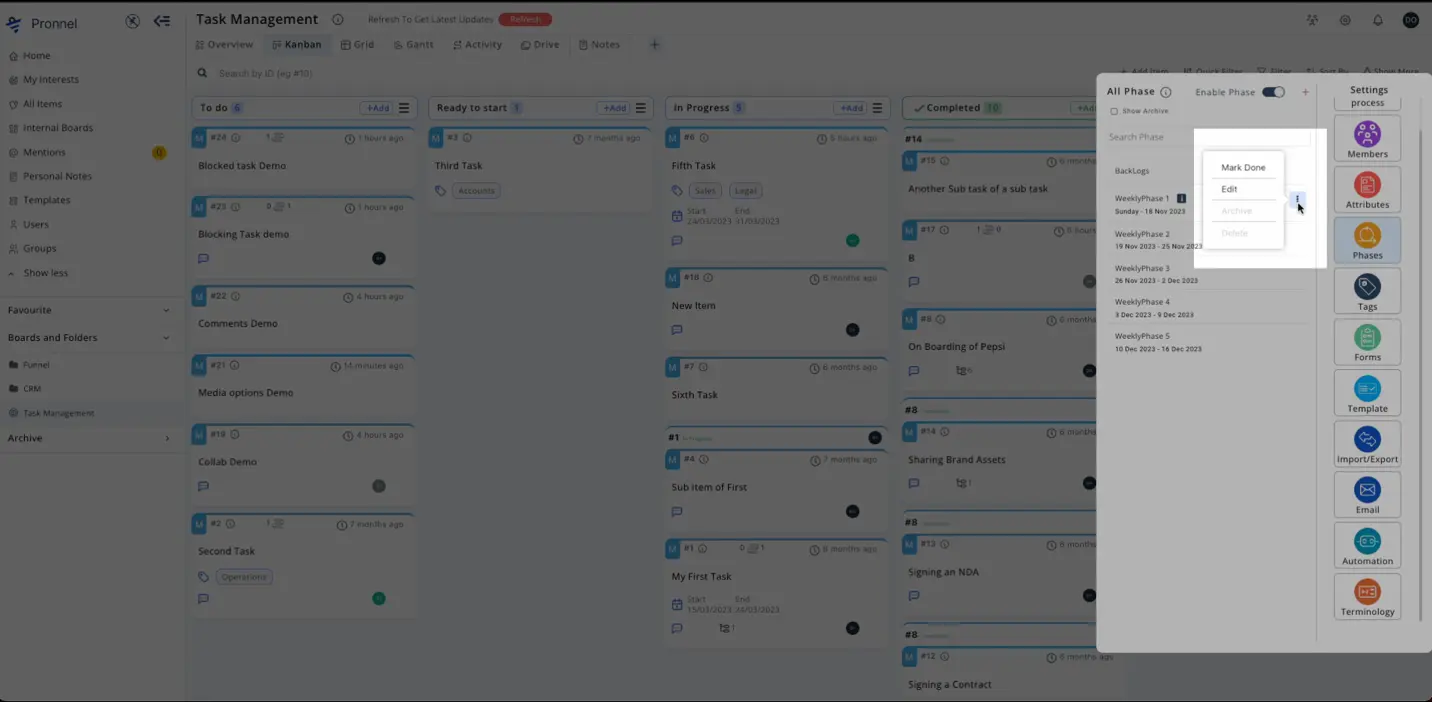
Once completed, you can mark the Phase as "completed." When marking a Phase as completed, all non-final items (those not marked as completed) can be transferred to another Phase or back to the backlog for further management.
-
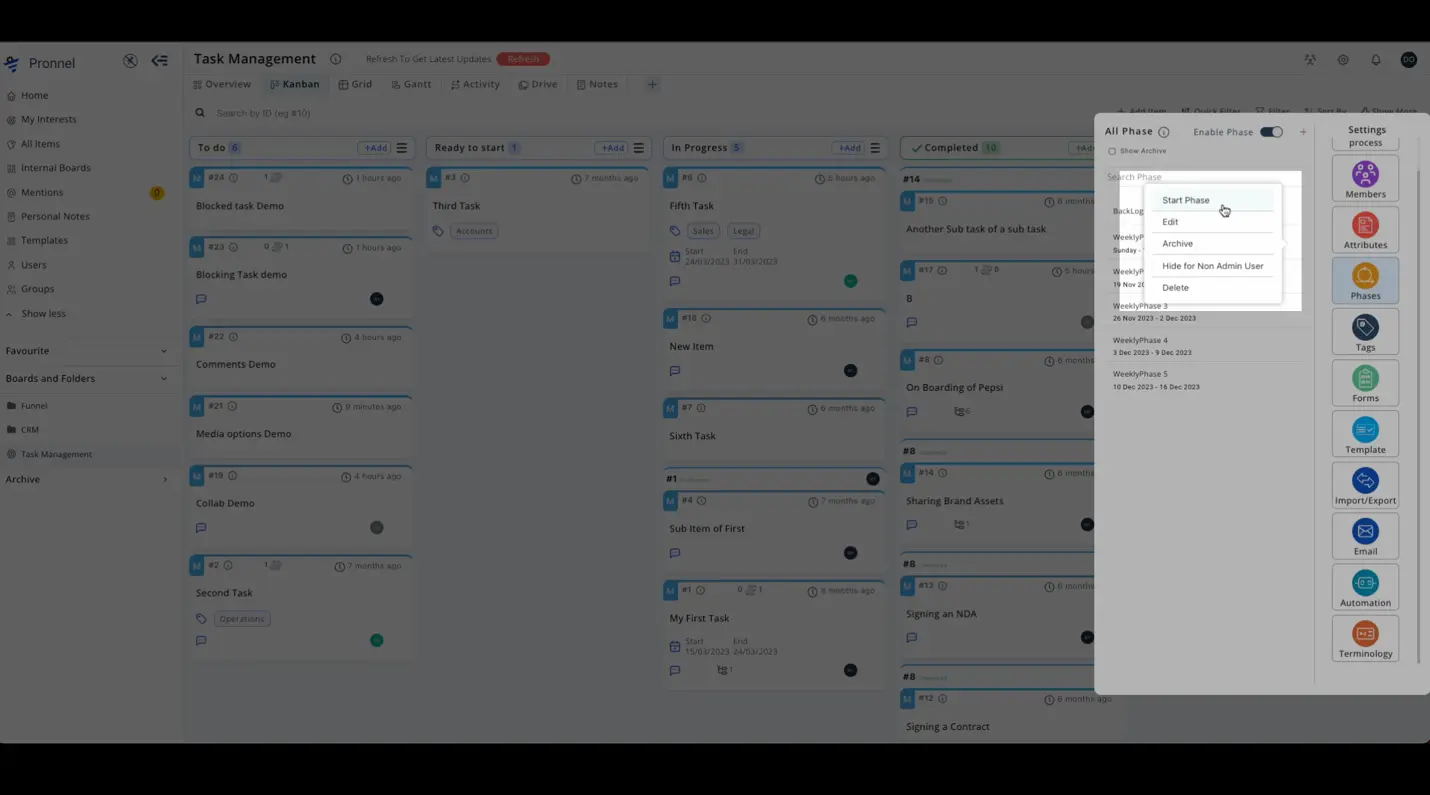
Hiding Phases for Non-Admin Users:
Pronnel introduces a unique feature called "hide Phase for non-admin users." This option allows you to make a Phase invisible to non-admin users, keeping all items within that Phase hidden. This feature is handy for planning stages when things are not in order and can change. Once planning is completed, you can unhide the Phase for non-admin users, ensuring a seamless workflow.
Working with Phases
With your Phases in place, you can now effectively manage your project or process:
-
Assigning Items to Phases:
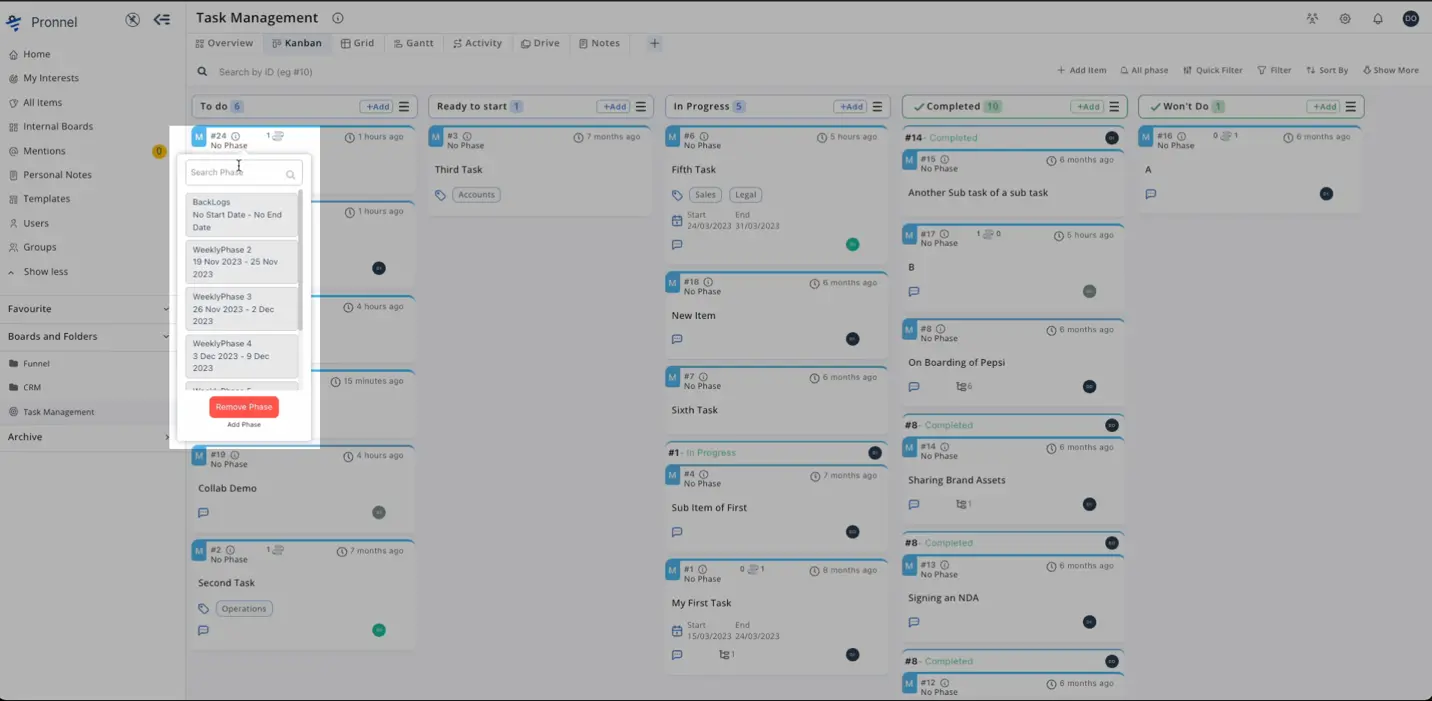
Return to your board, and you will notice a Phase icon associated with each item. You can select a specific Phase for each item, assigning it to the appropriate Phase based on your project's Progress.
-
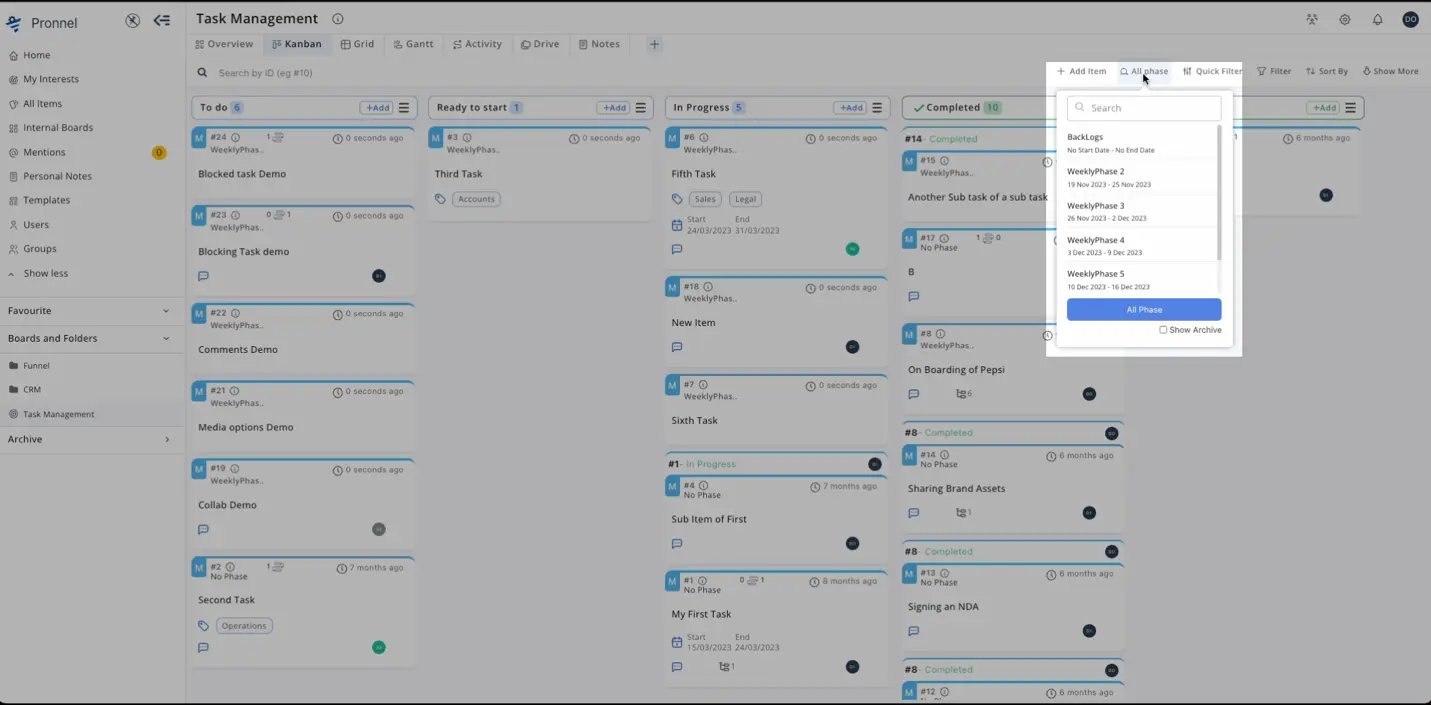
Viewing Phases:
If you enable Phases on your board, the Phase icon will be visible, allowing you to filter and view data based on the Phases.

You can choose to view a specific Phase, multiple Phases, or all Phases together, depending on your requirements.
-
Automatic Assignment:
When creating a new item, Pronnel will automatically assign it to a Phase if you have chosen a single Phase. For multiple Phases, the item will be assigned to the Phase you set first.
If you opt to view all Phases, the item will not be connected to any specific Phase by default.
-
Bulk Phase Changes:
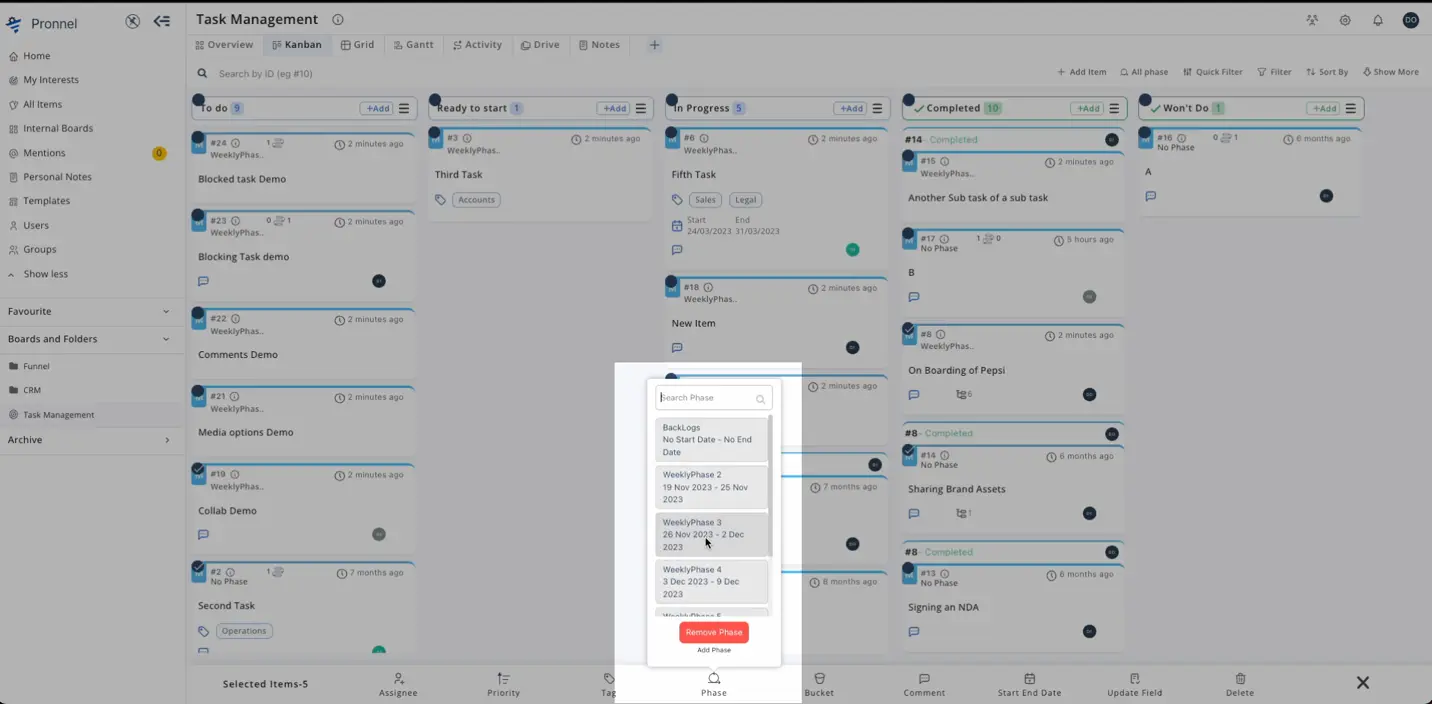
Pronnel offers the flexibility to bulk change the Phases of multiple items. Please select the items you want to modify and change their Phases from one to another as needed.
Benefits of Phases in Pronnel
Categorizing your items into Phases within Pronnel brings a range of benefits to your project management approach:
-
Progress Tracking:
Easily monitor your project's Progress and performance by categorizing work into distinct Phases.
-
Focus and Organization:
Meet your objectives by efficiently managing and organizing your workload within Pronnel's Phases.
-
Customizable to Your Workflow:
Whether your team uses sprints, targets, or other time-bound divisions, Pronnel's Phases feature can adapt to your unique terminology and workflow.
By following this tutorial and taking full advantage of Pronnel's Phases feature, you can experience a more organized and efficient approach to project management. Start using Phases in Pronnel today to enhance your project management capabilities.
Frequently Asked Questions About Phases in Pronnel
What are Phases in Pronnel and why use them?
Phases are time-bound divisions to break work into manageable blocks, track progress, and manage workload effectively.
How do I enable Phases?
Open board settings → Phases → enable and configure single or multiple Phases.
Why is a Backlog Phase created automatically?
Backlog collects unassigned items; you can rename or delete it.
How do I create multiple Phases?
Use a Phase name with INDEX in curly braces, set start index, duration, first start date, and count.
Can I change the first Phase start date?
Yes, adjust it anytime in settings.
Is there a limit to the number of Phases?
No specific limit. Create as many as your workflow requires.
How do I assign items to Phases?
Use the Phase icon on items to set or change their Phase.
How do I view/filter by Phases?
Use the Phase icon to view a single Phase, multiple, or all Phases together.
Are new items auto-assigned?
Yes, when a single Phase is selected; with multiple, they go to the first selected Phase; with All, no Phase is set.
Can I bulk change Phases?
Yes. Select items and change their Phase in bulk.
How does hiding a Phase help?
Admins can hide a Phase during planning; unhide later for team visibility.
What happens when completing a Phase?
Non-final items can be transferred to another Phase or moved back to the backlog.