How to Use Quick Filters in Pronnel
Welcome to this tutorial on using Quick Filters in Pronnel to streamline data analysis. In this guide, we'll walk you through what Quick Filters are and how to leverage them to save time and boost your data analysis productivity. Let's dive in!
Understanding Quick Filters
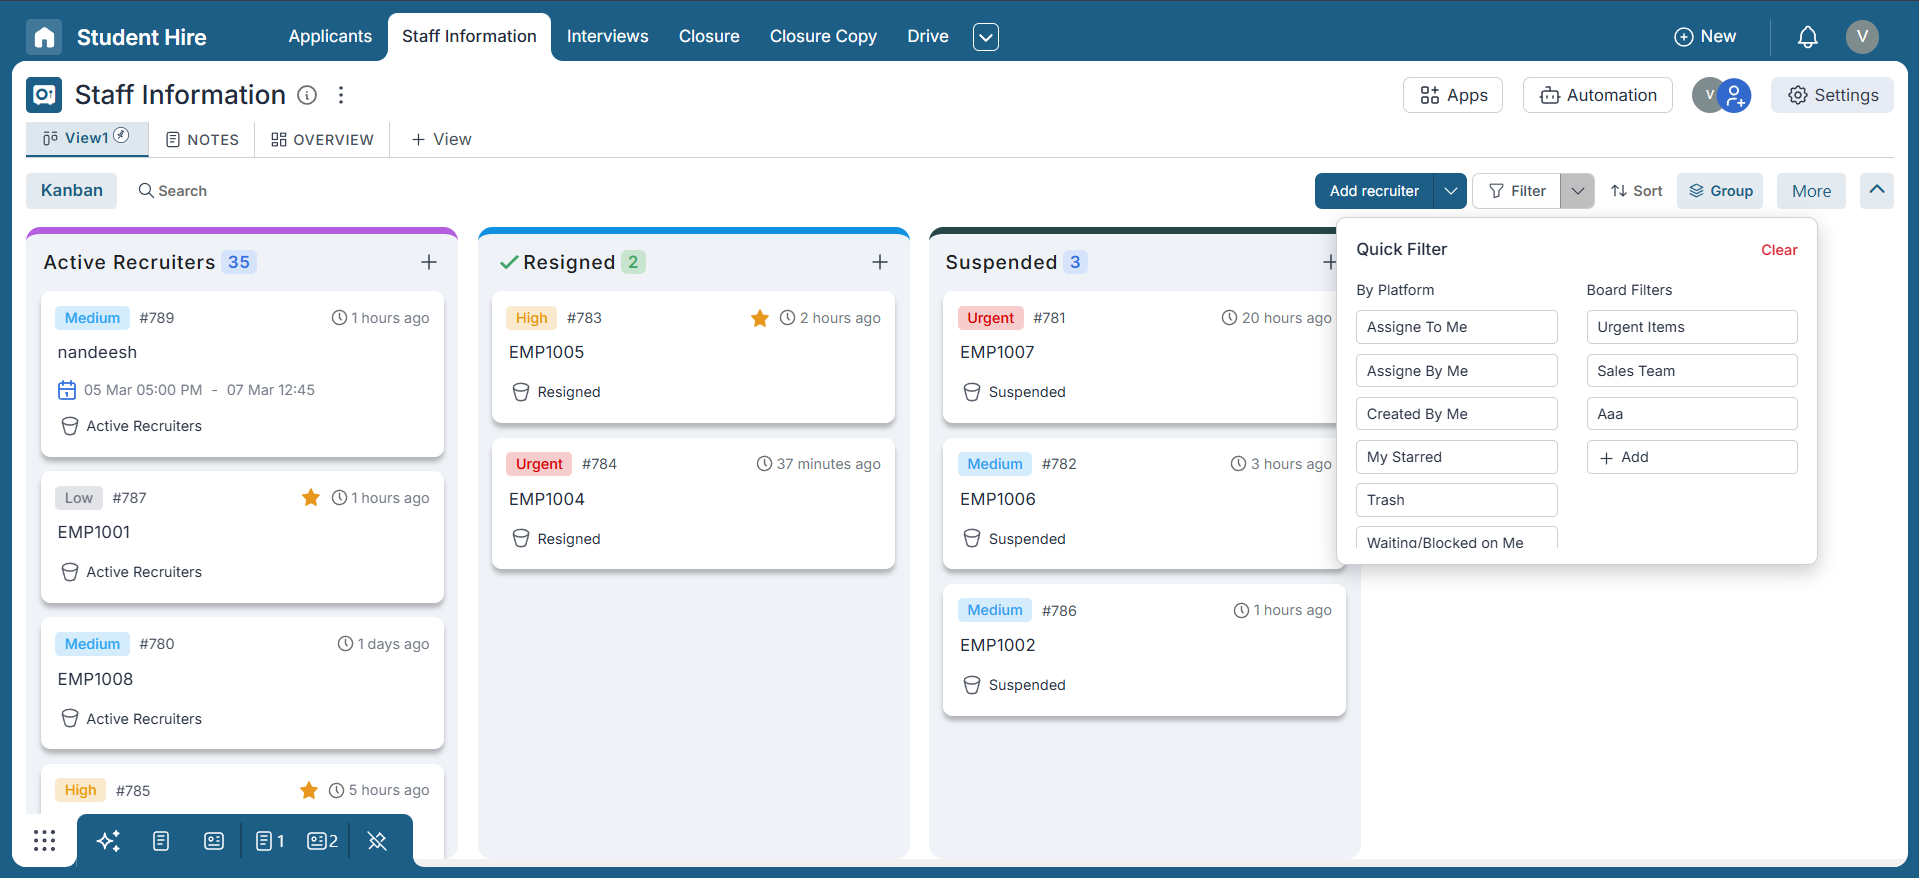
Quick Filters are handy pre-defined filter options in Pronnel that make filtering data a breeze. They're your secret weapon when you need to switch between different data sets quickly without the hassle of reapplying filters each time.
These Quick Filters appear in a dedicated dropdown located next to the main Filter option, making them easy to access whenever you need to switch views fast.
By default, Pronnel offers the following Quick Filters:
- Assigned To Me
- Assigned By Me
- Created By Me
- My Starred
- Trash
- Waiting/Blocked on Me
- I Am Blocked/Waiting For
These filters are designed to help you focus on what's most relevant—whether it's your own tasks, what you're waiting on, or items that need attention. Now, let’s see how you can make the most of Quick Filters to stay organized and efficient.
Creating and Using Quick Filters
Before we dive into creating Quick Filters, it's essential to understand that they are built upon standard filters. If you're not yet familiar with how filters work in Pronnel, we recommend checking out our Filters tutorial for a foundational overview.
-
Steps to Create Quick Filters:
Follow these steps to create a Quick Filter:
-
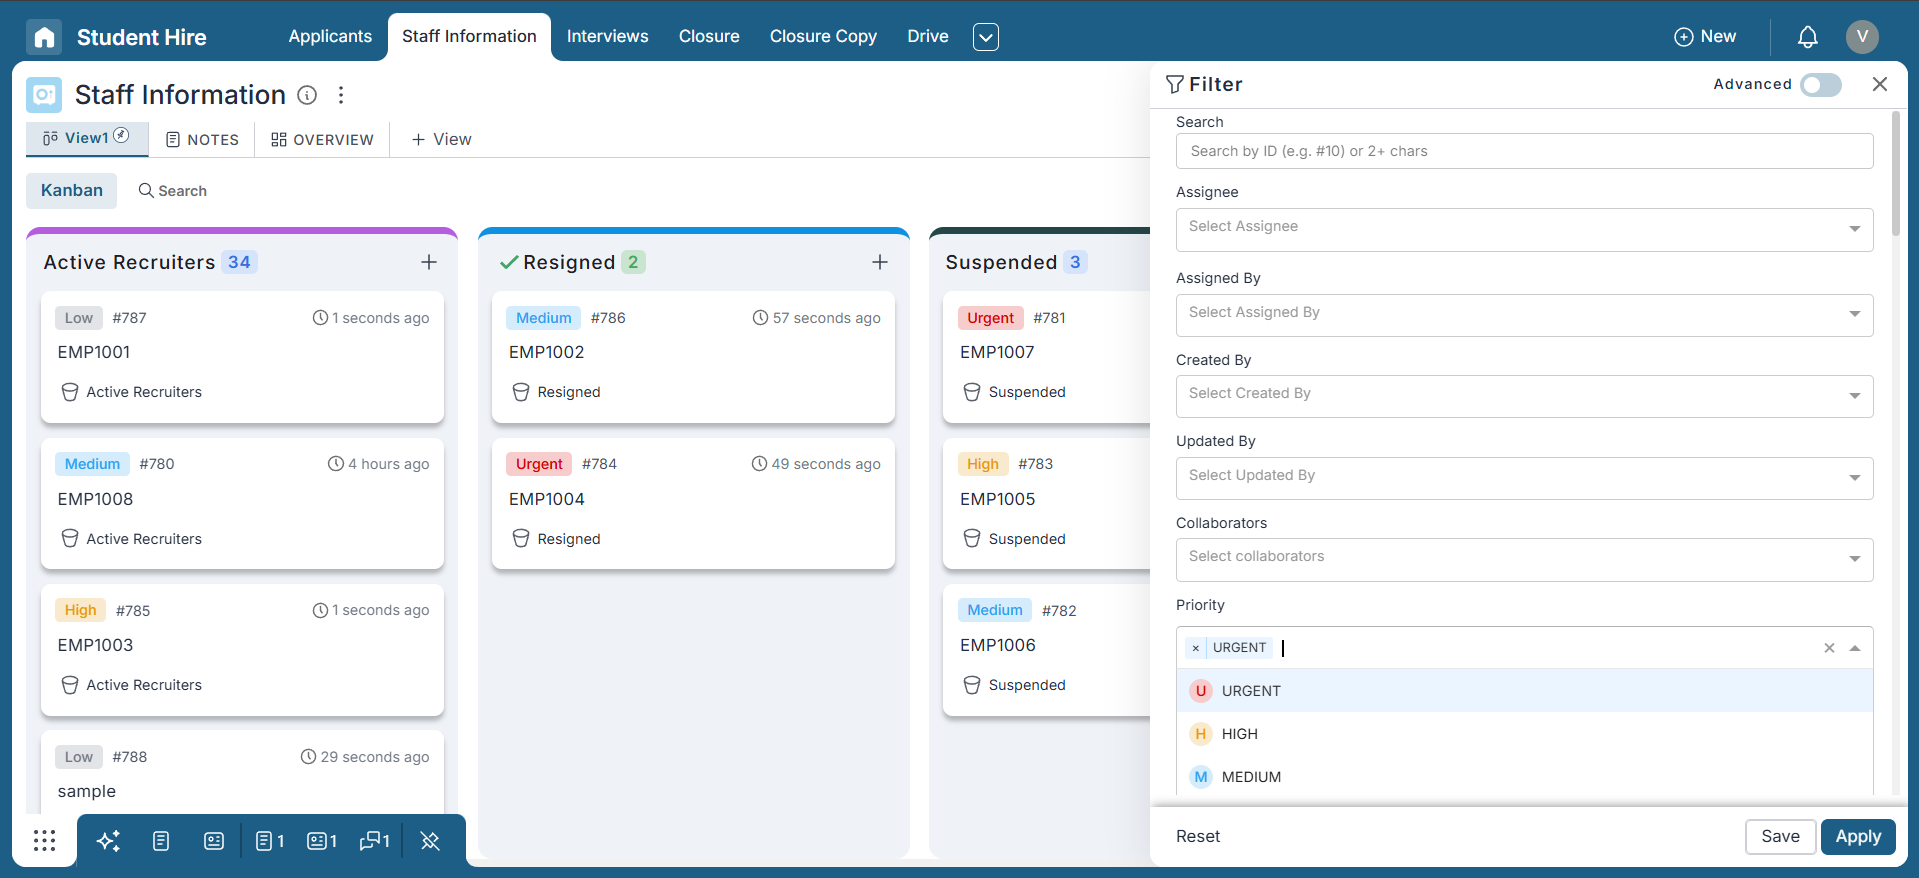
Click on the Filter button to open the standard filter options, then select the desired filter criteria to narrow down the data view — for example, setting the priority to "Urgent".
-
Saving Filters as Quick Filters
After defining your filter criteria, follow these steps to save it as a Quick Filter:
-
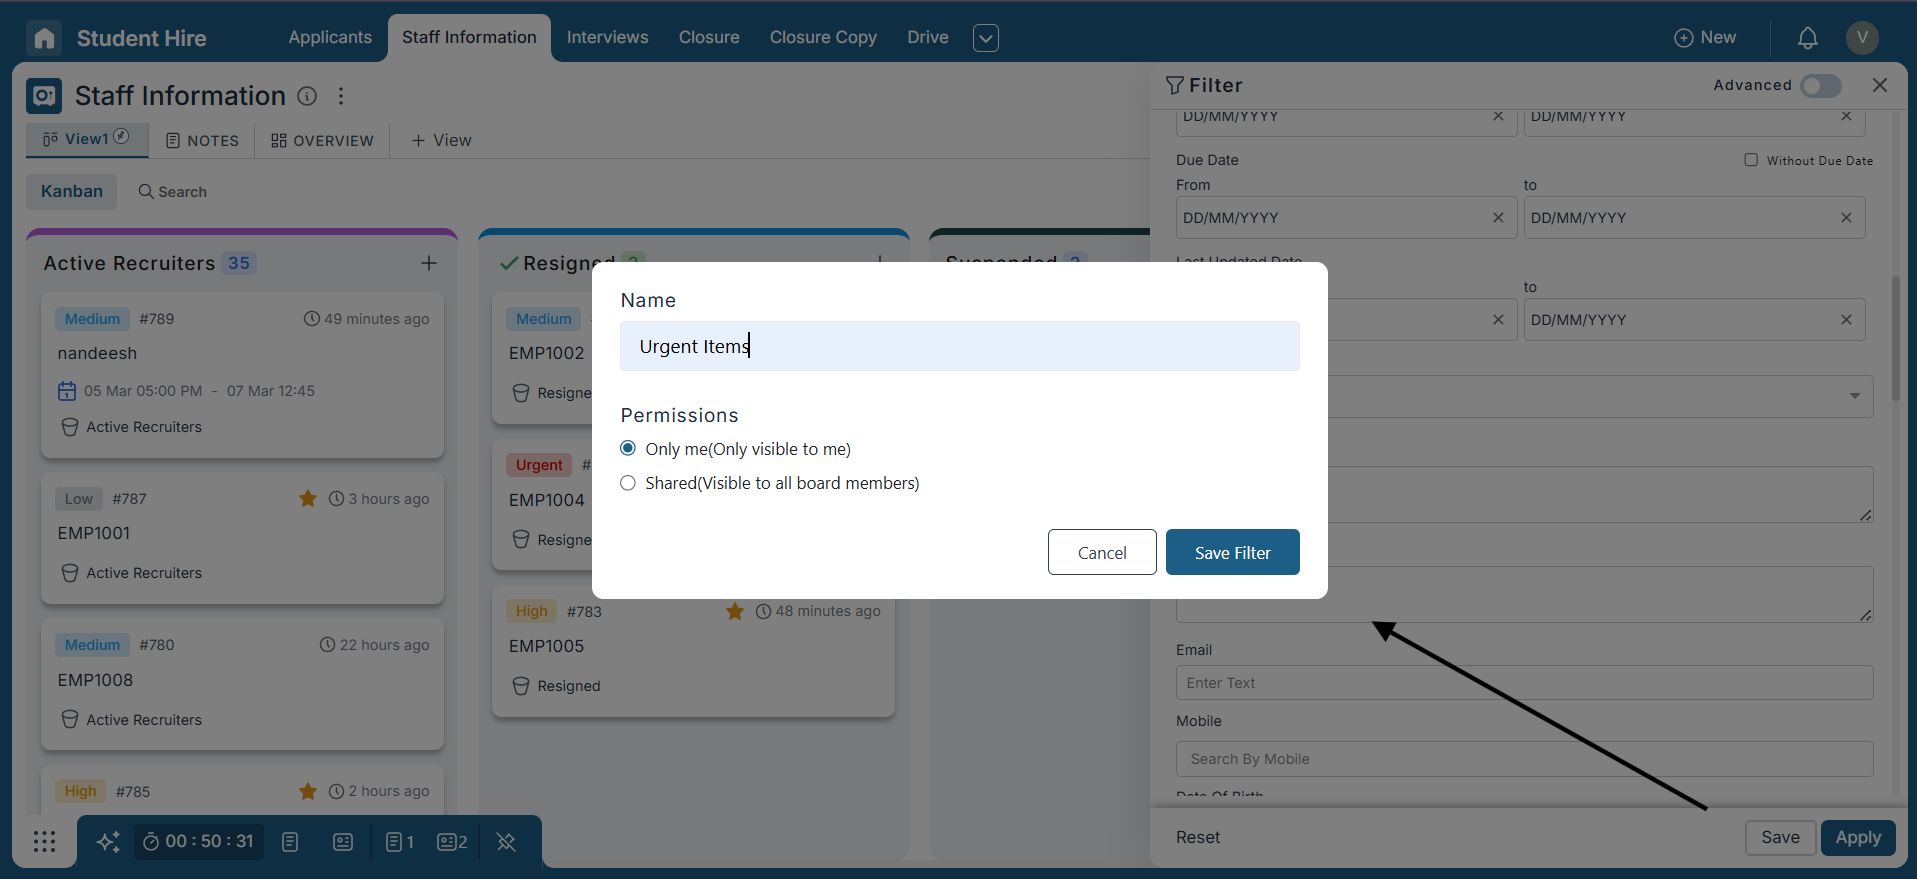
Click the Save button located to the left of the Apply button.
-
In the popup window, enter a name for your filter. Choose the visibility setting:
- Only Me: The filter will be visible only to you.
- Shared: The filter will be visible to all board members.
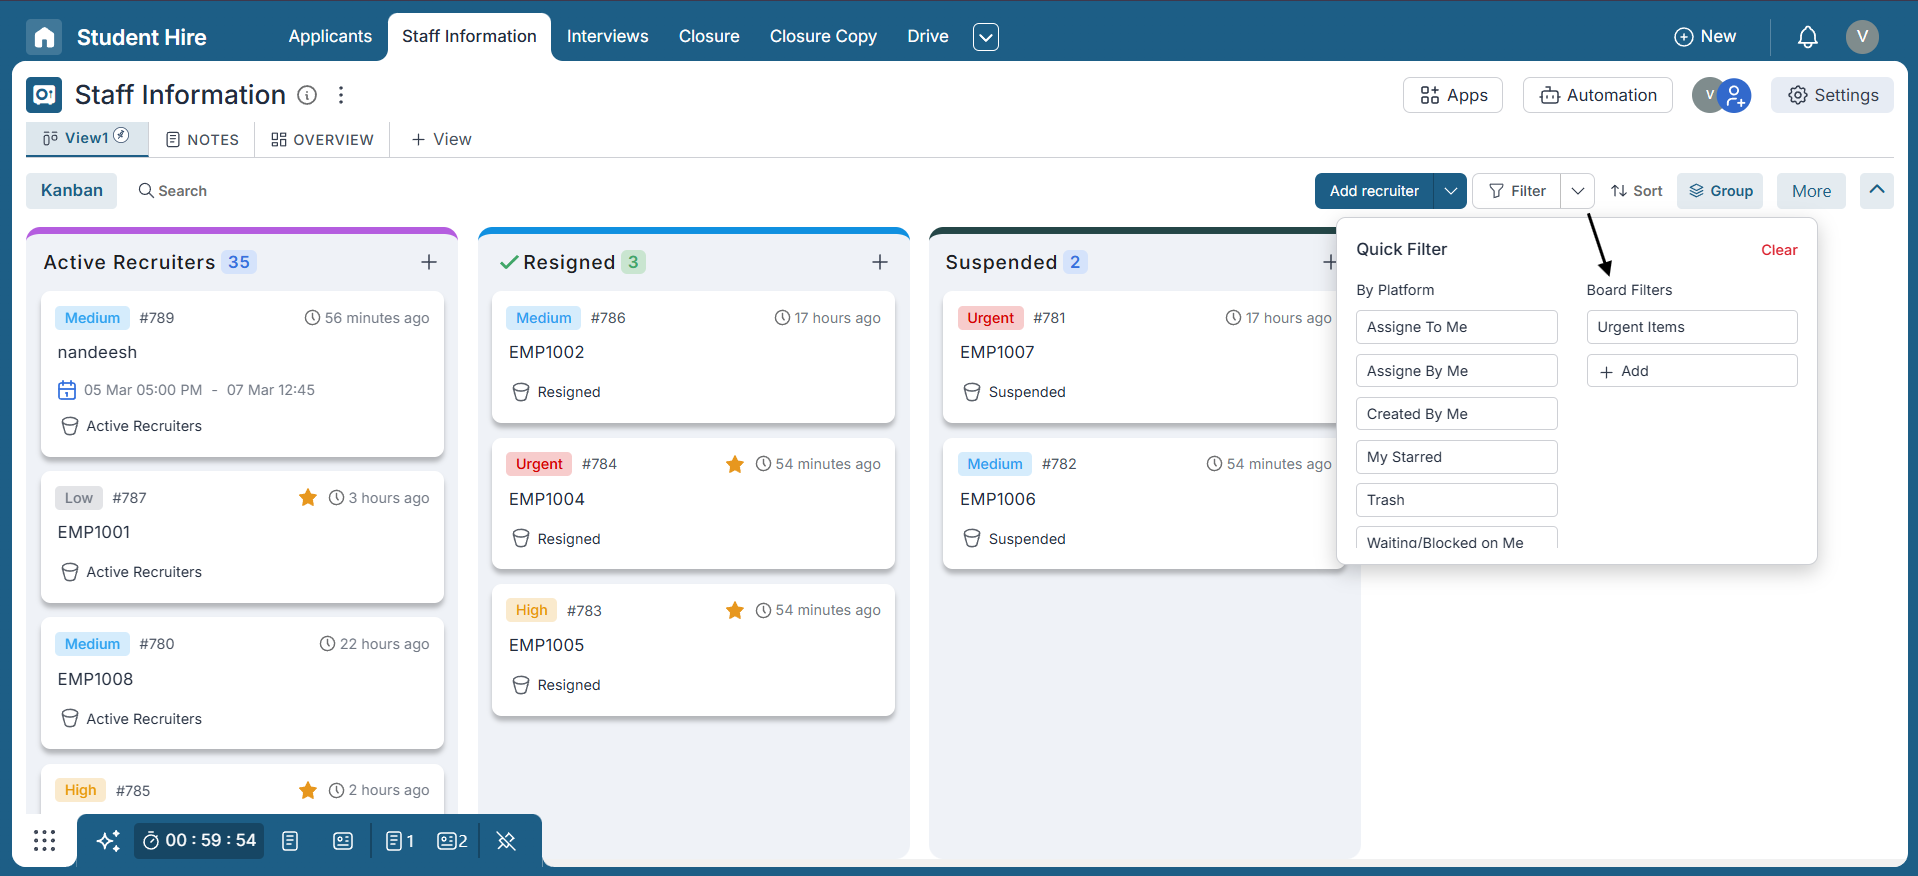
Click the Save Filter button. Once saved, the filter will be available in the Board Filters section of the Quick Filters dropdown, located next to the main Filter button.

Managing Quick Filters
Pronnel makes it easy to manage your Quick Filters by allowing you to edit the filter logic, rename and adjust permissions, or delete them entirely—keeping your workspace organized and relevant.
How to Access Quick Filter Management:
To manage your Quick Filters, follow these steps:
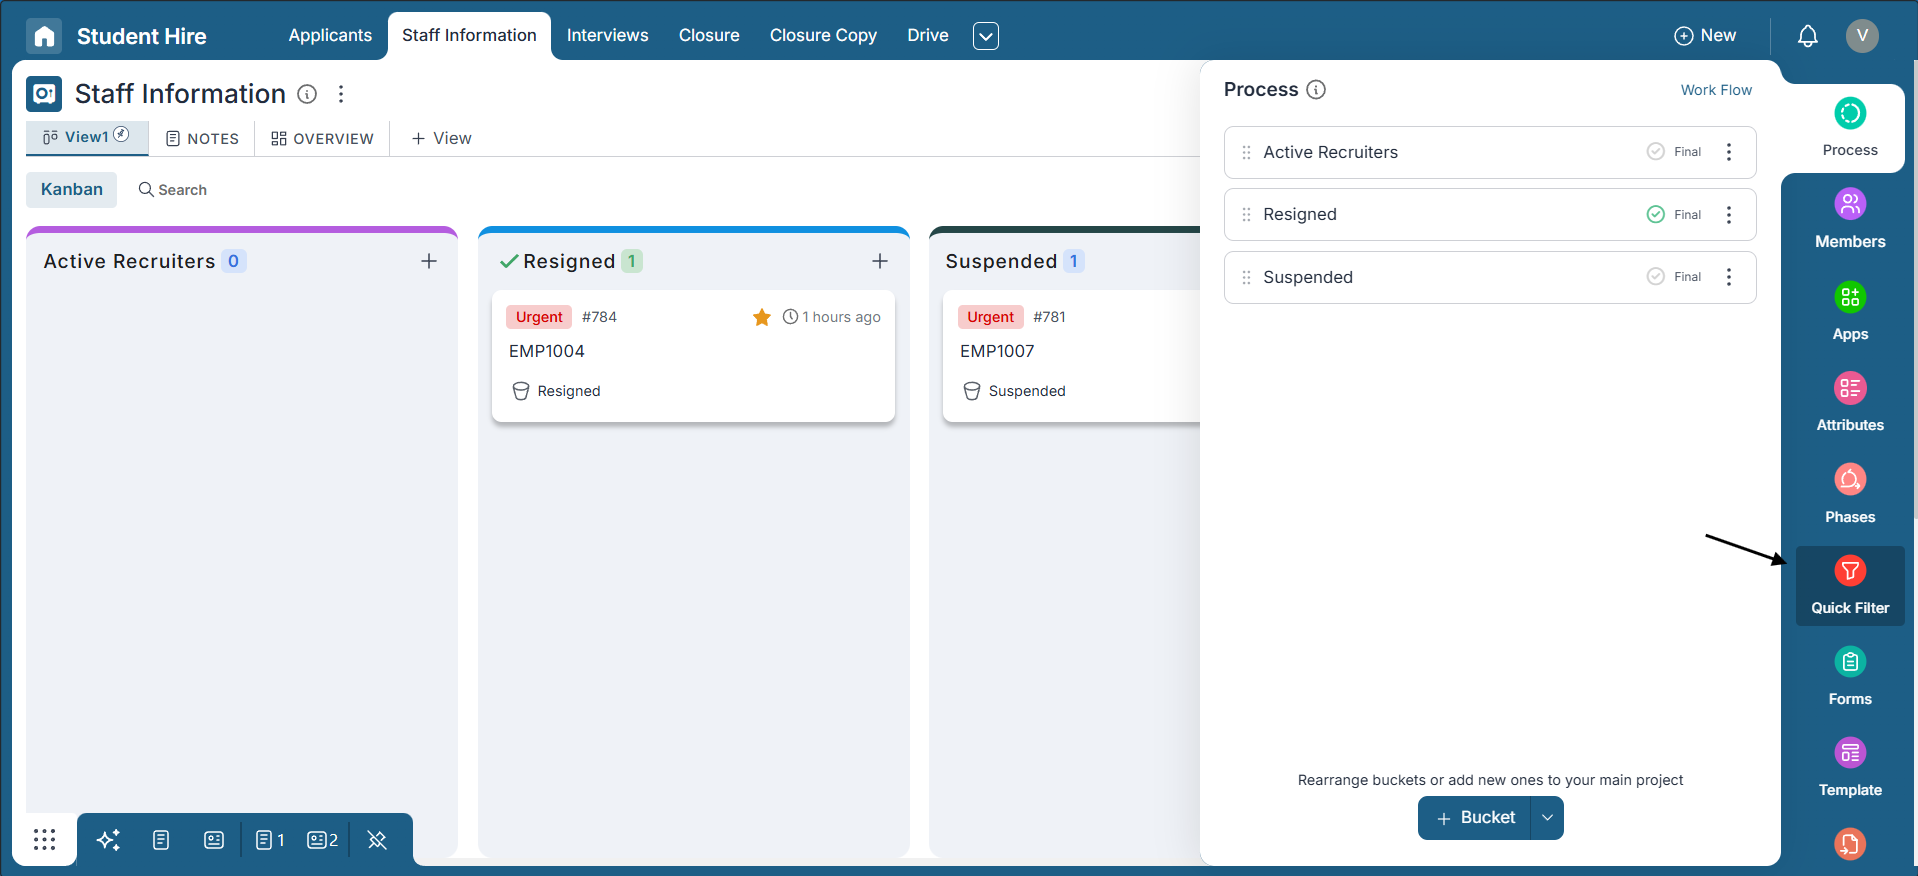
- Click on the Settings icon located at the top right of the board.
- Select the Quick Filters option from the menu.
- Here, you’ll see a list of all existing Quick Filters. You can also add a new one—similar to the process explained earlier.
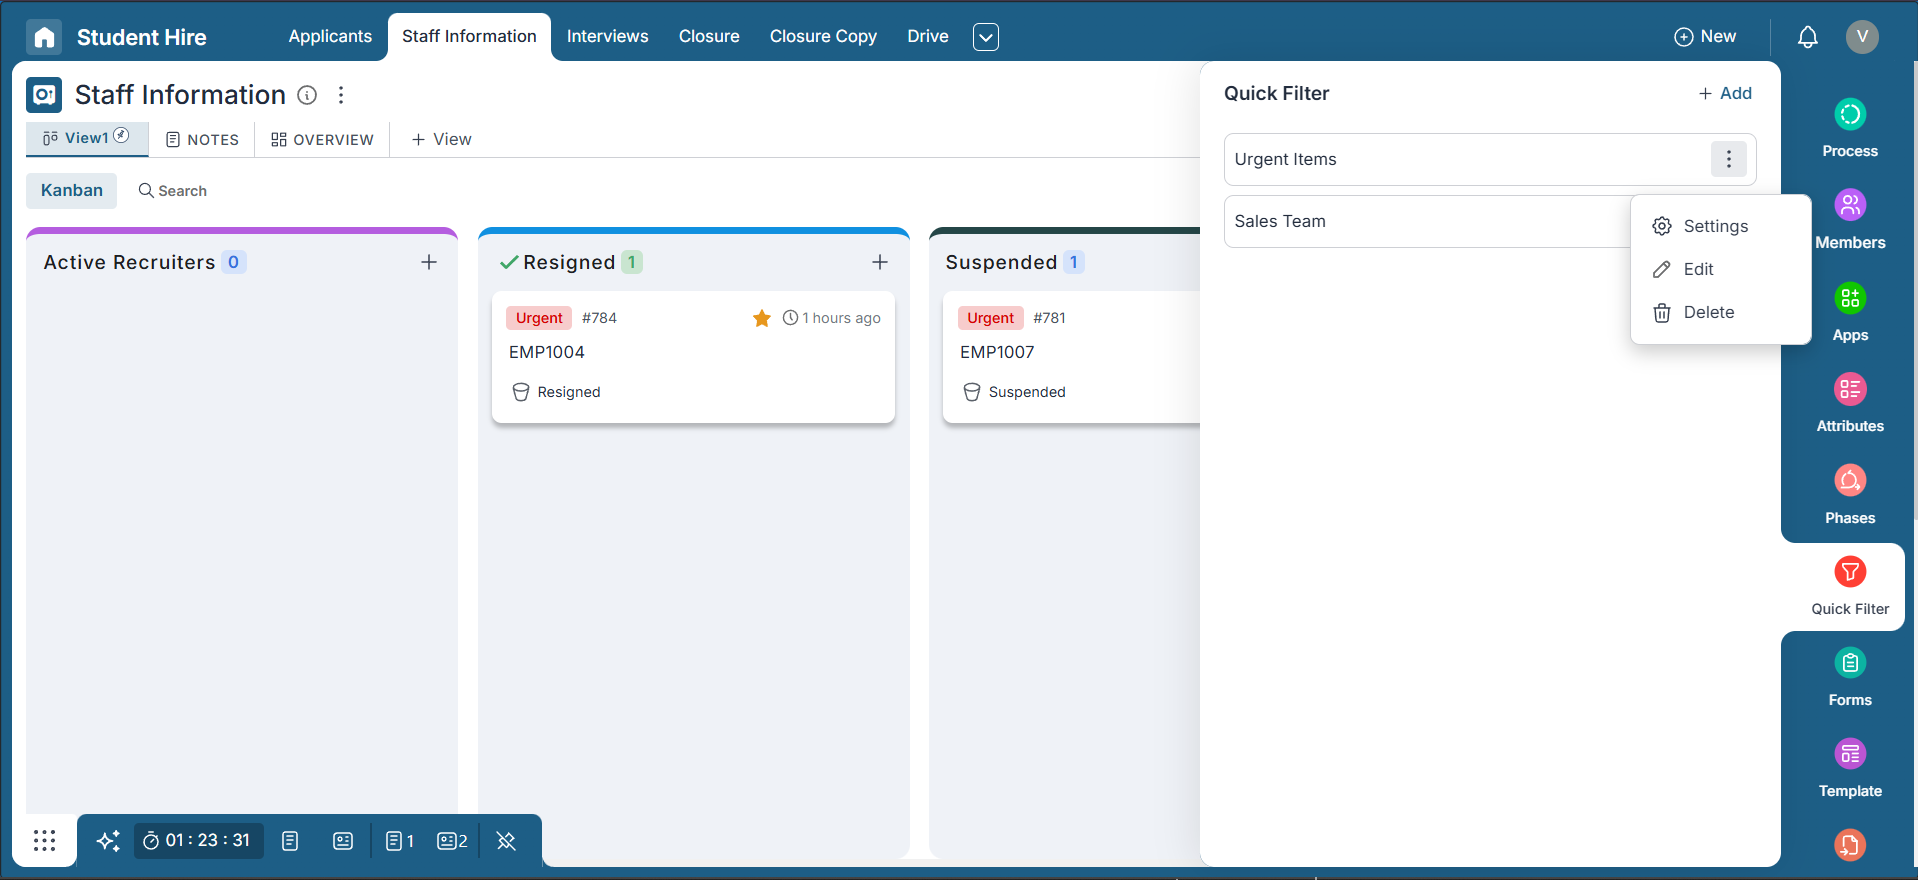
- To manage an existing Quick Filter, click the three-dot menu (⋮) next to the filter name.
Available Options:
- Settings: Change the name of the Quick Filter or update its visibility permissions (Only Me or Shared).
- Edit: Update the filter criteria used within the Quick Filter.
- Delete: Permanently remove the Quick Filter from the list.
These options give you full control over maintaining your Quick Filters in a way that best supports your workflow.
Benefits of Quick Filters
Quick Filters offer several advantages to streamline your data analysis process:
-
Time Efficiency:
Save time by quickly applying pre-defined filters without recreating them each time.
-
Customization:
You can save as many filters as needed, allowing you to tailor your data analysis experience.
-
Consistency:
Ensure consistent data views by reusing filters whenever necessary.
Conclusion
Quick Filters in Pronnel are your shortcut to smarter, faster data management. Whether you're switching between tasks, reviewing high-priority items, or jumping across different views, Quick Filters help you stay focused without repeating steps.
By setting up and using these filters, you save time, ensure consistent data views, and reduce manual effort in daily workflows.
Set them once, reuse them whenever you need—and keep your boards organized and actionable. Don’t forget to explore Basic and Advanced Filters next to unlock even more power within Pronnel!
Frequently Asked Questions About Quick Filters in Pronnel
What are Quick Filters in Pronnel?
Quick Filters are pre-defined options that instantly apply commonly used filters, so you can view specific data sets without reapplying filters.
How are Quick Filters different from regular filters?
Regular filters are temporary; Quick Filters are saved and reusable from a dedicated dropdown.
What default Quick Filters are available?
Assigned To Me, Assigned By Me, Created By Me, My Starred, Trash, Waiting/Blocked on Me, and I Am Blocked/Waiting For.
Can I create my own Quick Filters?
Yes, you can save any filter criteria as a Quick Filter for future use.
How do I create a new Quick Filter?
Apply filters, click Save next to Apply, name it, choose visibility (Only Me or Shared), and save.
Where can I find my saved Quick Filters?
In the Quick Filters dropdown next to the Filter button under Board Filters.
Can I manage existing Quick Filters?
Yes. Open Settings → Quick Filters, then use the menu to edit, rename, change permissions, or delete.
Can I change the name or visibility of a Quick Filter?
Use Settings from the three-dot menu to rename or change permissions.
Is there a limit to Quick Filters I can create?
No. Create as many as you need.
Do Quick Filters help collaboration?
Yes. Shared Quick Filters ensure consistent views across your team.