Mailchimp Integration with Pronnel - A Complete Guide
Connect Mailchimp to Pronnel. Learn to add Mailchimp as a connected app, link campaigns to items, and review performance in context.
Steps To Follow
Step 1: Access App Integration in Pronnel
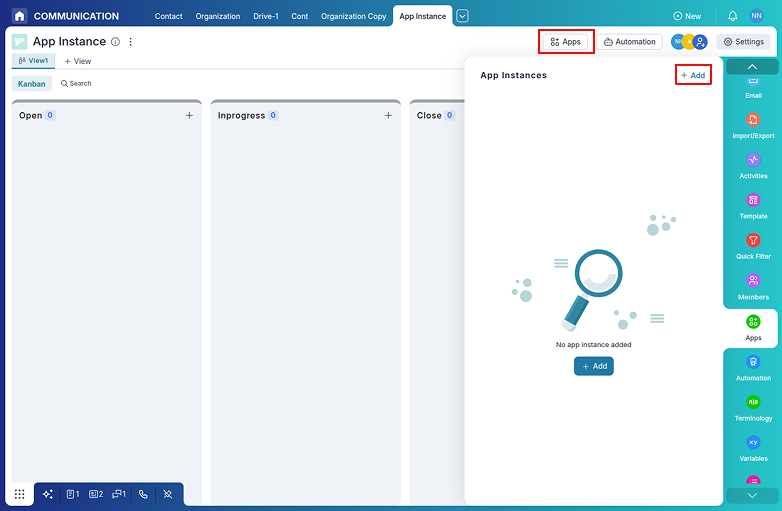
Log into your Pronnel account and navigate to the main dashboard. Look for the "Apps" section in the left sidebar or top navigation menu. Click on it to access the app integration marketplace where you can connect various third-party services including Mailjet.
Step 2: Create a Mailchimp App Instance
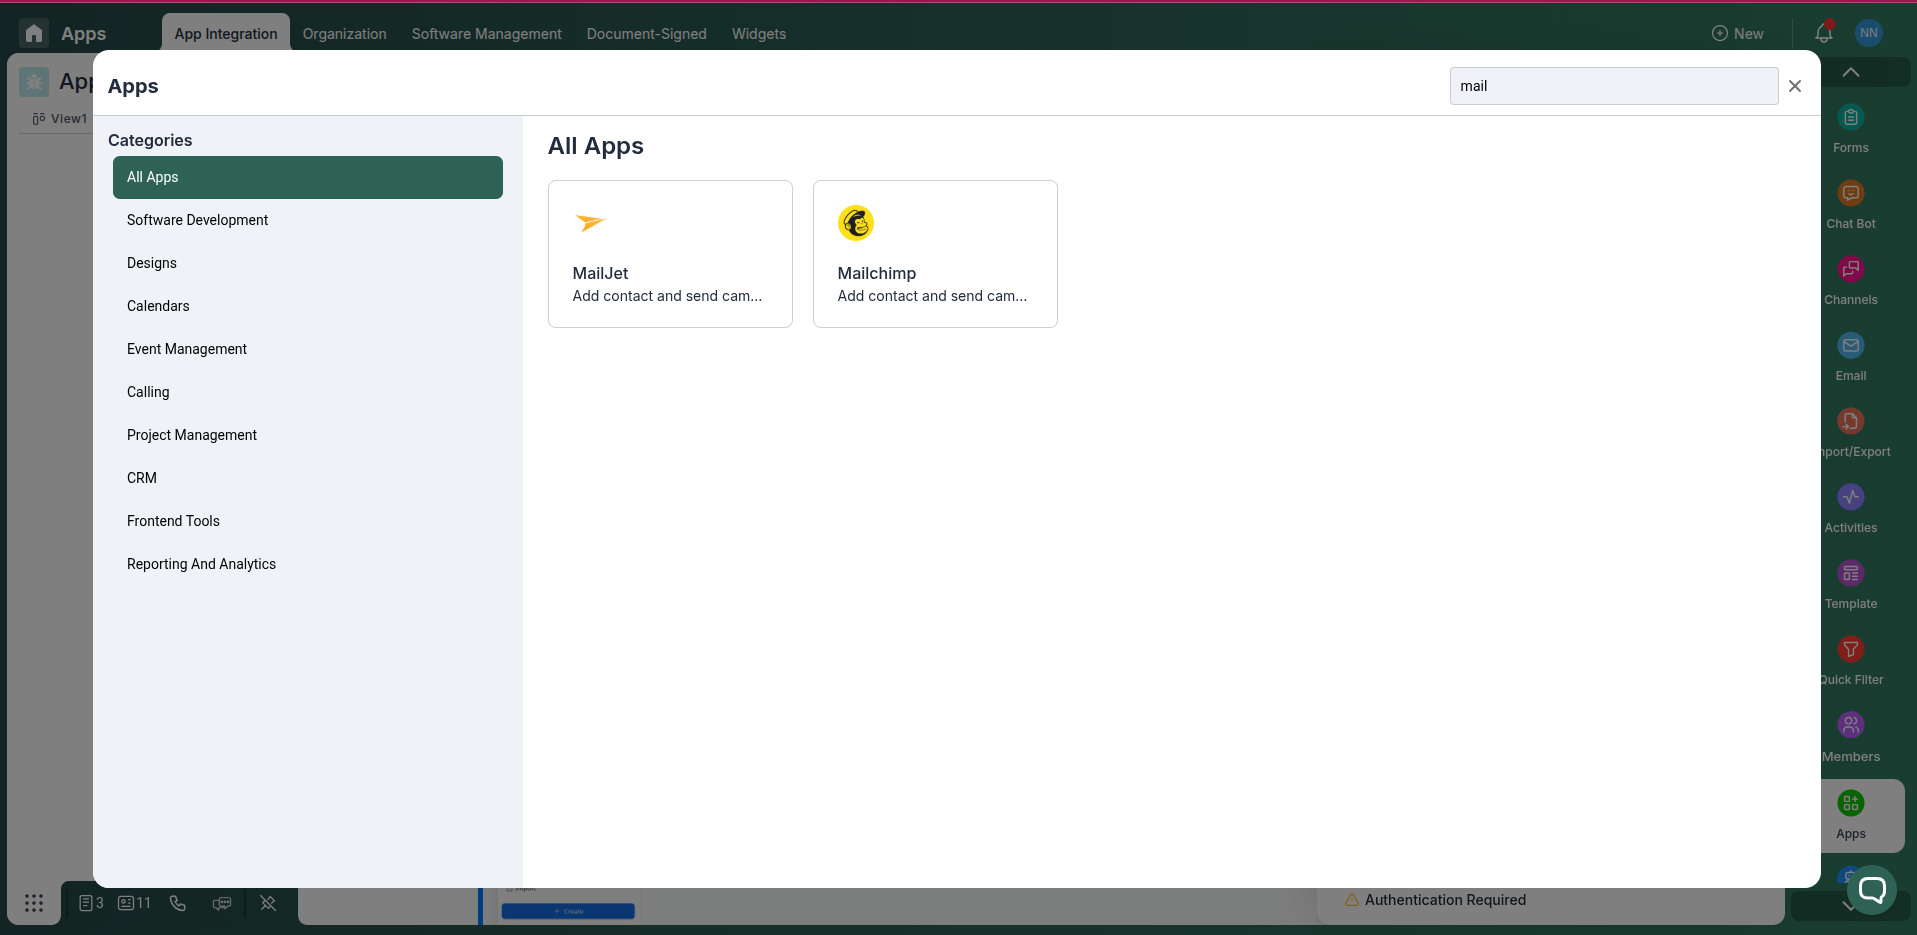
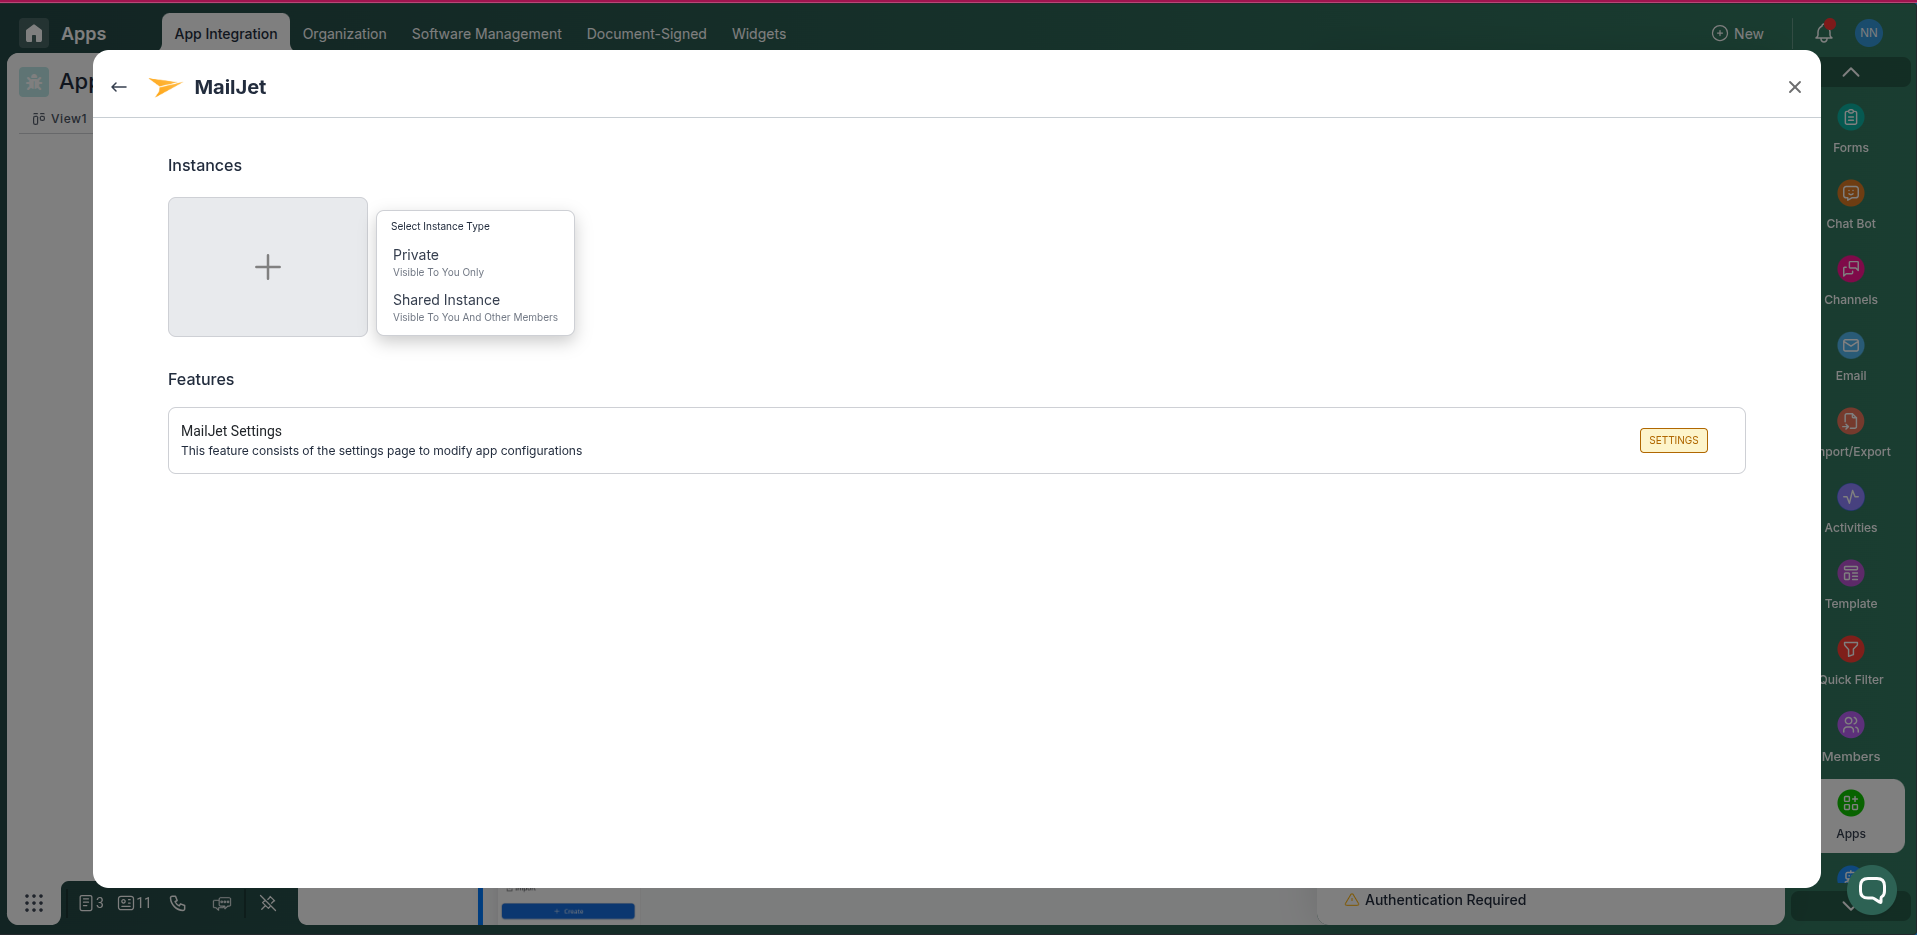
In the app integration section, find and click on the Mailchimp integration card. You can choose between two types of instances:
- Private: Only visible and accessible to you.
- Public: Visible and usable by all team members with access to the board.
Step 3: Log in to your Mailchimp account
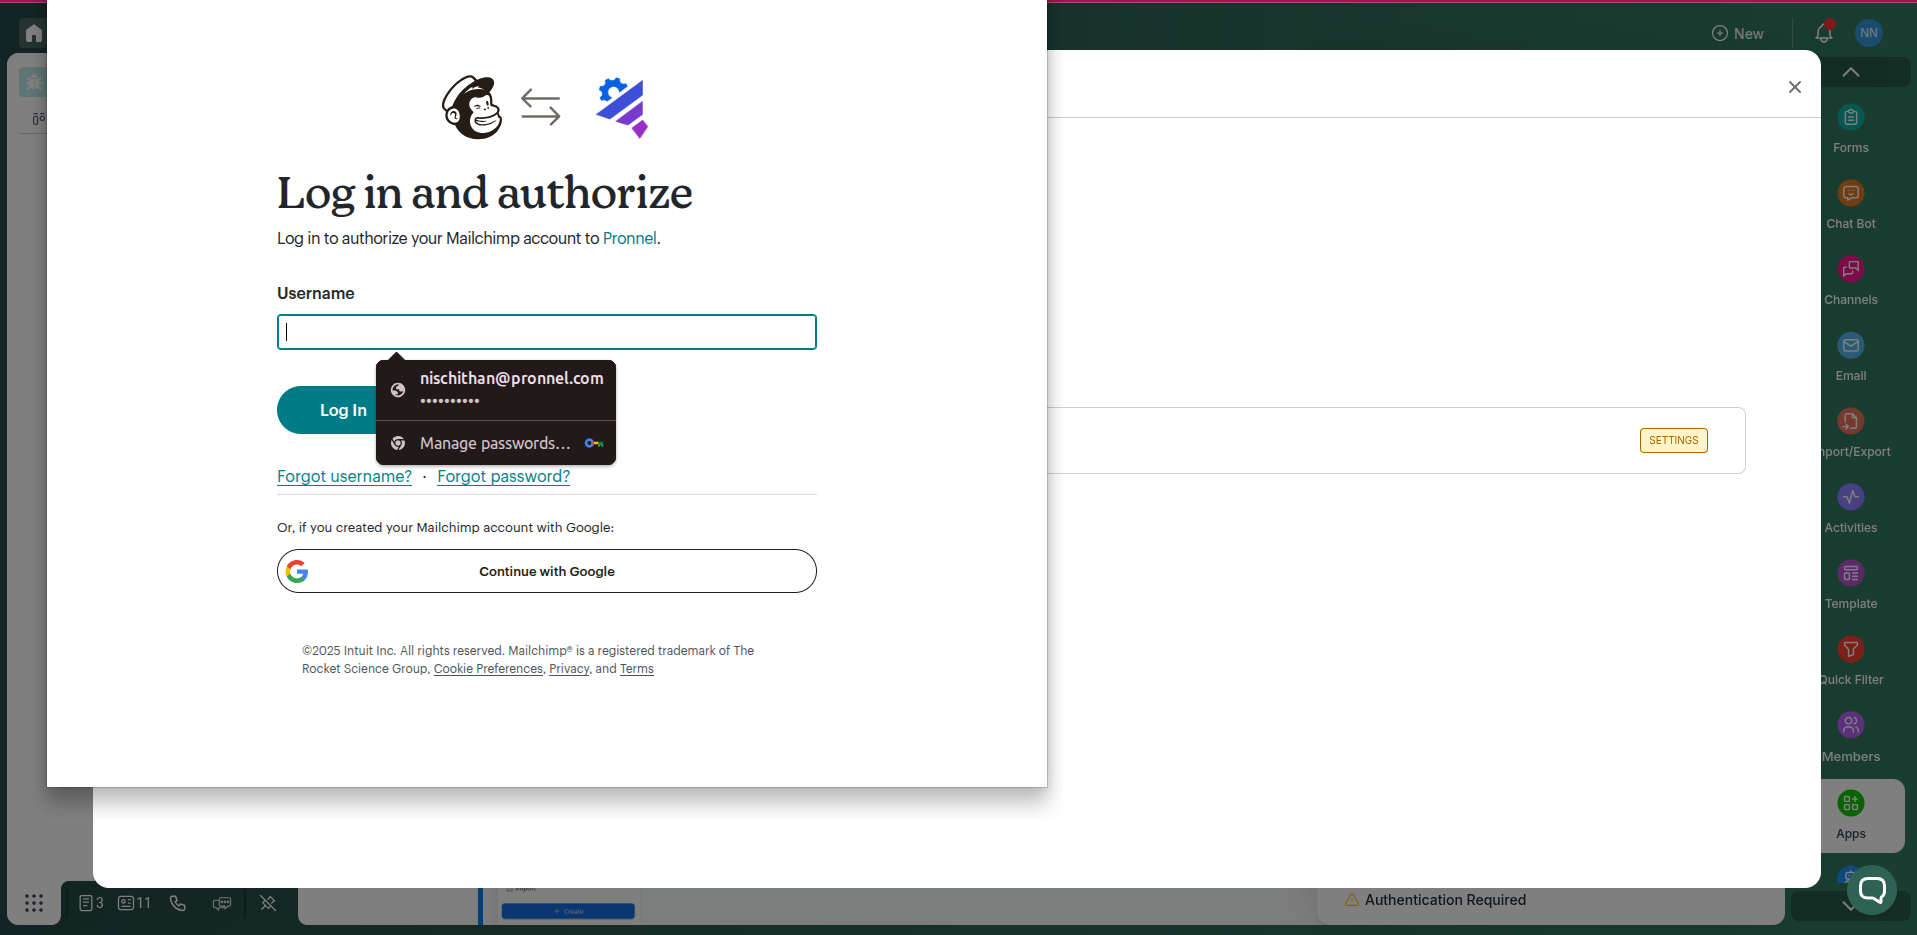
Go to mailchimp.com and log in with your credentials.Authorize Pronnel to access your Mailchimp account.
Step 4: Add Automation Rules
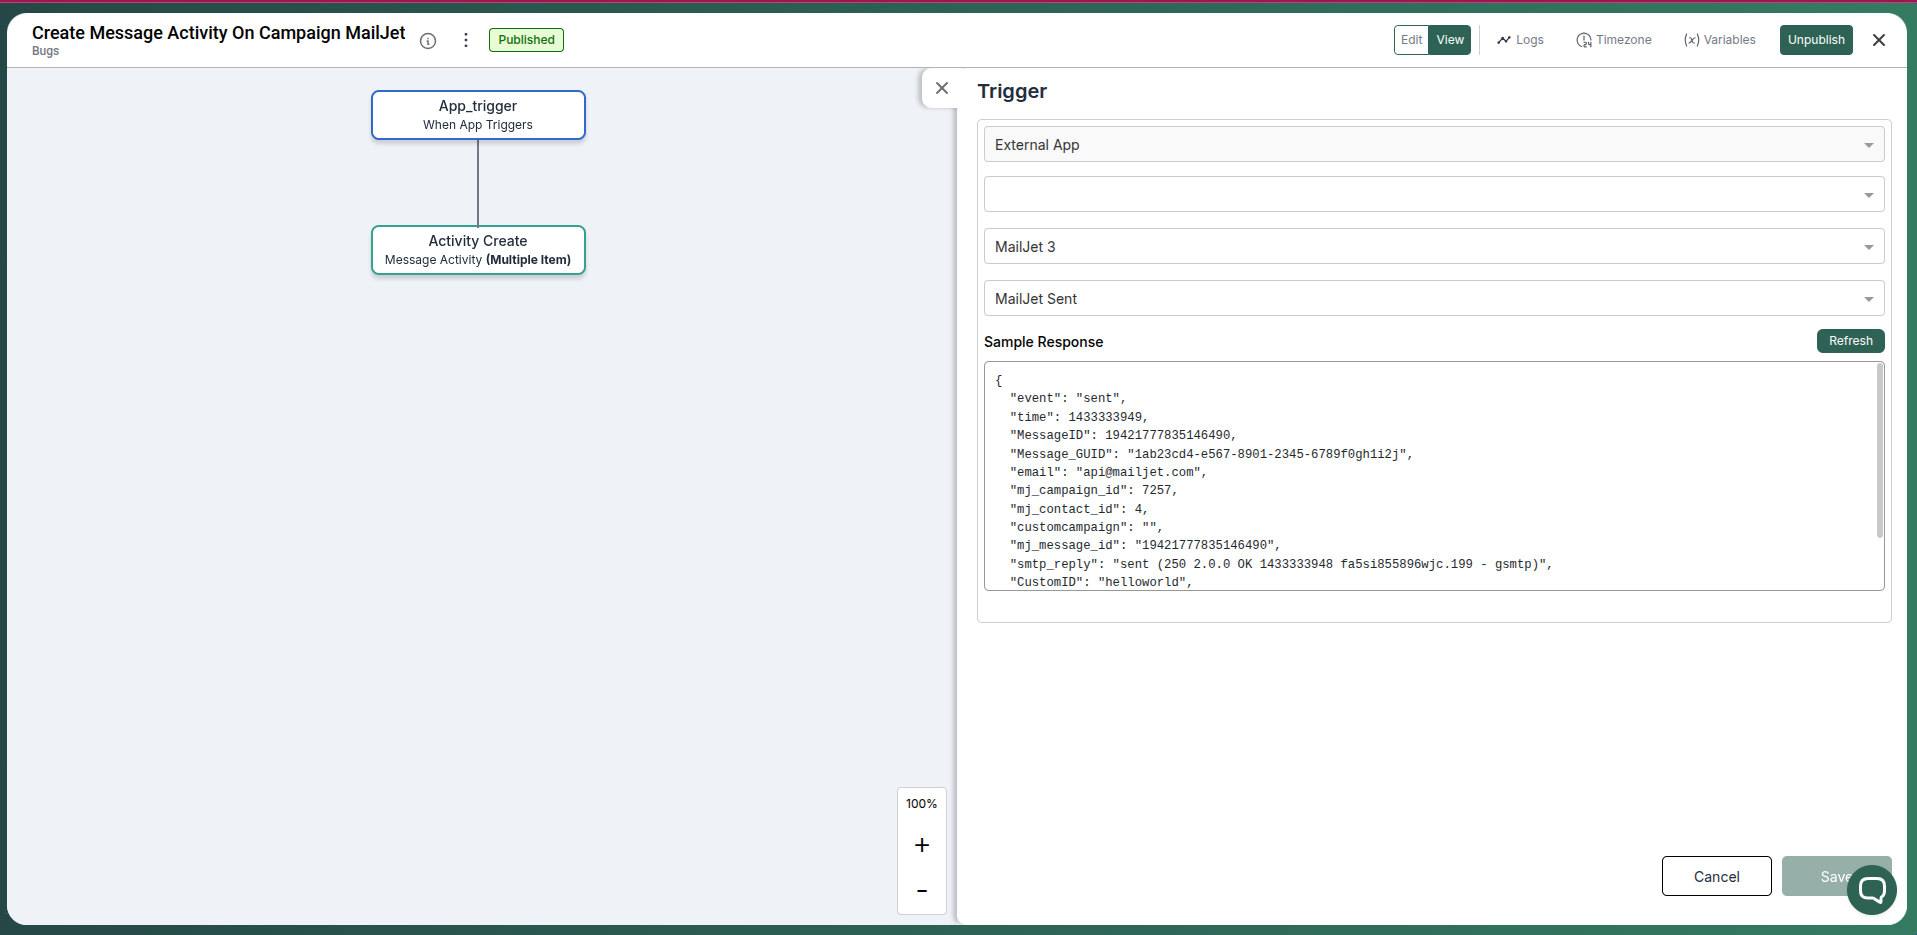
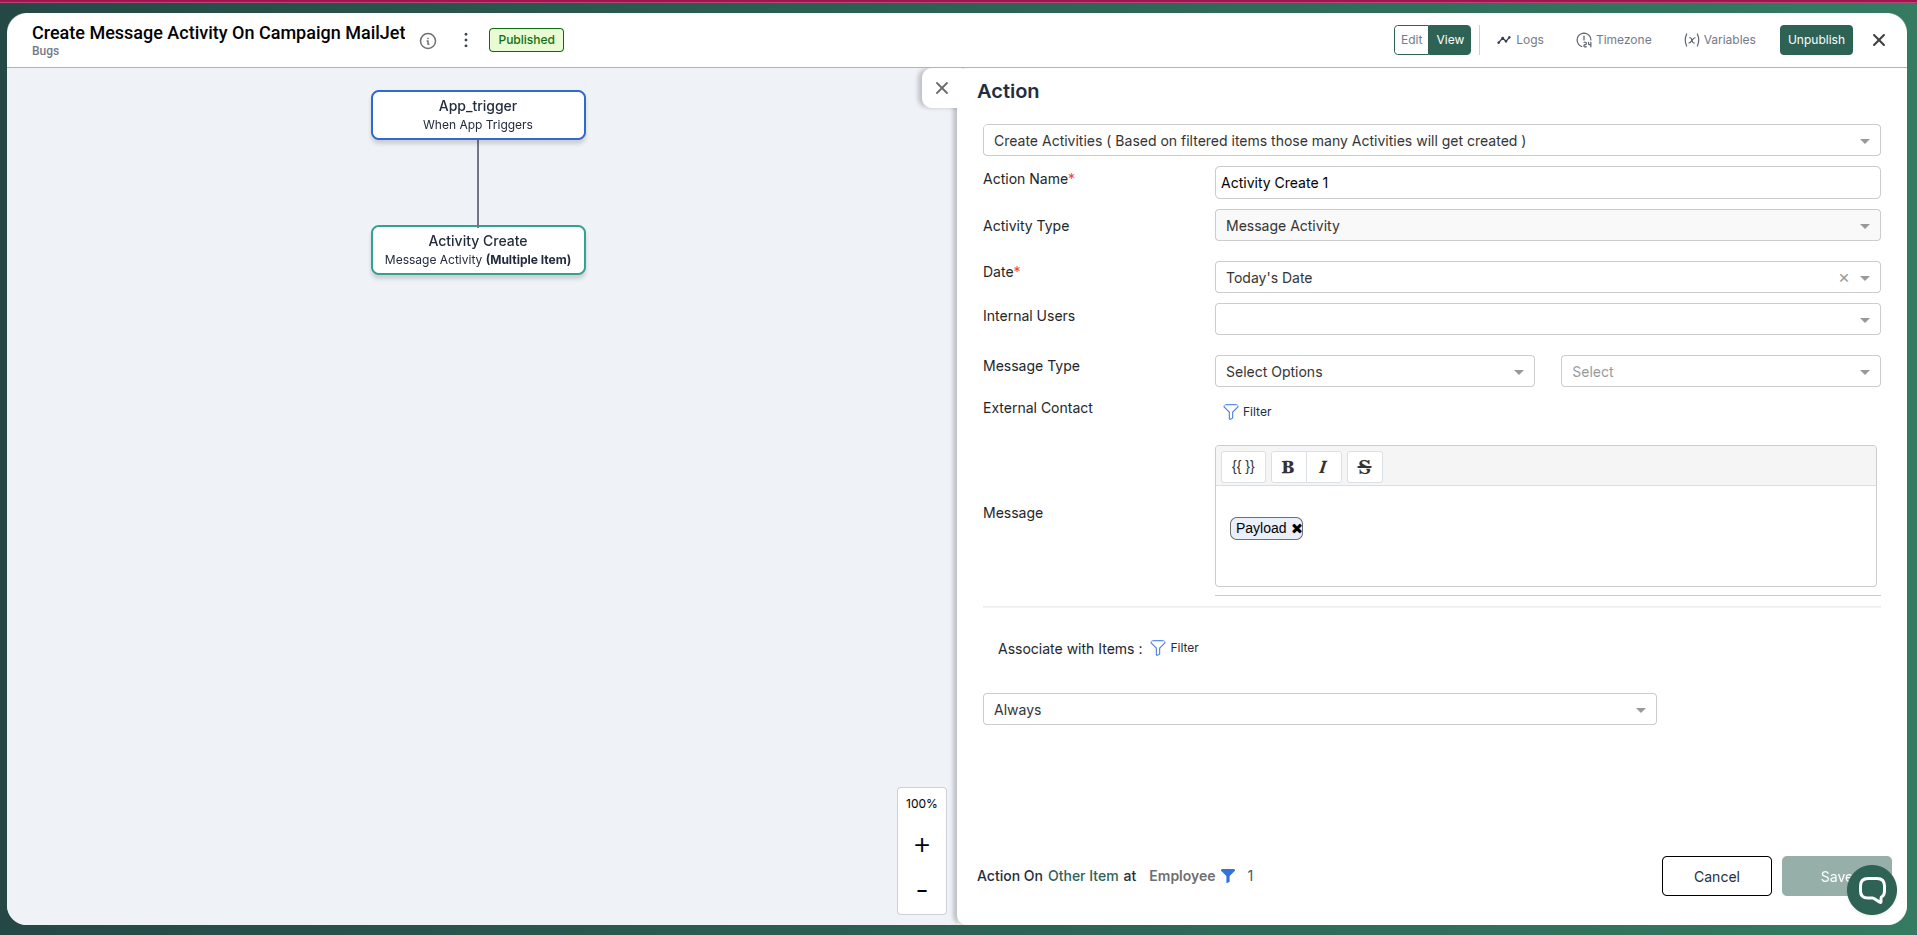
Add automation rules to update pronnel based on campaign performance. You can do this by creating a new automation rule and configuring the conditions and actions.
Conclusion
Keep Mailchimp performance visible in Pronnel to align teams and speed up decisions—without duplicating data.
Frequently Asked Questions About Mailchimp Integration with Pronnel
Does Pronnel send emails via Mailchimp?
No. Pronnel surfaces performance and audience views; sending stays in Mailchimp.
Is data copied to Pronnel?
No. Data remains in Mailchimp. Pronnel embeds and references for context.
Are permissions enforced?
Yes. Viewing respects Mailchimp scopes and Pronnel access controls.